PNG Transparency in Slides: Logos Without White Boxes
PNG transparency is what lets a logo sit cleanly on a colored slide, but converting a JPG to PNG does not create it: the white box simply comes along. You need a file whose background pixels are actually empty, either from the original designer files or from a background removal step, and then the conversion keeps everything crisp.
🖼️ Try the JPG to PNG tool now — freeOpen →
Slides combine logos, screenshots and photos from many sources on colored or dark themes, then get projected at a large size in front of an audience. A white rectangle behind a partner logo or smudgy text in a product screenshot is visible from the back row, and it makes an otherwise careful deck look rushed.
What PNG transparency really means
Every pixel in this format can carry an alpha value from fully opaque to fully clear, which is why a round logo can float over a gradient. JPEG has no alpha channel at all; it always stores a solid rectangle. So converting it gives you a lossless copy of that same rectangle, white corners included.
- Format conversion alone: keeps quality, does not remove the box
- Background removal: makes the box clear, then must be saved losslessly
- Vector formats such as SVG and EMF: transparent and sharp at any zoom
- GIF: supports only on-or-off transparency, so edges look jagged
Knowing this saves the most common wasted hour in deck building: converting a file three times and wondering why the white corners never go away.
Getting logos onto colored slides
For partner and client marks, ask for the press kit first; most companies publish SVG or transparent PNG versions on a brand or media page. If you only have a flat photo-style file, run it through the AI Background Remover and download with the Transparent option.
Both big presentation apps also have quick built-in fixes for flat backgrounds. PowerPoint offers Set Transparent Color under Picture Format, then Color, which clears one exact color with a click. Keynote has Instant Alpha under Format, Image, which lets you drag across the backdrop. Google Slides has no equivalent, so prepare the file beforehand.
Those built-in tools struggle with compression noise: they leave speckled edges because the white is not one uniform value. A proper cut-out avoids that.
Keeping screenshots and diagrams crisp
Screenshots of dashboards, code and spreadsheets are full of thin text and flat colors, which lossy compression smears with visible fuzz. If someone sends you a compressed screenshot, converting it will not undo that damage, but converting before you crop, annotate and resave stops further generations of loss.
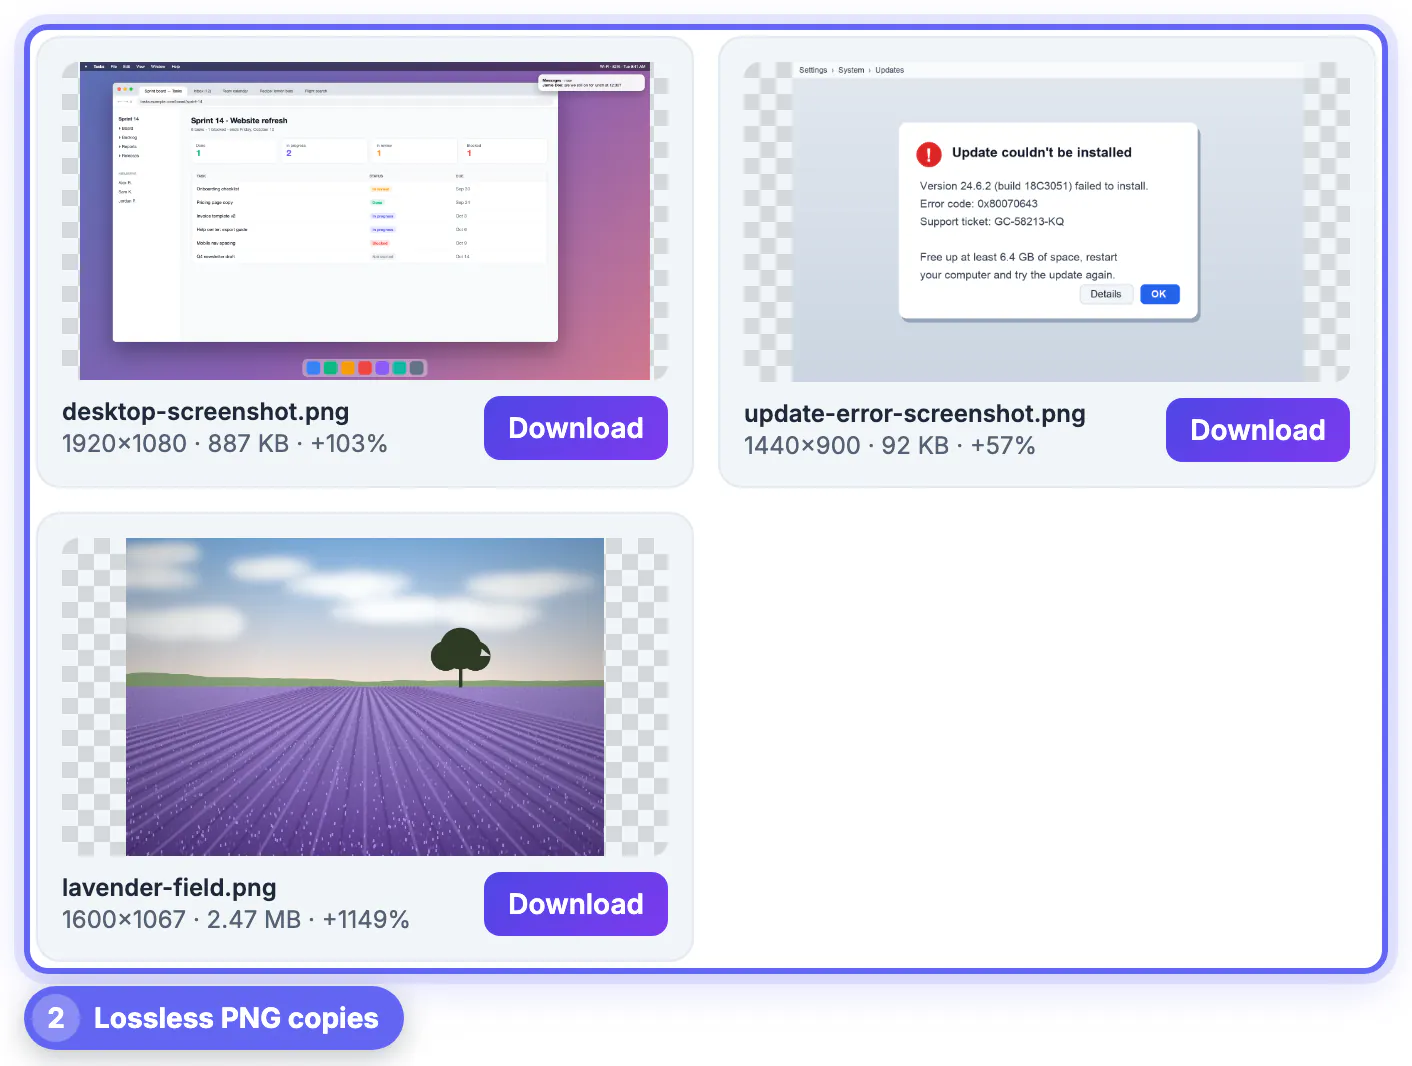
The GrabCast JPG to PNG converter handles JPG, WebP, HEIC, GIF, TIFF and SVG, converts a whole batch at once and hands you a ZIP. It runs in your browser, so internal dashboards and unreleased product screens never touch a server.
- Take new screenshots in the lossless default format on macOS and Windows
- Capture at the size you will show, so the app does not upscale
- Crop tight to the relevant area instead of shrinking a full screen
Keeping the deck file light
Lossless files are big: a photo saved without compression is often three to five times larger than a well-compressed version. Forty full-screen lossless photos can push a deck past 150 MB, which email and some upload portals reject.
- Photos without cut-outs: keep them in the compressed format
- Logos, icons and cut-outs: transparent PNG, sized near display width
- Screenshots and charts: lossless for sharp text
- Before sending: use the app’s Compress Pictures option, or downsize images to about 1920 px wide
A quick rule for mixed decks: anything with a hard edge, text or a cut-out stays lossless, and anything that came out of a camera goes back to the smaller format. Following that one rule usually brings a bloated 150 MB presentation back under 40 MB without a single visible change on the projector, which keeps email servers and conference upload portals happy.
Large decks get heavy quickly, so run big logos and screenshots through the Compress Image tool before inserting them.
Step-by-step
Common mistakes to avoid
Pro tips
Frequently asked questions
Does converting JPG to PNG make the background transparent?
No. The conversion copies every pixel exactly, including the white background. Transparency only appears after you remove the background and save the result as PNG.
How do I make a logo background transparent in PowerPoint?
Select the image, open Picture Format, choose Color and then Set Transparent Color, and click the background. It works well only on perfectly flat colors; noisy JPGs need a proper cut-out first.
Why does my transparent PNG look jagged on a dark slide?
The edge pixels were originally blended with white, so they carry a pale fringe. Use a larger source, or a vector version of the logo, for cleaner edges on dark themes.
Should screenshots in slides be PNG or JPG?
PNG. Screenshots are mostly text and flat color, which PNG keeps perfectly sharp and often compresses efficiently. JPG adds visible fuzz around letters, and every later edit and resave adds a little more, so a screenshot that passes through three people can end up noticeably blurry.
Are my files uploaded when I convert them?
No. The JPG to PNG converter works in your browser and can handle a batch at once, delivering a ZIP. Nothing is sent to a server, which matters when the screenshots show customer data, revenue dashboards or unreleased features.
PNG transparency makes logos sit cleanly on slides, but only after the background is actually removed; converting JPG to PNG alone keeps the box. Clear logo backdrops with the AI Background Remover or a press-kit file, keep screenshots as PNG for sharp text, and leave photos as JPG to keep the deck light.
Related guides
Browse more: all image guides · the JPG to PNG tool