Compress an Image to 50KB for Forms and Listings
To compress an image to 50KB, open Compress Image with the 50 KB preset selected, drop in your photo, and download the result it produces in a second or two. The tool searches for the best quality that fits, and if the picture is simply too big, it scales the pixel dimensions down instead of turning it into a blocky mess. This guide focuses on the everyday places a 50 KB cap shows up: rental and scholarship applications, HR onboarding systems, insurance claim forms, club rosters, and older classified or forum sites.
🗜️ Try Compress Image now — freeOpen →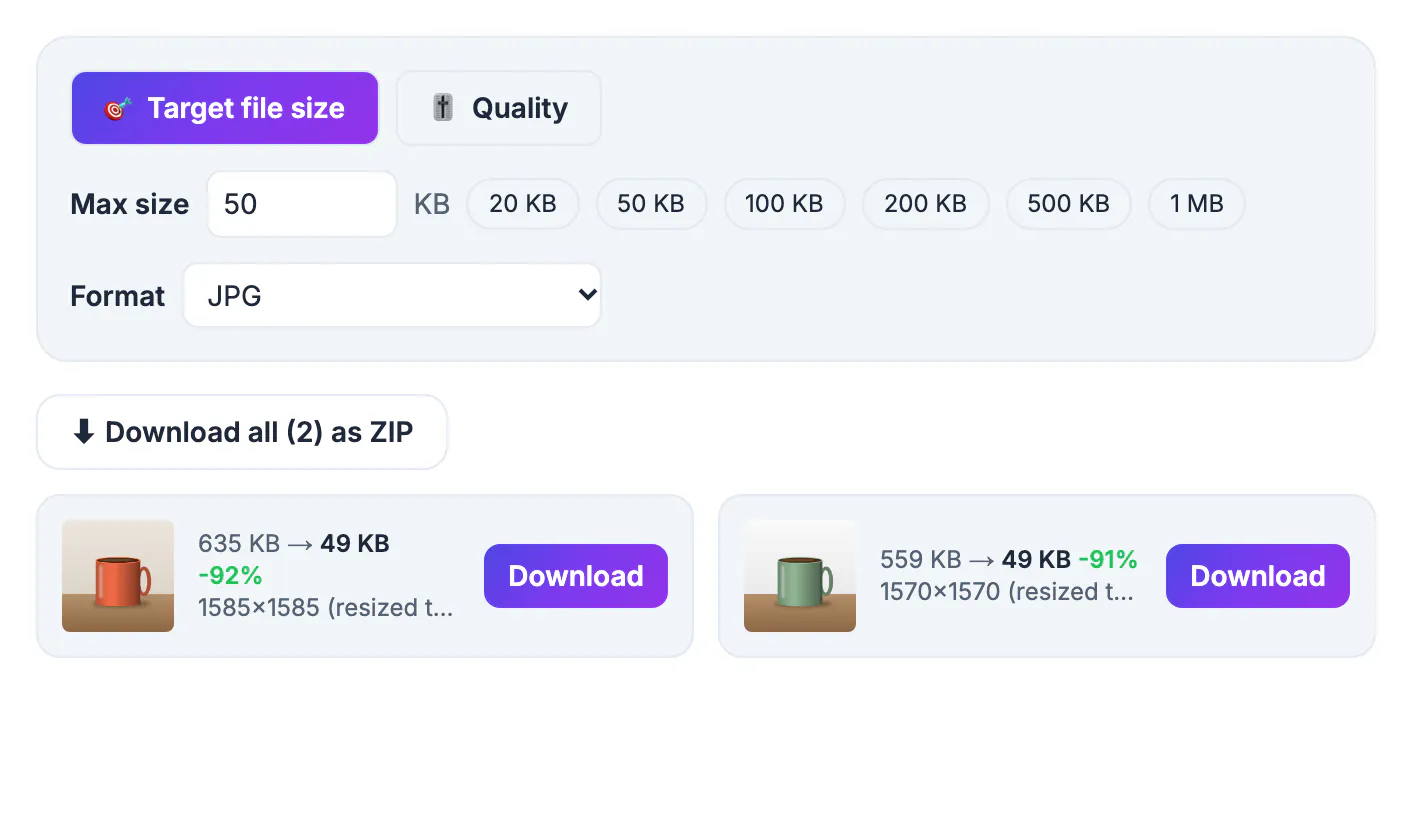
A 50 KB ceiling is usually a leftover from software written when storage was expensive and every upload landed in a database row. Admissions offices, landlords using tenant screening platforms, benefits portals and community marketplaces still run those systems, and nobody updates the limit because it technically works. Meanwhile an iPhone or Pixel photo weighs 2 to 5 MB, forty to a hundred times too heavy. The good news is that 50 KB is generous compared with 20 KB: it comfortably holds a clear head-and-shoulders portrait, a readable receipt, or a decent product shot at around 800 pixels wide, as long as you let the pixel size drop along with the quality.
What fits inside 50KB, with real numbers
Think of 50 KB as a budget measured in pixels times detail. A plain portrait against a light wall can stay near 900 by 1200 pixels at a quality setting in the 60s. A busy street scene or a photo of patterned fabric might need to drop to 700 pixels wide, because noise and texture eat bytes fast. Scans of paper documents fall in between: white paper compresses well, but small print needs enough resolution to stay legible.
- Passport-style headshot for a membership card: about 600 by 800 pixels usually lands between 35 and 50 KB
- Receipt or utility bill photo for an expense claim: crop to the paper, then expect roughly 900 pixels on the long side
- Item photo for a small classifieds post: 800 by 600 at medium quality typically fits with room to spare
- Screenshots with lots of flat color: often already close, but a PNG screenshot usually needs JPG, or Lossy PNG, to get there
Those figures are ballpark, not promises. The point is that the pixel count matters more than any slider, which is exactly why the tool will shrink dimensions when quality alone cannot hit the number.
How the 50 KB preset works under the hood
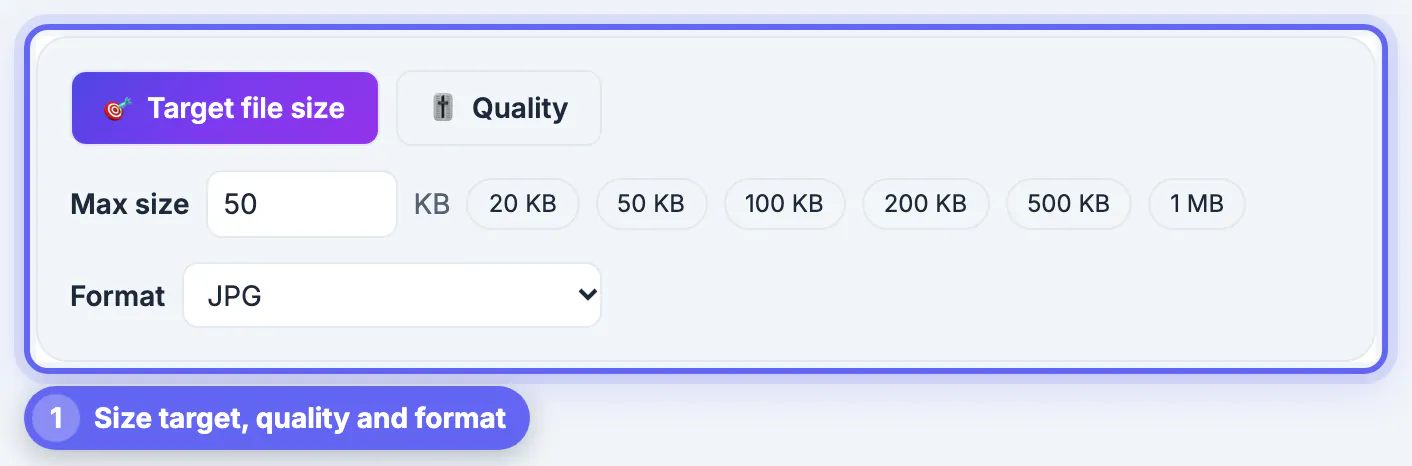
When you open the tool from this guide, the target field is pre-filled with 50. For each file, it first tries the lowest acceptable quality, 45 percent, at full resolution. If that already fits, it runs a quick binary search upward, as high as 92 percent, and keeps the best version still under the cap. If even 45 percent is too heavy, it scales the width and height down in proportion and repeats, up to several rounds.
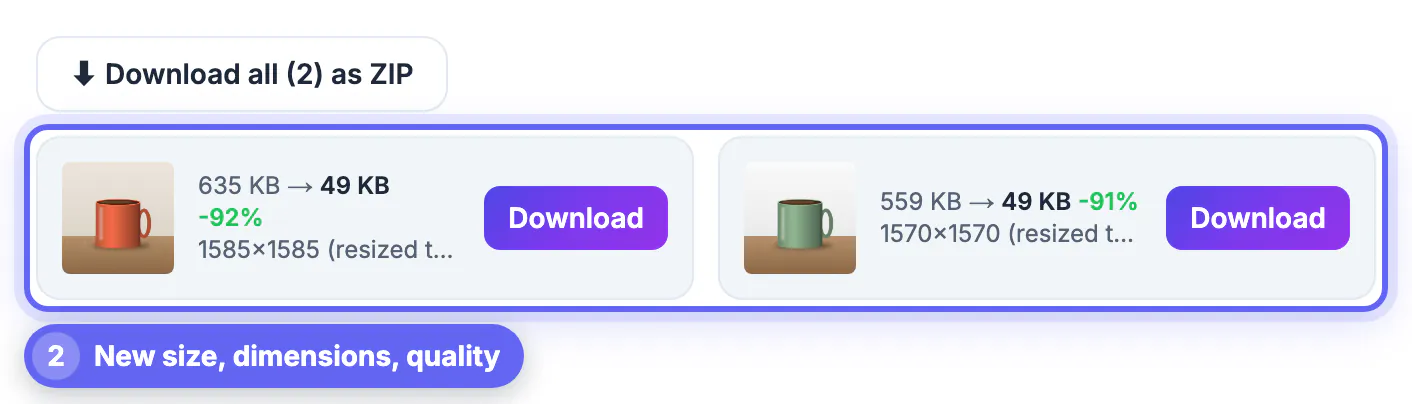
- Each result card shows the final size, the percentage saved, the new pixel dimensions, and the quality used
- A resized to fit label tells you the tool shrank the picture, so you know to check that fine details survived
- If a file still cannot reach the target, an amber warning appears instead of pretending it worked
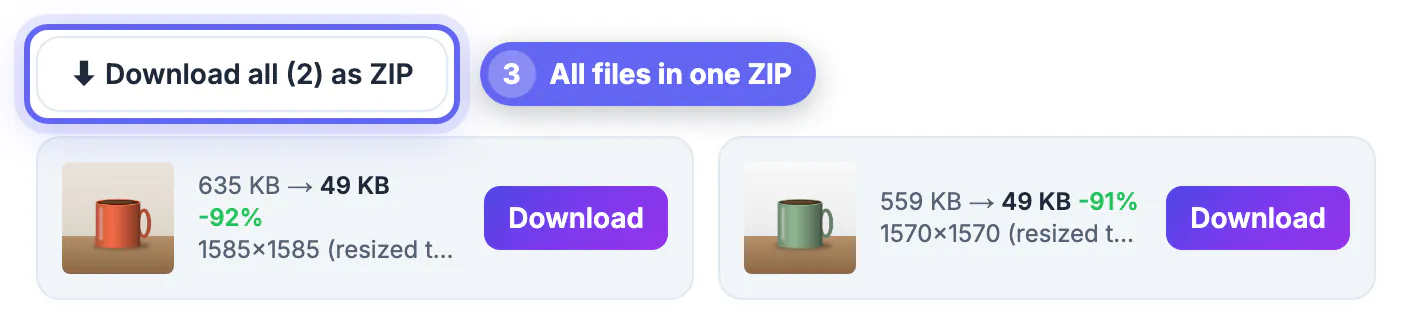
- Drop several photos at once and a Download all as ZIP button collects every compressed copy
Everything happens in your browser tab with the Canvas API, so an ID photo or bank statement never travels to a server. That also means it works on a laptop at a library or on a phone with poor signal once the page has loaded.
Match the file type the form expects
Size is only half the rule; many portals also accept just JPG or JPEG. The Auto format setting picks JPG for ordinary photos and switches to WebP when the source is a PNG or WebP with transparent areas, because WebP keeps that see-through background. That is handy on a website but can trip a strict upload form.
- If the form lists only JPG or JPEG, set Format to JPG before you download; transparent pixels become white
- WebP is smaller at the same quality, so choose it when a site says it accepts WebP
- PNG output exists, but a lossless PNG photo almost never fits under 50 KB; if a form demands PNG, turn on Lossy PNG, which lowers the color count and then the dimensions until it fits
- Downloaded names end in -min, so rename the copy if the portal wants something like lastname_photo.jpg
One more quirk: some systems count a kilobyte as 1,000 bytes while the tool uses 1,024. Typing 48 into the size box gives you a safe margin either way.
Keep faces, signatures and receipts readable
A 50 KB photo that is rejected by a human reviewer is no better than one rejected by the upload script. Before compressing, crop so the subject fills the frame; every pixel of empty wall or tabletop steals bytes from the part that matters. Good light helps too, because dark, grainy photos carry sensor noise that compresses badly.
- Zoom the preview to 100 percent and check eyes, handwriting and small print
- Photograph documents flat, in daylight, with the camera parallel to the page
- Use Crop Image for tight framing, then compress, not the other way around
- If a signature turns fuzzy, crop closer to it rather than lowering the size target
If the picture is still too big, resize it to smaller dimensions before compressing again.
Step-by-step
Common mistakes to avoid
Pro tips
Frequently asked questions
How do I compress a photo to exactly 50KB?
Open Compress Image with the 50 KB preset, drop the photo in, and download the result. The tool finds the highest quality that fits under the cap and shrinks the dimensions only if it has to. Files end up just below the target, not exactly on it, which is what upload checks want.
Will my image look blurry at 50 KB?
For most portraits, receipts and product shots, no. At 50 KB you can usually keep 700 to 1,000 pixels on the long side at a medium quality. Very detailed scenes lose more, so crop tightly and check the preview before uploading.
Why did my file come out as WebP?
Auto format picks WebP when the source has transparent areas, such as a PNG logo or cut-out. If the form only accepts JPG, switch Format to JPG; the transparent parts will be filled with white.
Can I compress several attachments at once?
Yes. Drop multiple images and each gets its own result card. When more than one is done, a Download all as ZIP button bundles them, which is convenient for rental or scholarship applications with several required photos.
Is it safe to compress ID photos and bank documents here?
The compression runs inside your browser using the Canvas API, so the image is not uploaded to GrabCast. There is no signup, and closing the tab clears the files from memory.
Open the 50 KB preset, crop first, pick JPG if the form insists on it, and aim a hair under the limit. You get a clear photo that passes upload checks without handing sensitive documents to anyone.
Related guides
Browse more: all image guides · Compress Image