Convert Image to SVG Free for Cricut, Print and Web
To convert an image to SVG, drop a JPG or PNG into GrabCast Image to SVG, set the Detail / colors slider, and download the traced vector file. The tracer turns areas of similar color into smooth outlined shapes, so the drawing can be enlarged to poster size or sent to a cutting machine without jagged pixels. It works best on clip art, hand-lettering, stencils, line drawings and flat illustrations, and it runs entirely in your browser.
🎨 Try Image to SVG now — freeOpen →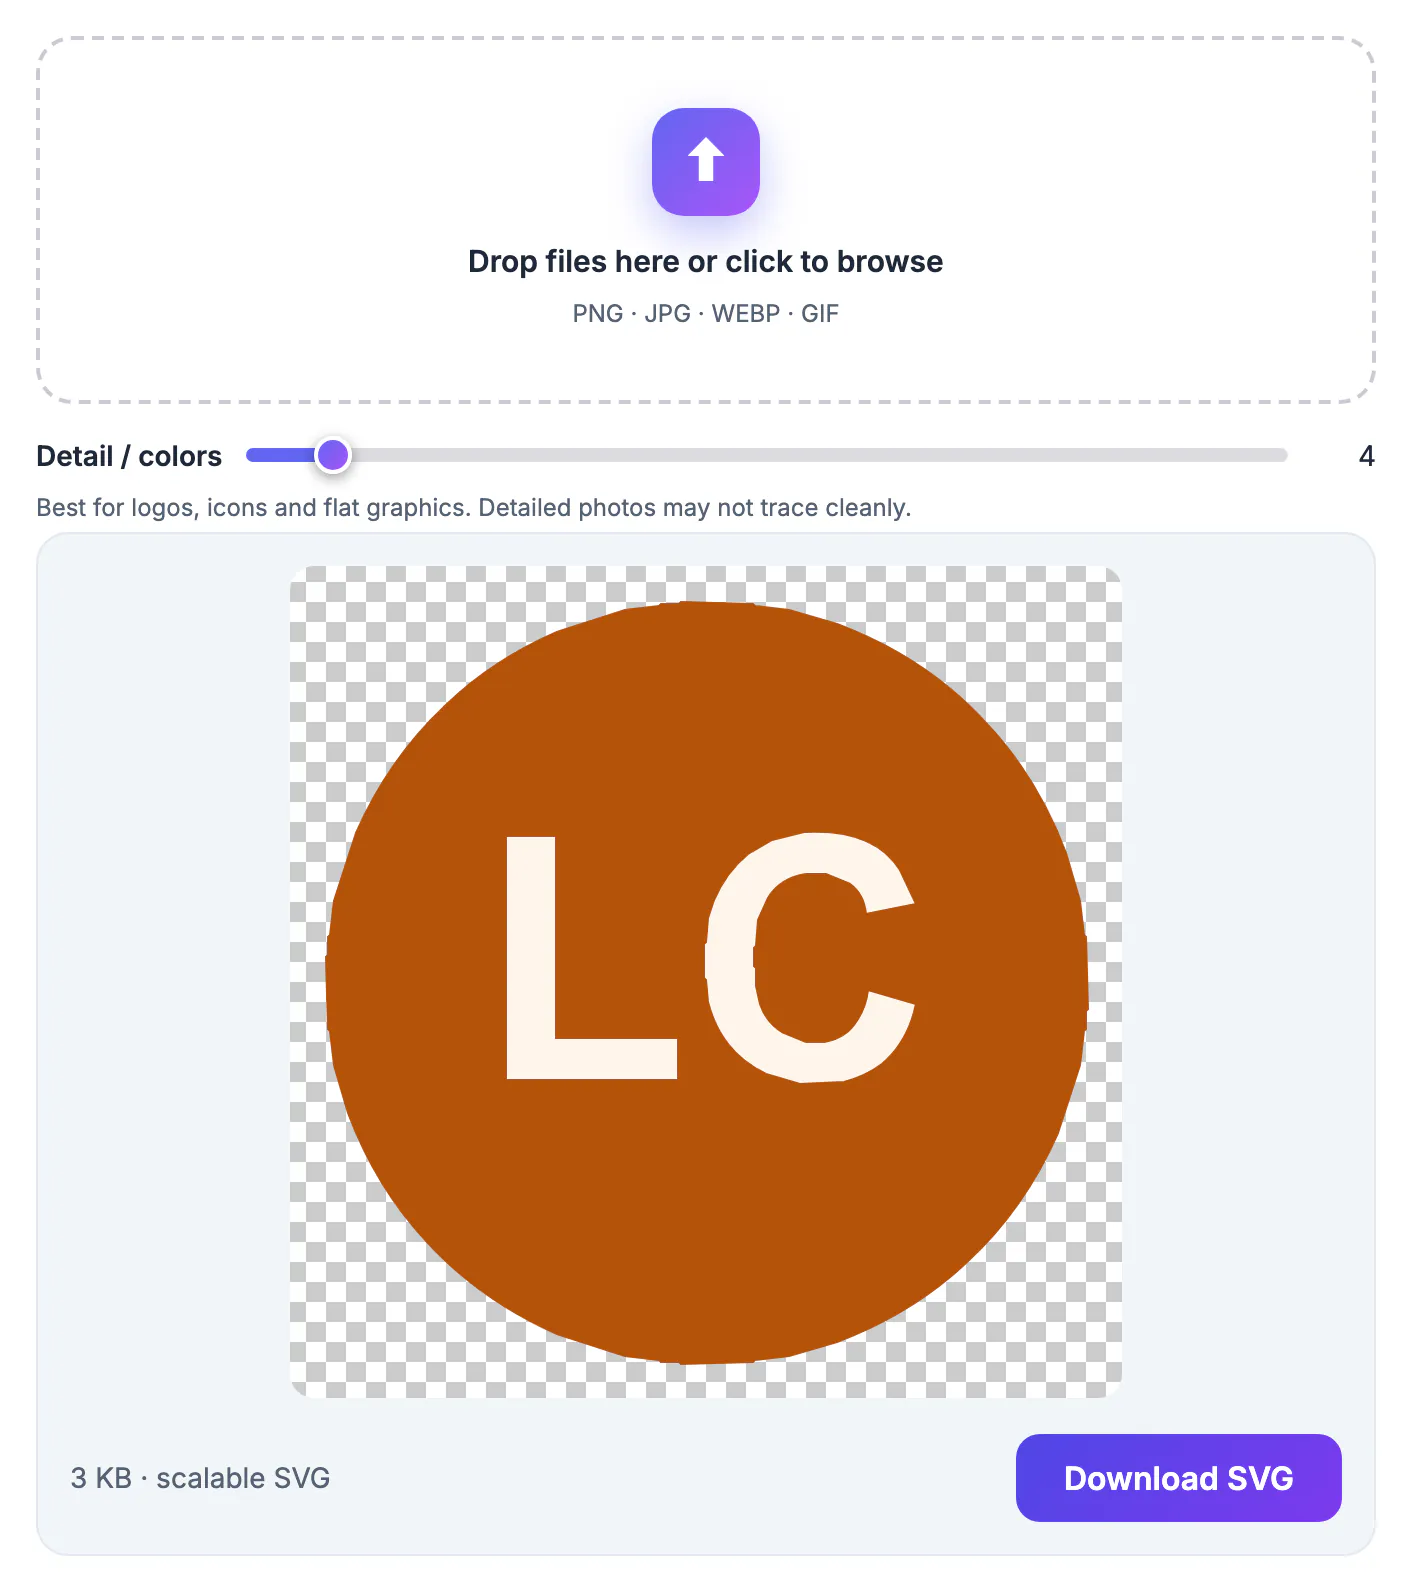
Pixels are fixed dots; a 500 pixel wide drawing printed on a 24 inch banner shows every stair-stepped edge. Vector formats describe the same drawing as curves and fills, so software can redraw it at any scale. Beyond sharpness, many workflows simply require paths: Cricut Design Space and Silhouette Studio cut along outlines, laser engravers and vinyl plotters follow vector lines, screen printers separate colors by shape, and embroidery digitizers start from clean outlines. Converting a raster drawing into SVG is the bridge between a scanned sketch and a machine or print shop that needs geometry. Vector files are also tiny for simple artwork, often a few kilobytes, and they can be recolored in seconds, which makes one traced design reusable across shirts, mugs, decals and a website header.
Which image types trace cleanly and which fight back
Auto-tracing succeeds when the source already looks like a vector: bold outlines, solid fills, and clear contrast between shapes. It struggles with gradients, soft shadows and photographic texture, because every subtle shade becomes its own tiny blob.
- Great: black ink drawings, stencil art, silhouettes, coloring-book pages, badge and sticker designs
- Good: flat cartoon illustrations with four to twelve colors, simple infographics, clip art
- Tricky: watercolor paintings, anything with drop shadows, photos of people or landscapes
- Poor: tiny thumbnails under 200 pixels, heavily compressed JPGs full of blocky artifacts
If your picture is a photo, a vector version will look posterized, like a screen print with a handful of flat colors. That can be a deliberate art style, but it is not a way to make a photo sharper.
A quick test: zoom your source to 400 percent. If edges still look like clean boundaries between a few solid colors, expect a tidy trace. If you see gradients and speckled noise, simplify the artwork first or accept a stylized result.
Using the Detail / colors slider well
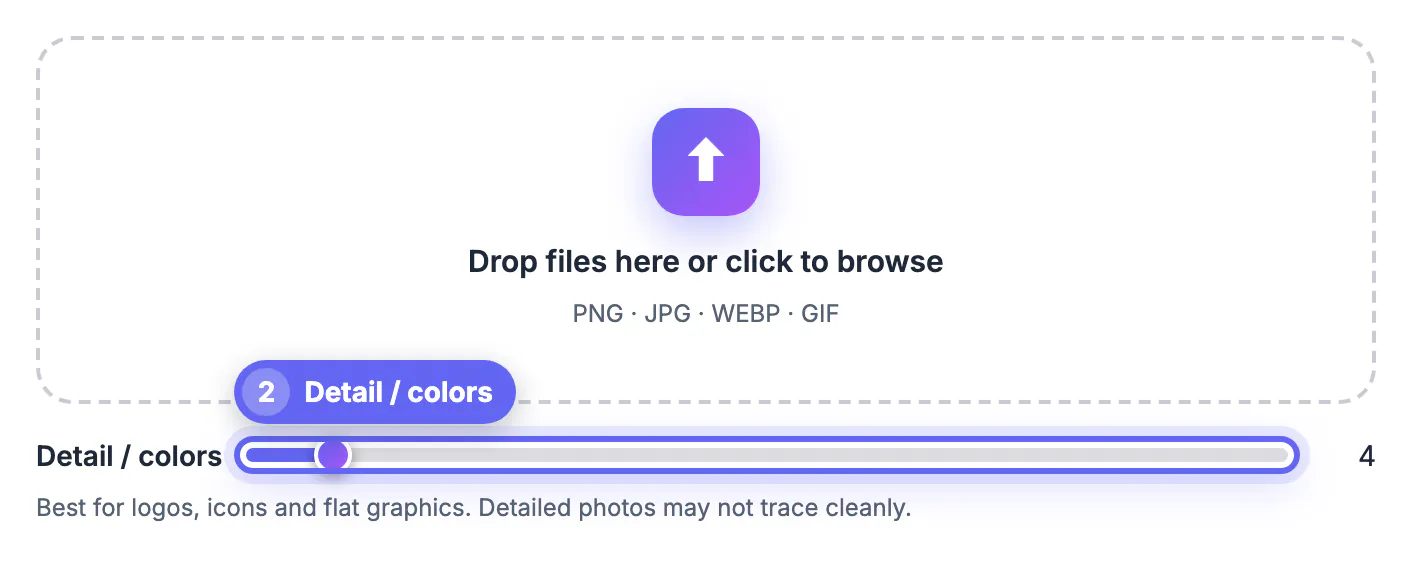
The one control that matters is the slider from 2 to 32, set to 16 by default. It sets how many distinct colors the tracer groups the picture into before drawing outlines. Fewer colors means fewer, larger shapes and a smaller file; more colors keeps subtle areas but adds paths.
- 2 colors: ideal for single-color cut files, stamps, and laser engraving where you only want ink or no ink
- 4 to 8 colors: a sweet spot for sticker designs and two or three layer vinyl projects
- 12 to 16 colors: flat illustrations and cartoon characters that need shading bands
- 24 to 32 colors: busier artwork, but expect a heavier SVG and many small fragments
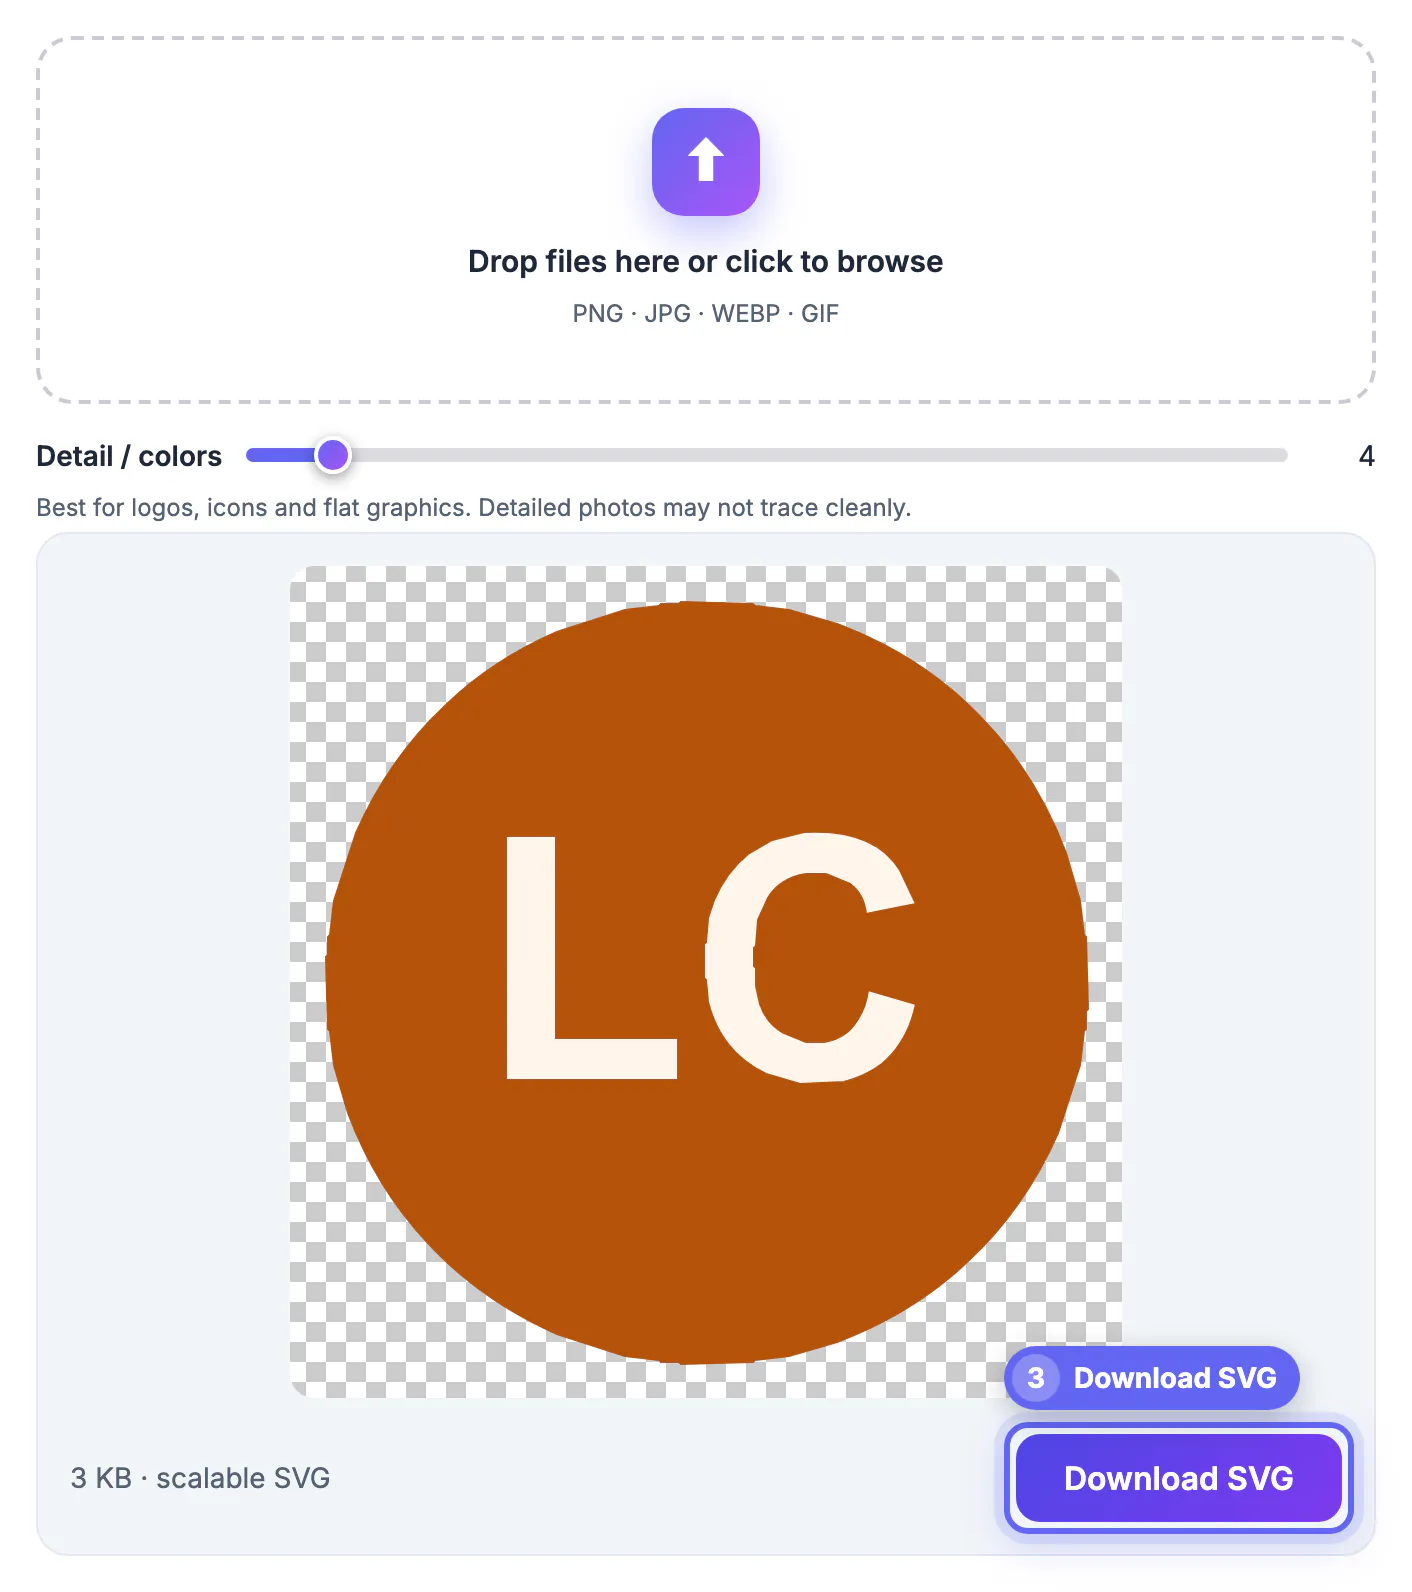
The result panel shows the vector file size in KB next to a preview on a checkerboard, so you can compare settings quickly. Try two or three values and keep the one with the fewest stray specks that still looks right.
What happens in your browser when you trace
The tool loads the open-source ImageTracer library, draws your picture onto a canvas, and reads its pixels locally. Large uploads are scaled so the longest side is at most 1,400 pixels before tracing, which keeps the path count and memory use sane. Nothing is sent to a server, so unreleased artwork or client sketches stay on your machine.
- Accepts JPG, PNG, WebP and other formats your browser can open, up to 8 MB
- Tiny speckles under a few pixels are dropped automatically to reduce noise
- Output is a standard SVG that opens in Inkscape, Illustrator, Affinity Designer, Figma and cutting software
- If the tracer script is blocked by an ad-blocker, allow it for the site and try again
Prepare the artwork for cutters and printers
A little prep before tracing saves far more cleanup afterward. Scan or photograph drawings in even light, raise contrast so lines are truly dark, and crop away the table edge or paper shadow. For cutting machines, remember that every enclosed color becomes a separate piece.
- Use Remove Background first if the subject sits on a busy scene
- For single-layer vinyl, trace at 2 colors, then delete the white background shape in your design app
- Check that thin lines are at least a couple of pixels wide; hairlines can break into dashes
- Open the SVG and use Ungroup or Release Compound Path to separate layers for multi-color cuts
Print shops sometimes ask for outlined vectors in PDF or EPS. Open the SVG in Inkscape or Illustrator and export to the format they request.
If the artwork has a solid white backdrop, make the white background transparent before tracing so you get cleaner shapes.
Step-by-step
Common mistakes to avoid
Pro tips
Frequently asked questions
Can I convert a JPG to SVG for Cricut?
Yes. Trace the JPG at a low color count, download the SVG, and upload it to Design Space. Delete the background shape there, then ungroup layers if you want separate colors cut from different vinyl sheets.
Does converting to SVG improve image quality?
It makes edges scale cleanly, but it cannot invent detail that was not in the original. Blurry or low-resolution sources produce rough outlines, and photos lose subtle shading.
What is the maximum file size?
The tool accepts pictures up to 8 MB and scales anything larger than 1,400 pixels on its longest side before tracing, which keeps processing quick on laptops and phones.
Why does my SVG look blotchy?
The color count is probably too high for the artwork, or the source has gradients and JPG noise. Lower the slider, clean up the source contrast, and trace again. Heavy JPG compression adds speckled blocks around edges, so a PNG export of the same artwork almost always traces more cleanly.
Is my artwork uploaded anywhere?
No. The tracing library runs in your browser tab, so the picture and the resulting SVG stay on your device.
Use clean, high-contrast artwork, pick a color count that matches the job, and treat the SVG as a starting point you can refine in Inkscape or your cutting software.
Related guides
Browse more: all image guides · Image to SVG