Convert HEIC to JPG Free in Your Browser
The easiest way to convert HEIC to JPG free is to drop your iPhone photos into a browser tool that returns universal JPGs, with no app store, no account, and no waiting on an upload to finish.
📱 Try the HEIC to JPG tool now — freeOpen →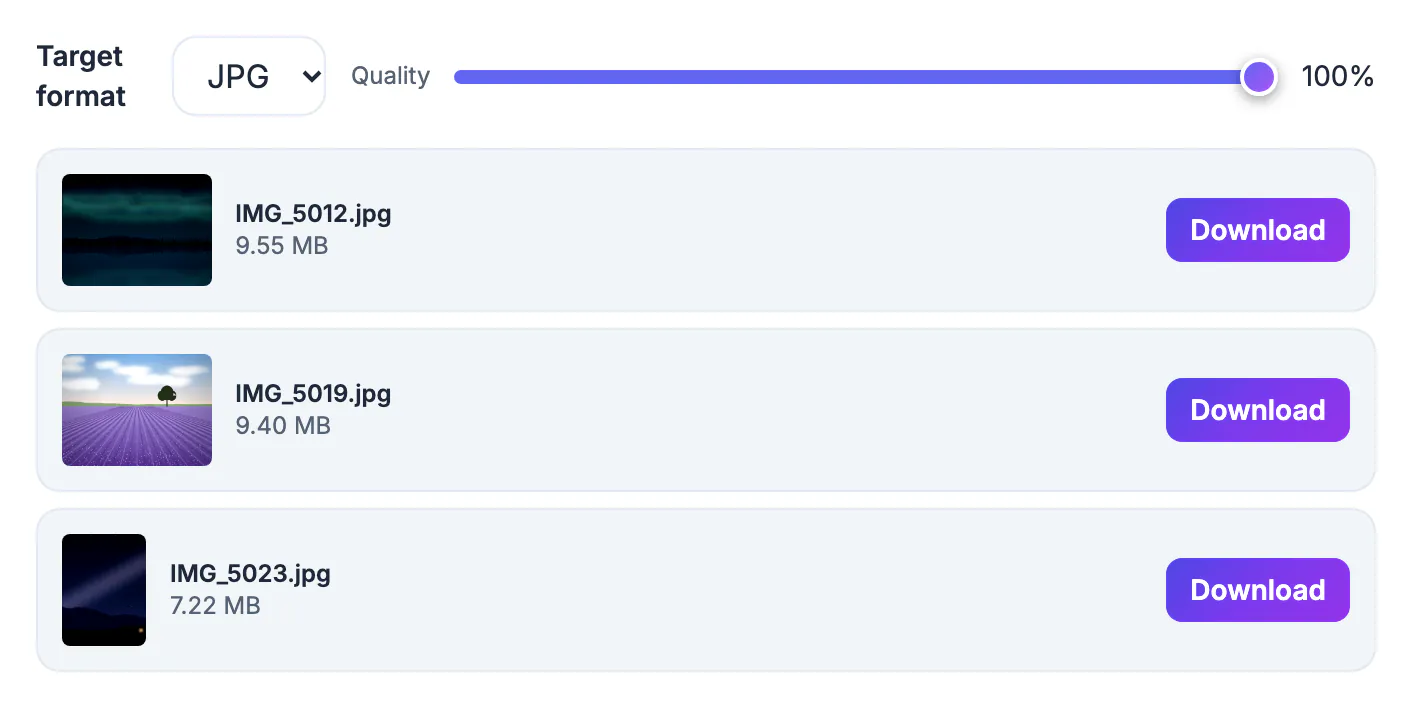
Apple saves photos as HEIC because it packs the same image quality into roughly half the file size of a JPG, which is great for keeping thousands of photos on a phone. The catch is that many Windows apps, older programs, some web upload forms, and plenty of shared computers still cannot open HEIC, so a JPG copy is the reliable way to make sure your photo opens wherever it needs to.
Convert HEIC to JPG free with no install
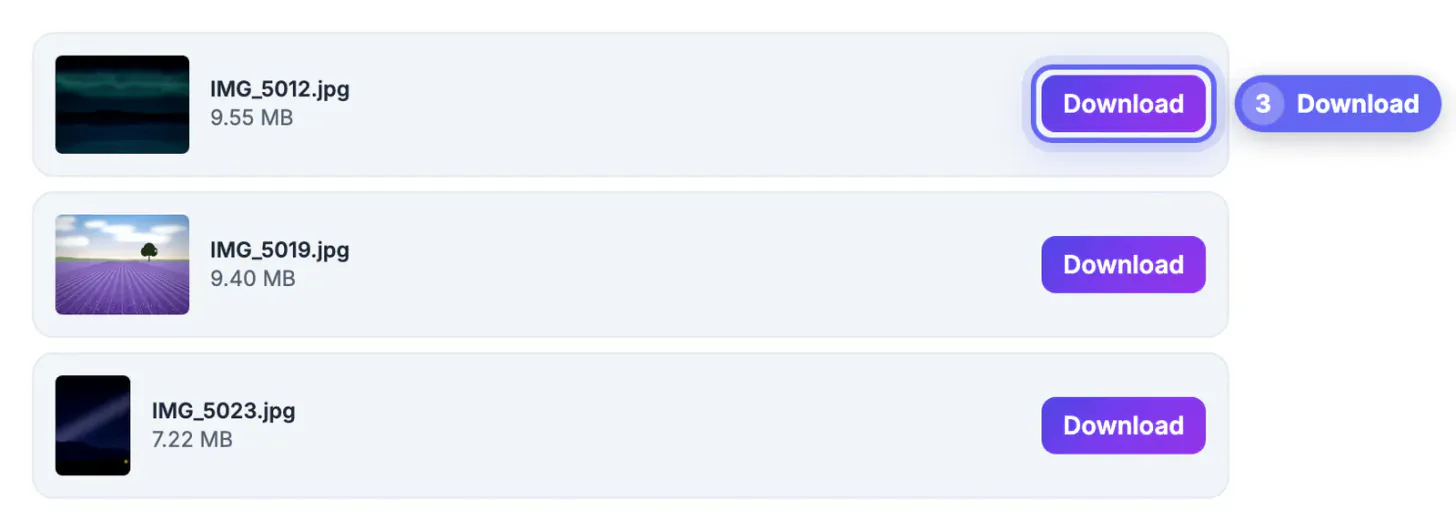
A browser-based converter is the simplest option by far. You open the page, drag in one photo or a whole batch, and download JPGs that open everywhere, from a work laptop to a photo kiosk.
Because it runs on your own device, your photos are never uploaded to a stranger's server, which is a real concern for personal pictures of family, documents, or anything private. There is nothing to download, nothing to update, and nothing to pay for, so it is easy to come back to whenever a new batch of HEIC files shows up.
Batch convert a whole album at once
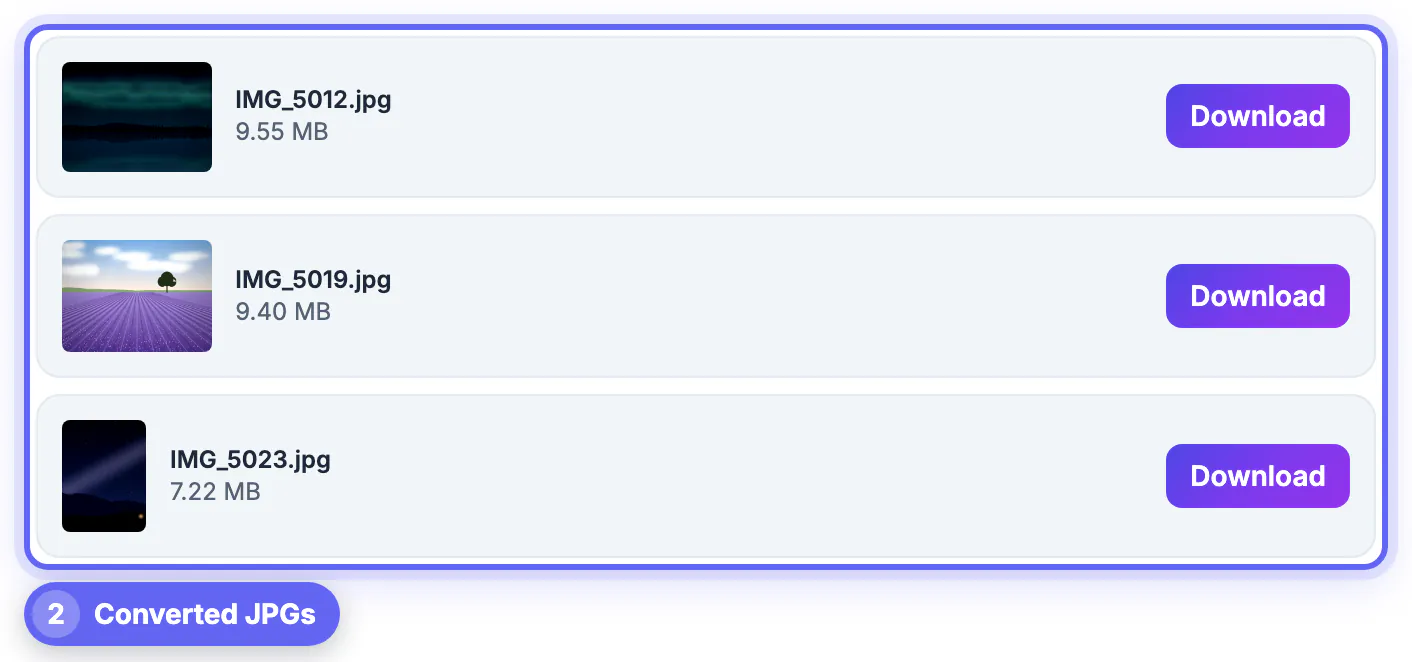
You rarely have just one photo to fix. A good tool lets you drop dozens of HEIC files together and download them as a single zip of JPGs, so a full camera roll export is one action rather than fifty.
- Select every HEIC file in one go rather than one at a time
- Convert them together and grab the results as a single zip
- Keep the originals so you do not lose the smaller HEIC copies
- Rename the batch afterward if you need a tidy, ordered set
- Split very large batches into a couple of runs if your device is older
Batching is where a converter really earns its place, turning a tedious chore into a few seconds of work.
Keep your photos looking sharp
Converting to JPG re-encodes the image, so use a high quality setting to avoid visible compression artifacts. For everyday sharing the difference is completely invisible, but if you plan to print the photo you will want the top quality option selected.
The pixel dimensions stay the same through conversion, so a JPG copy is just as large and detailed on screen as the original HEIC. The only real change is that the JPG opens in far more places, which is the entire point of converting it.
Stop new HEIC files at the source
If you would rather your iPhone simply shoot JPG from now on, you can change one setting and stop creating new HEIC files. Open Settings, tap Camera, choose Formats, and select Most Compatible.
New photos will save as JPG automatically after that. Keep in mind this slightly increases how much space each photo uses, and your existing HEIC files will still need converting, but it does prevent the problem from repeating with every new photo you take.
When you should keep HEIC instead
Converting is not always necessary. If you only ever view photos on Apple devices, HEIC works perfectly and saves you a lot of storage, so there is no reason to change anything.
Convert to JPG specifically when a photo is leaving the Apple ecosystem: emailing it to someone on Windows, uploading to a site that rejects HEIC, editing in an older program, or printing at a shop whose machine does not recognize the format. Matching the format to the destination saves you both space and hassle.
HEIC versus JPG: the real trade-off
It helps to understand what you are actually trading when you convert. HEIC is a newer, more efficient format that stores the same visible quality in roughly half the space, which is why an iPhone can hold so many photos without filling up.
JPG is older and larger, but that age is exactly why it is so universal: virtually every device, browser, and program made in the last twenty-five years opens it without a second thought. Converting swaps a little disk space for the certainty that your photo will open anywhere.
For personal storage on Apple devices, keeping HEIC is the sensible default. For sharing, uploading, printing, or handing a photo to someone on another platform, a JPG copy is worth the extra megabytes every time, because a photo nobody can open is worth nothing at all.
Sharing photos with non-Apple friends
The most common reason to convert is simply sending a photo to someone who is not on an iPhone. A JPG arrives ready to view in any email client, messaging app, or shared album, with no puzzled reply asking why the picture will not open.
The same goes for uploads: job portals, government forms, and older websites frequently accept JPG but reject HEIC outright. Converting first means your photo goes through on the first try instead of bouncing back with a format error at the worst moment.
Group chats and family albums are the other everyday case. When you share a JPG, everyone sees the photo inline no matter what phone or computer they own, so nobody has to ask you to resend it in a different format just to open a picture you already sent.
If you send photos to others, you may want to reduce the photo size for email and remove EXIF metadata before sharing.
Step-by-step

Common mistakes to avoid
Pro tips
Frequently asked questions
Is converting HEIC to JPG really free?
Yes. A browser-based tool converts as many photos as you like for free, with no account and no watermark, working right on your own device.
Can I convert many HEIC photos at once?
Yes. Drop in a whole batch, convert them together, and download the JPGs as a single zip to save yourself a lot of clicking.
Will I lose quality converting HEIC to JPG?
Use a high quality setting and the change is invisible for normal use. The pixel dimensions stay the same, so the image is no smaller on screen.
How do I stop my iPhone saving HEIC?
Go to Settings, Camera, Formats, and pick Most Compatible. New photos then save as JPG, though each one uses slightly more space.
Do I need to convert if I only use Apple devices?
No. HEIC works fine across Apple devices and saves storage. Convert only when a photo needs to open on Windows or in an app that rejects HEIC.
To convert HEIC to JPG free, drop your iPhone photos into a browser tool, keep the quality high, and download universal JPGs. It handles whole batches at once and keeps your pictures private on your device.
Related guides
Browse more: all image guides · the HEIC to JPG tool