Flip and Straighten a Photo: Level Horizons, Fix Selfies
To flip and straighten a photo, mirror it with Flip H (or Flip V), then drag the Straighten slider until the horizon or a vertical edge runs parallel to the grid, and let the tool crop away the tilted corners. A beach shot that leans 2° or a front-camera selfie with backward lettering on your T-shirt takes under a minute to fix. This guide is written for people who care how the final picture looks: how to find the right reference line, how much resolution every degree of correction costs, when flipping is honest and when it misleads, and what a rotation cannot fix, such as converging verticals on a tall building. GrabCast's Rotate & Flip Image tool does the work in your browser, so the photo stays on your device.
🔄 Try the Rotate & Flip Image tool now — freeOpen →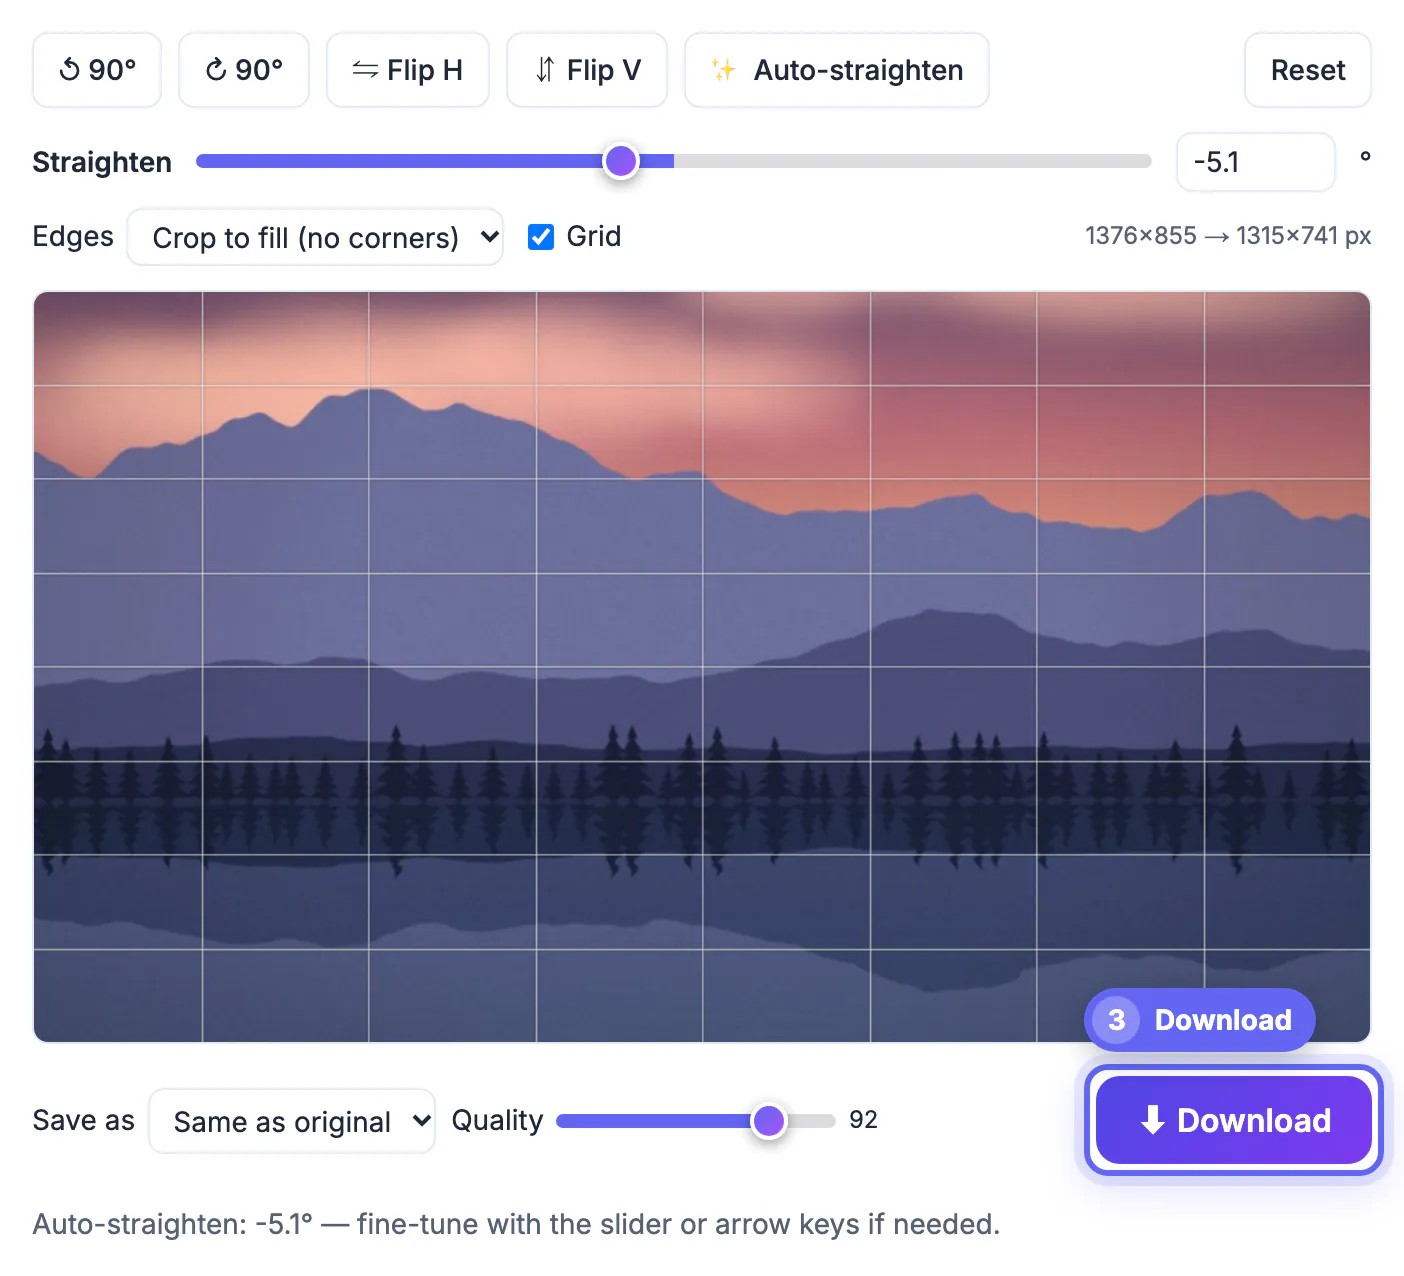
Viewers notice a tilted horizon long before they can say what is wrong. A sea line that drops 1.5° toward one corner makes a calm seascape feel like it is draining out of the frame, and a doorway leaning in a real estate photo makes the room look cheap. The fix is small and mechanical, but the details matter: correct too little and the lean remains, correct around the wrong line and you create a new one. Doing it on a live preview with a grid, precise 0.1° steps and an output-size readout lets you judge the trade-off instead of guessing. It also beats phone gallery apps that silently crop to their own preset or save a low-quality copy.
Pick the right reference line before leveling
Straightening is only as good as the line you level. Choose the longest edge in the scene that is truly horizontal or vertical in real life.
- Open water is the best horizontal reference. A distant ridge, a beach or a field edge is often genuinely sloped, so level the sea behind it instead.
- Indoors, level a vertical: a door frame, window edge or corner of the room close to the center of the frame, where lens distortion is lowest.
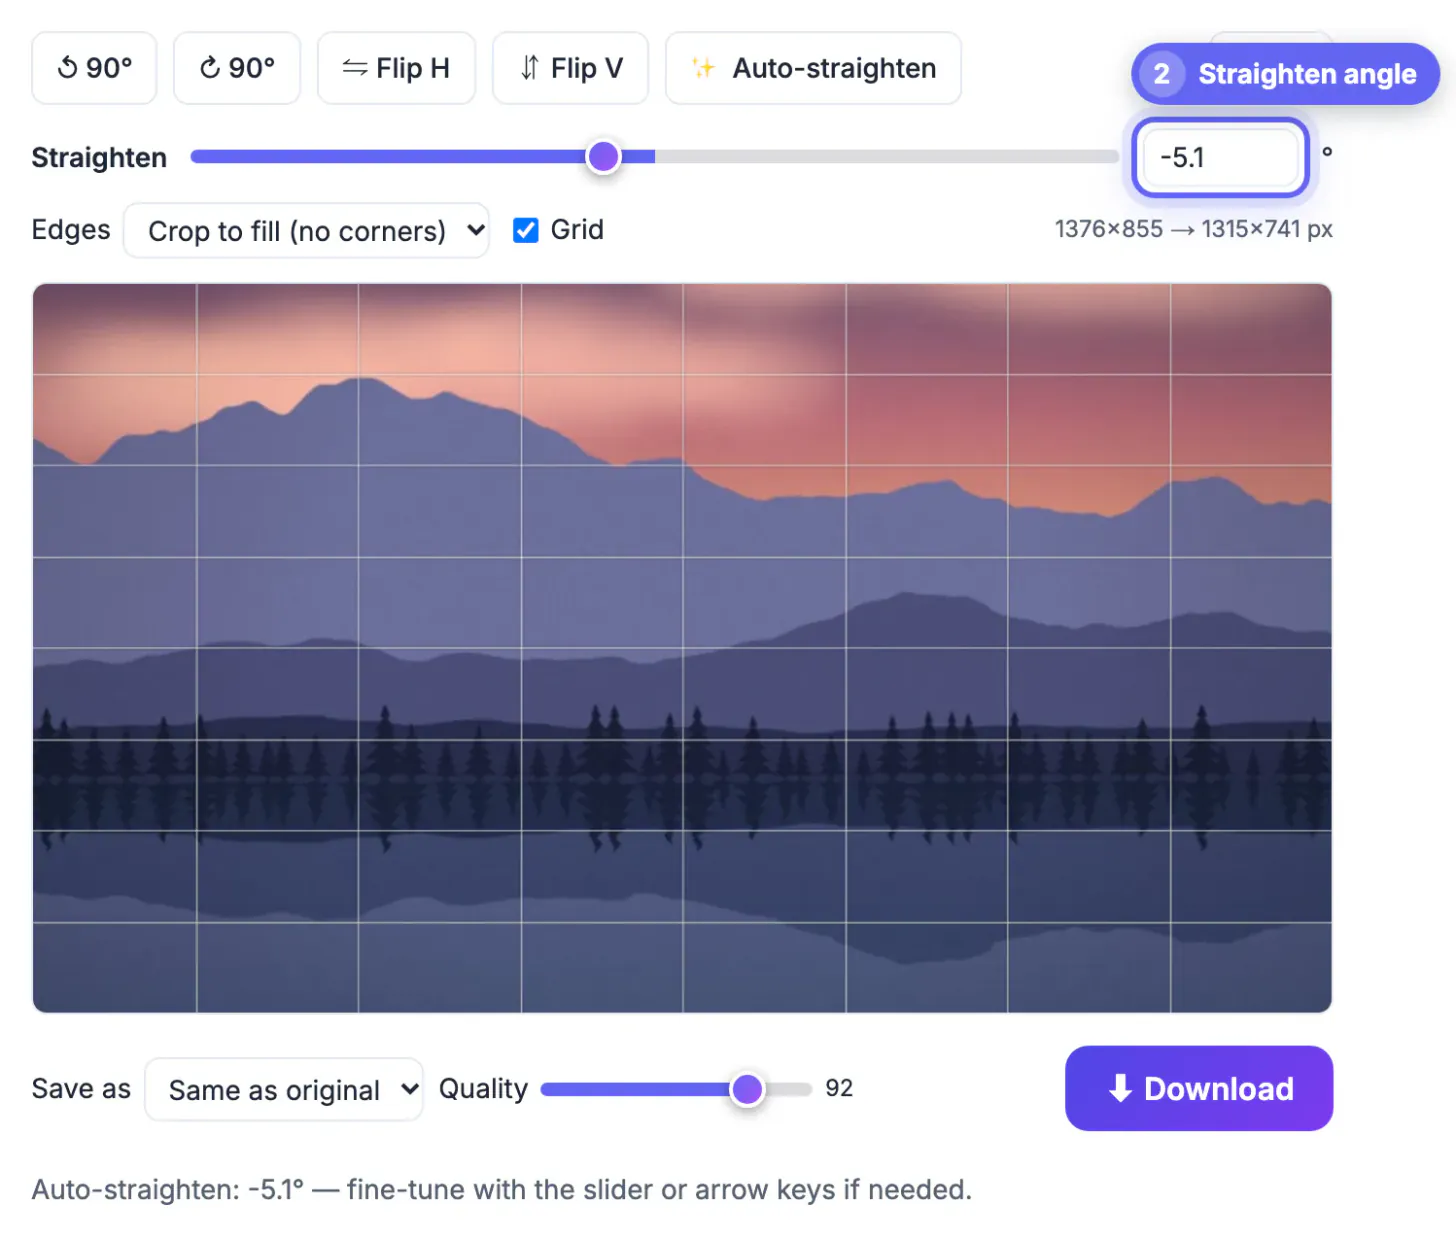
- Auto-straighten looks for strong edges and searches roughly ±15°. It works well on a clear horizon or a building face, and may pick the wrong line in a busy forest or crowd.
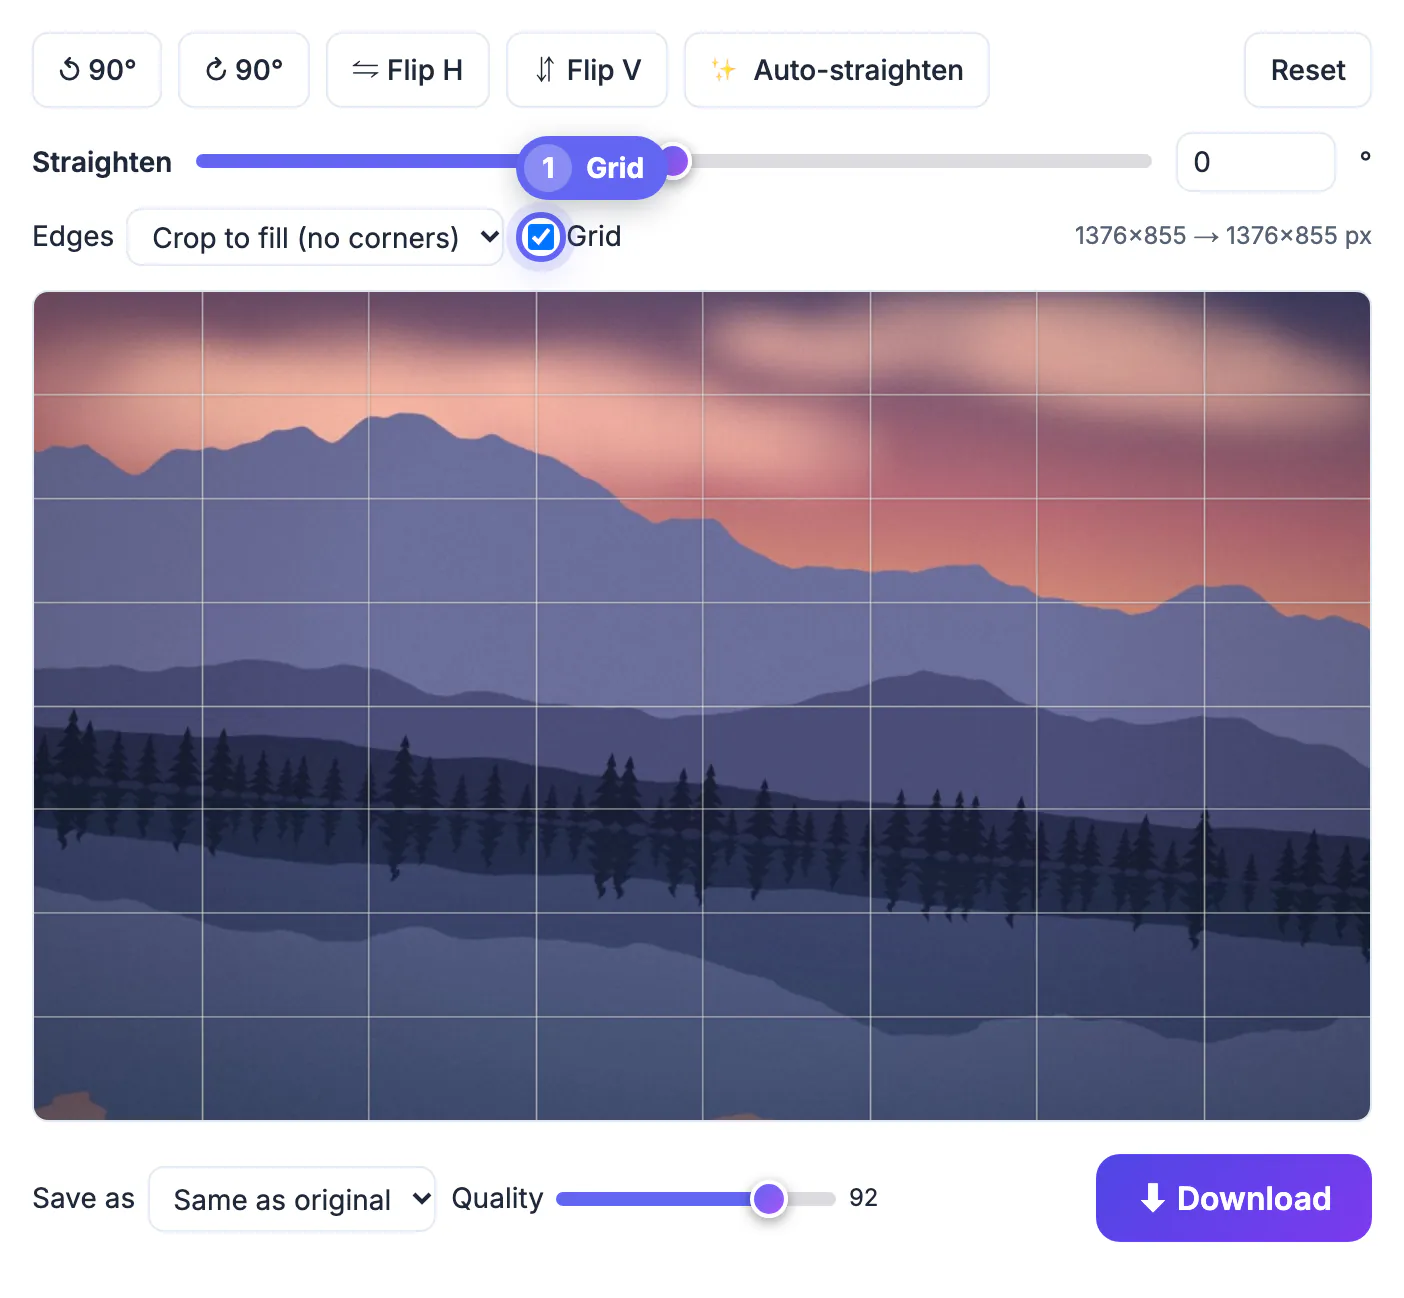
- Turn on the eight-by-eight Grid, then nudge with the arrow keys: each press is 0.1°, and Shift+arrow jumps a full degree.
What each degree of straightening costs in pixels
Rotating by an angle leaves four empty triangles. With Crop to fill, the tool cuts the largest rectangle that fits inside the tilted picture, and the size line above the preview shows exactly what you keep.
- A 6000×4000 camera file straightened by 1° becomes about 5932×3897 px, roughly 96 percent of the original area. Nobody will notice.
- At 3° it drops to about 5814×3700, near 90 percent. Still fine for prints up to 12×18 inches at typical quality.
- At 10° only about 71 percent survives, and faces near the edge may be clipped. Past 5°, consider whether the tilt was an artistic choice, like a deliberately canted street shot.
- If you cannot lose the edges, pick Keep whole image and fill the corners with white or black, or transparent when saving as PNG or WebP. That suits a print border or a collage.
Flipping a photo: when a mirror image helps and when it lies
Flip H swaps left and right; Flip V swaps top and bottom. Both are lossless and change no pixel size, but they change meaning.
- Front cameras often save selfies mirrored, so jersey numbers, book titles and shop signs read backward. One horizontal mirror makes them read correctly again.
- Designers mirror a portrait so the subject looks into the page instead of off its edge. Check for text, watches, wedding rings and hair parts, which give the trick away.
- Never mirror product photos, maps, real estate listings or anything used as evidence. A mirrored kitchen or a reversed logo is misleading, and some marketplaces treat it as misrepresentation.
- The vertical mirror is mostly creative: turning a lake reflection into the main image, or correcting a slide scanned upside down and backward, which usually also needs a 180° turn.
What rotation cannot fix, and the right order of edits
A rotate tool straightens a lean. It cannot correct perspective, where the top of a tall building looks narrower than the base because the camera was tilted upward.
- Converging verticals need a perspective or keystone tool in Lightroom, Snapseed or a similar editor, or a reshoot with the phone held level.
- Lens barrel distortion bends straight lines near the edges. Level using lines near the center so the correction is not fooled by the curve.
- Work in this order: quarter turn or flip, straighten, then crop to the final aspect ratio such as 4:5 for Instagram, then resize, then compress.
- Keep the output in its original format with Same as original, and quality around 92 for JPG, so one round of edits does not visibly soften a sharp photo.
Once the horizon is level, use the Crop Image tool to trim the tilted edges, then the Compress Image tool to keep the file light for sharing.
Step-by-step
Common mistakes to avoid
Pro tips
Frequently asked questions
How do I fix a tilted horizon in a photo?
Turn on the grid, drag the Straighten slider or tap the arrow keys in 0.1° steps until the horizon sits on a grid line, and keep Crop to fill so no empty corners remain.
How do I unmirror a selfie?
Load it and press Flip H once. Text and logos will read the right way round, which is how other people actually see you.
How much quality do I lose when I straighten a photo?
Straightening by 1° keeps about 96 percent of the area and 3° about 90 percent. The tool shows the exact output size before you download.
Can this tool fix a building that leans inward?
Not fully. That is perspective distortion, which needs a keystone or perspective tool such as the one in Lightroom or Snapseed. Rotation fixes a lean of the whole frame, not converging lines.
Does flipping reduce image quality?
No. A flip moves pixels without resampling. Quality only changes if you save as JPG or WebP at a lower quality setting.
Level the line that is truly flat, keep an eye on the size readout as the angle grows, and only mirror a picture when the reversal is harmless or corrects a mirrored camera. Leave perspective problems to a keystone tool, and finish with crop, resize and compression in that order.
Related guides
Browse more: all image guides · the Rotate & Flip Image tool