Fix a Dark, Underexposed Photo: Slider Values That Work
To fix a dark, underexposed photo, raise Brightness first, usually to between 120 and 140 percent, then lower Contrast slightly to around 90 to 95 percent so shadows open up without the highlights blowing out, and finish with a small Saturation boost. The goal is to lift detail out of the shadows without turning bright areas white or making noise obvious. This guide gives worked slider values for common cases and explains when a photo is too far gone.
🎨 Try Photo Editor & Filters now — freeOpen →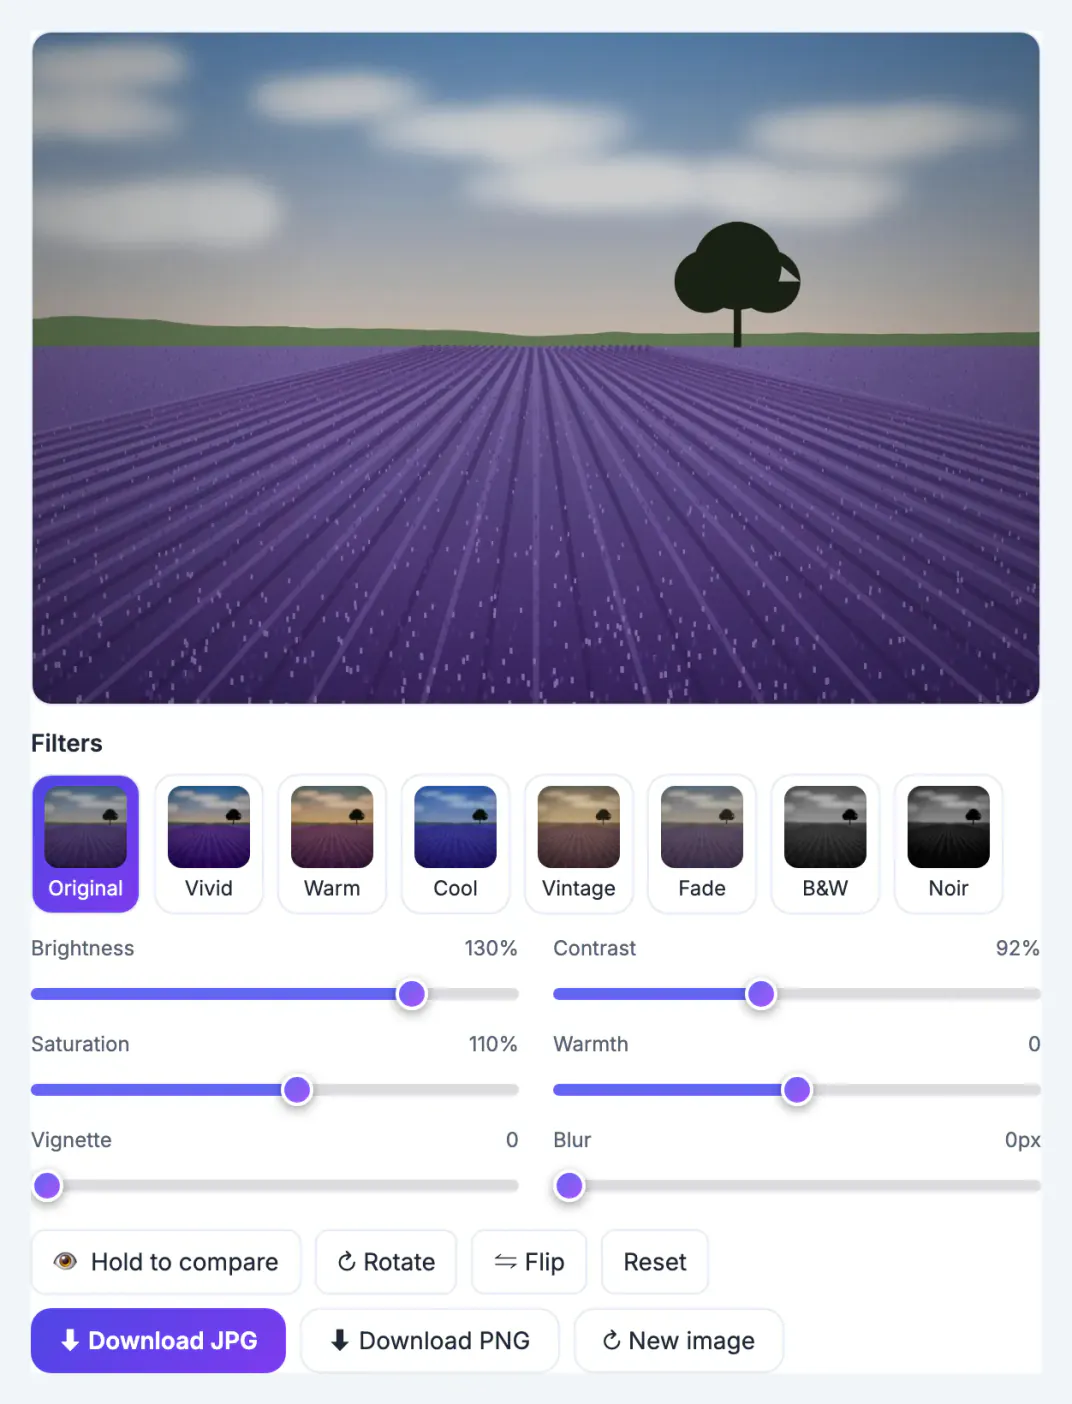
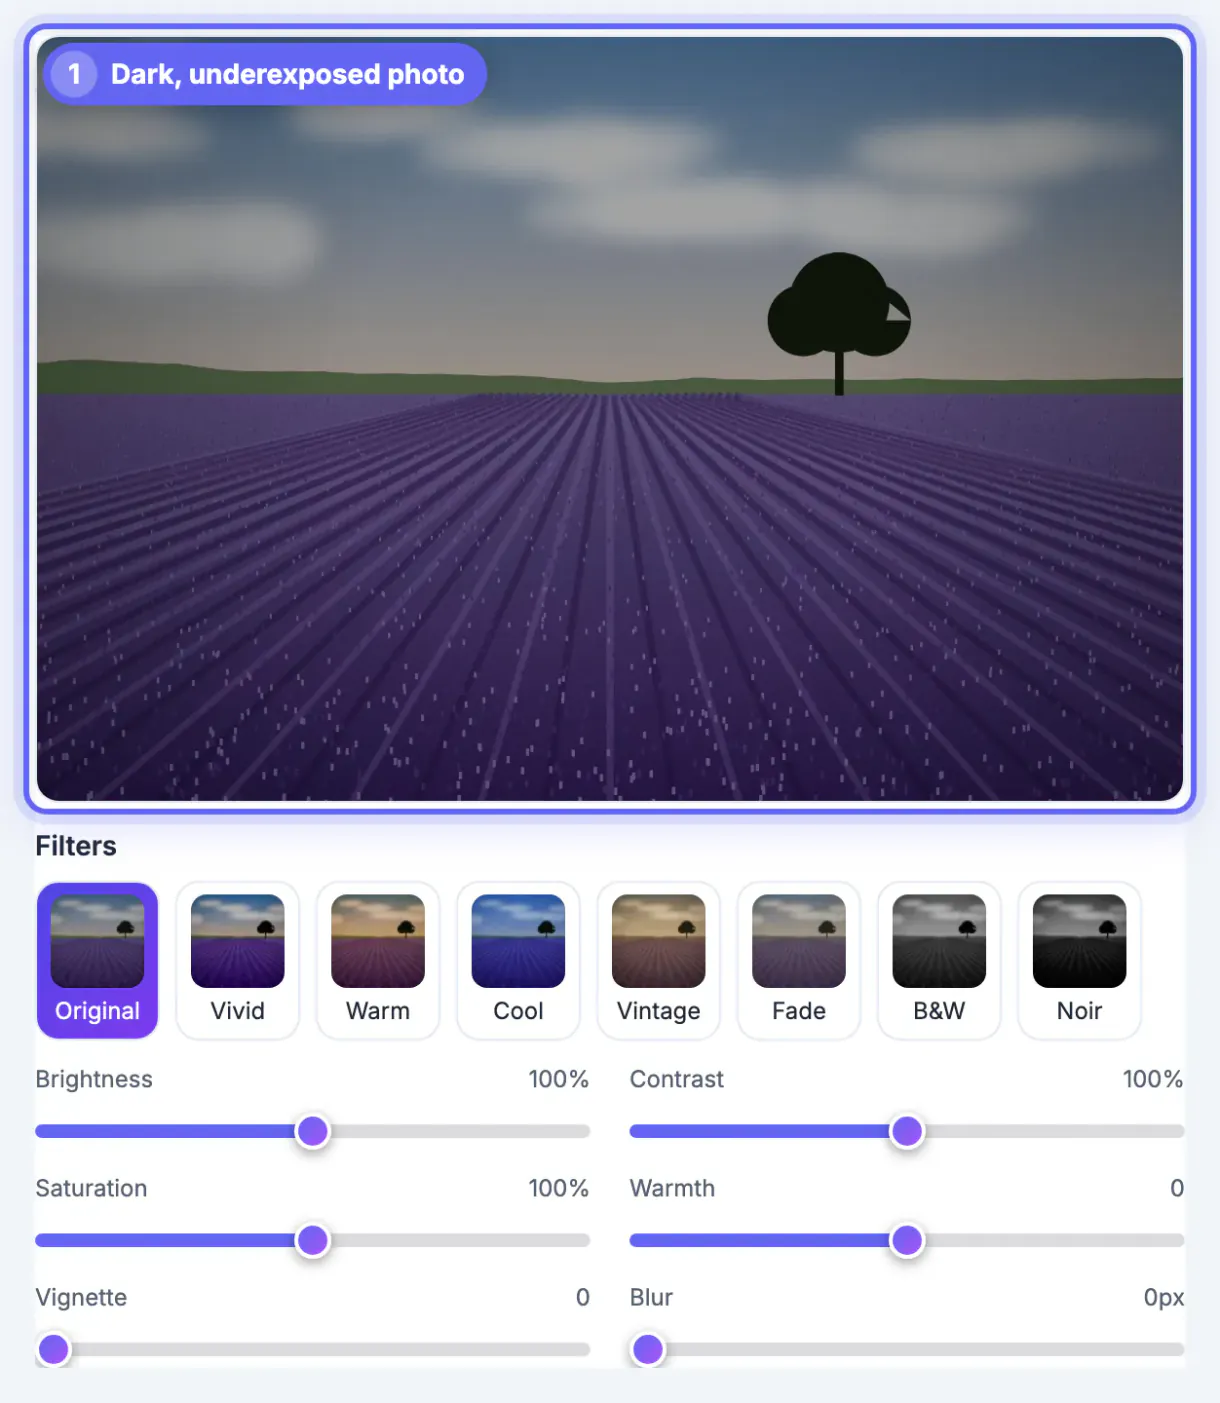
Cameras meter for the brightest area in the frame. A bright window behind a person, a stage light or a sunset sky pulls the exposure down, and the subject falls into shadow. Phone night modes help, but restaurant, concert and backlit shots still come out dark. The good news is that a photo that is only somewhat dark usually holds more recoverable detail than it looks.
Brightness vs contrast: what each slider does to a dark photo
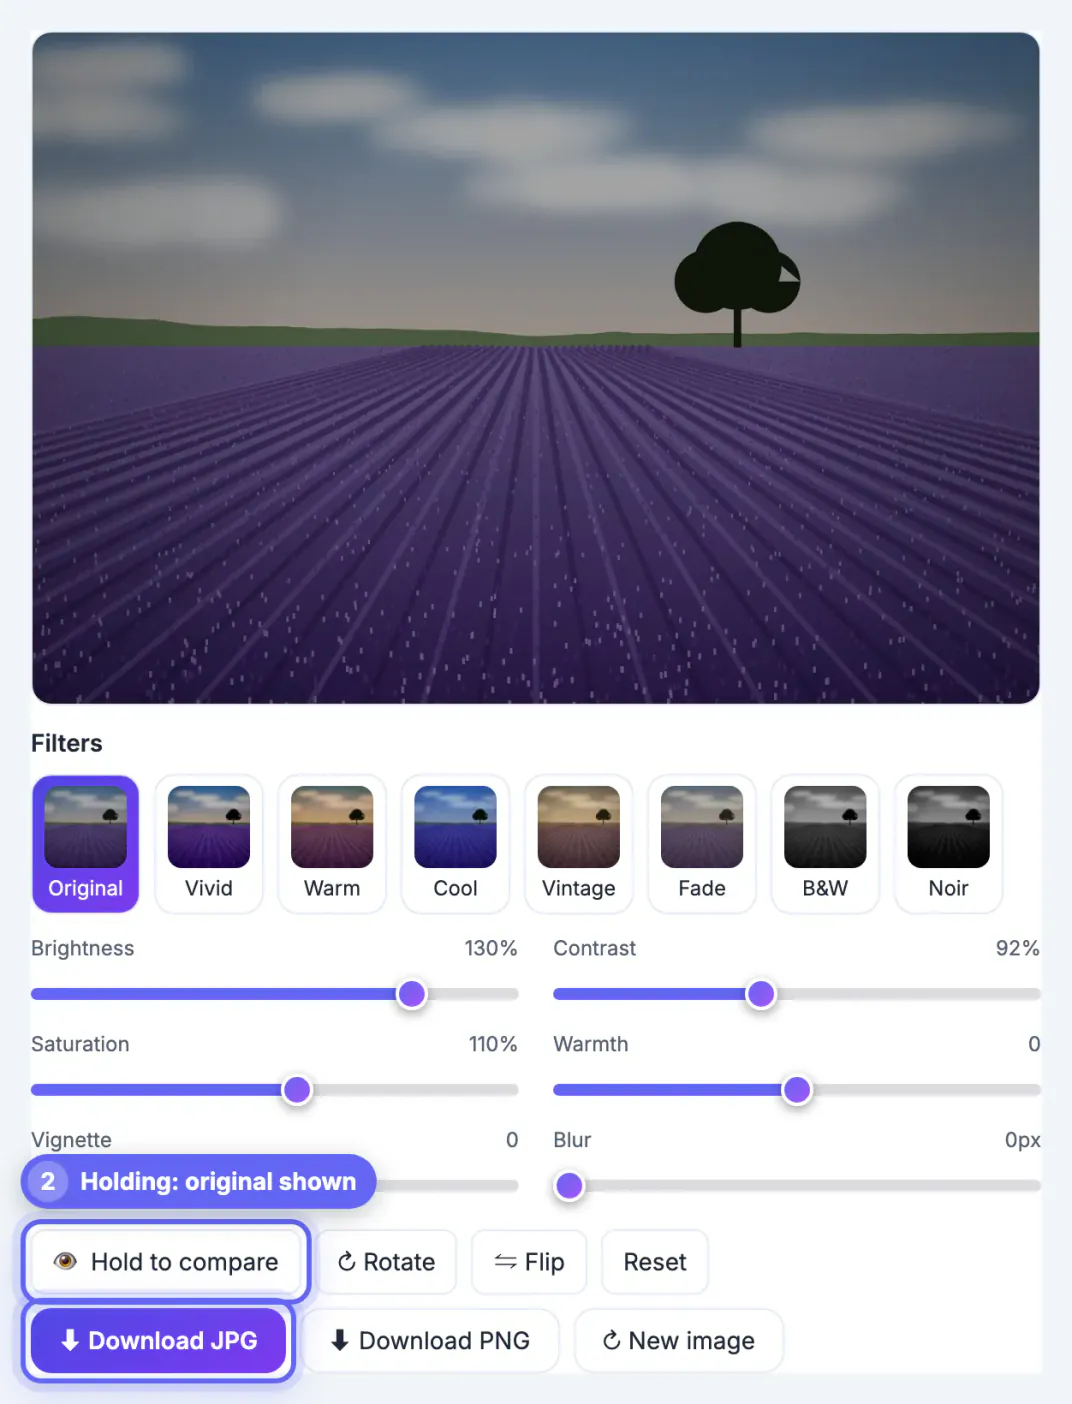
GrabCast's Photo Editor offers Brightness and Contrast from 50 to 150 percent, Saturation from 0 to 200, Warmth from −60 to +60, plus Vignette and Blur. There is no separate shadows, exposure or curves control.
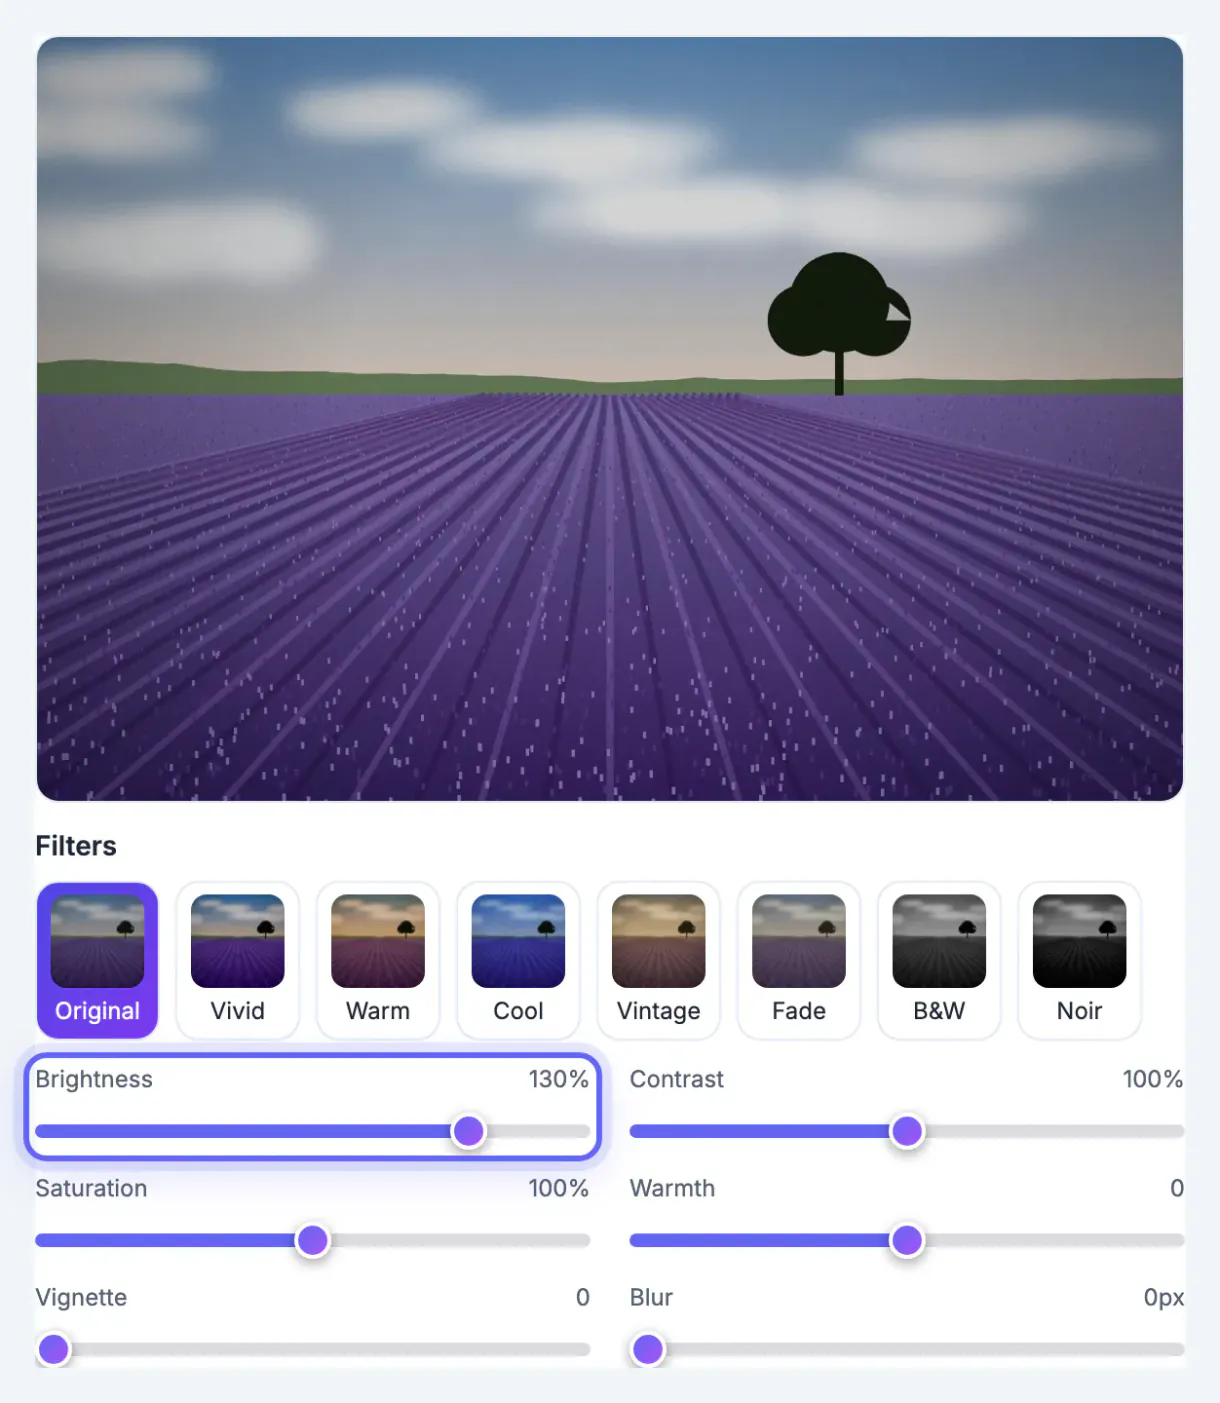
- Brightness multiplies every pixel. At 130 percent, a dark gray of 80 (on the 0 to 255 scale) becomes 104, but a bright 220 becomes 286 and clips to pure white. Shadows lift, highlights burn first.
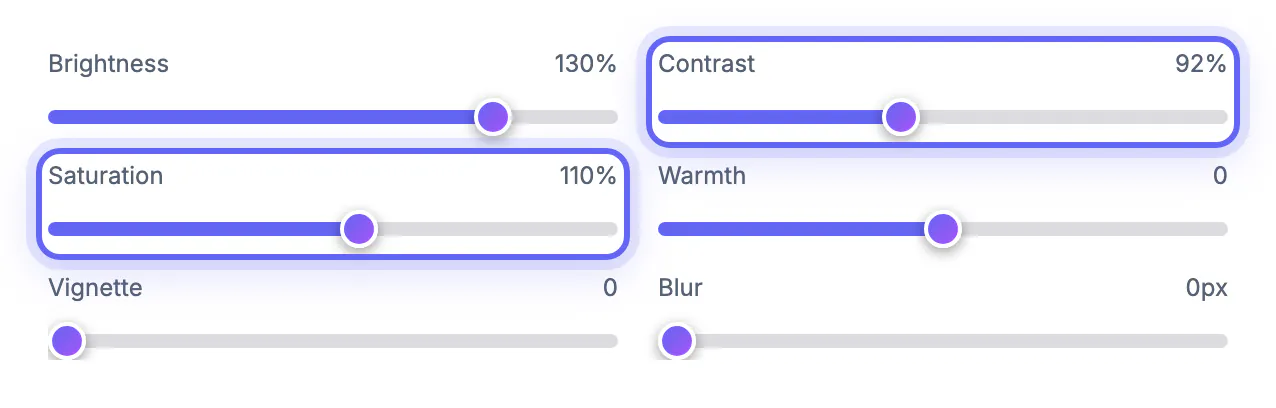
- Contrast pushes values away from middle gray. Raising it darkens shadows further, which is the opposite of what a dark photo needs. Lowering it a little lifts shadows and pulls bright areas back.
- Saturation restores color that looks drained after brightening.
- Blur at 1 pixel can soften heavy noise on a small image.
Brightness is applied before contrast, so contrast works on the brightened image.
Worked slider values to fix a dark, underexposed photo
Start from Original and adjust in this order: Brightness, Contrast, Saturation, Warmth. Hold the compare button often.
- Slightly dark daylight shot: Brightness 115, Contrast 100, Saturation 105. Often enough on its own.
- Indoor evening portrait: Brightness 130, Contrast 94, Saturation 110, Warmth −8 to calm orange bulbs, or +10 if the light was cold and blue.
- Backlit subject against a window: Brightness 125, Contrast 88. The window will brighten too; accept some glow rather than pushing further.
- Very dark concert or night street: Brightness 145, Contrast 92, Saturation 115, Blur 0 or 1. Expect grain.
- Quick start: the Fade filter (Brightness 108, Contrast 86, Saturation 78) opens shadows gently; raise Brightness and Saturation from there.
Keep Vignette at 0: it darkens the corners, the opposite of what you need.
Noise, color casts and knowing when to stop
Brightening does not create detail, it reveals what the sensor captured, including noise. Watch three warning signs.
- Grain and colored speckles in dark areas: back Brightness off by 5 or 10 points, or add Blur 1 if the photo will only be seen small.
- Flat, milky look: Contrast is too low; move it back toward 95 or 100.
- Color casts grow as you brighten; correct them with Warmth.
- Pure black areas stay black. A pixel at 0 multiplied by 150 percent is still 0, so crushed shadows hold no hidden detail.
If Brightness at 150 still looks dark, the shot needed more light when it was taken. A retake with Night mode or a raw-capable editor is the honest answer.
Save the rescued photo as JPG or PNG
Everything runs on a canvas in your browser, so the photo is not uploaded. Downloads re-apply your edits at full resolution, up to 8,000 pixels on the long side.
- JPG is saved at 92 percent quality, right for sharing and printing.
- PNG is lossless and larger; choose it if you will keep editing elsewhere.
- Camera metadata (EXIF) such as date and location is not carried into the exported file.
- Your last image and settings stay in this browser for up to 3 days; New image clears them.
Prevent dark photos next time
Fixing exposure helps, but better capture saves quality. Face the main light source, tap the screen on the subject to set exposure, and use night mode only when the subject can stay still. Raise brightness before taking the shot, not only afterwards, because sensors capture more detail in the original than software can invent later.
- Turn on a lamp or move near a window for indoor shots.
- Hold the phone steady or rest it against something for dim scenes.
- Take two or three frames, so you can choose the sharpest.
- Shoot in the highest quality setting your camera offers.
For further finishing, editing photos with filters and simple sliders shows more adjustments, and compressing a photo for a website helps once it is ready to publish.
Know when a photo is beyond rescue
If the dark areas are pure black, no slider can bring them back because the data was never recorded. Lifting such regions shows only noise and banding. In that case, crop to the best-lit part, convert to black and white, which hides colour noise, or reshoot.
Step-by-step
Common mistakes to avoid
Pro tips
Frequently asked questions
How do I brighten a dark photo without washing it out?
Raise Brightness to about 120 to 140 percent and lower Contrast only slightly, to 90 to 95. Too much contrast reduction is what makes photos look milky.
Should I use brightness or contrast to fix underexposure?
Brightness first. Raising contrast darkens shadows, so for a dark photo it usually goes down a little, not up.
Why does my brightened photo look grainy?
Lifting shadows reveals sensor noise. Brighten less, or add 1 pixel of Blur for small web use.
Is my photo uploaded when I edit it?
No. The edits are drawn with your browser's canvas and the photo stays on your device. The last session is stored only in this browser for up to 3 days.
Can every underexposed photo be fixed?
No. Areas that recorded pure black hold no detail, and a photo that still looks dark at 150 percent brightness needs a retake or a more advanced raw editor.
Lift brightness first, ease contrast down slightly, then restore color and correct casts with warmth. Most dark phone photos recover with Brightness 120 to 140 and Contrast 90 to 95. When pure black or heavy grain appears, stop there: a slightly dark, clean photo beats a bright, noisy one.
Related guides
Browse more: all image guides · Photo Editor & Filters