Professional Headshot Blur for LinkedIn and Team Pages
A professional photo with background blur starts with good light and framing, then uses a moderate softening so the face stands out while the setting still reads as an office, studio or street. The free GrabCast Portrait Blur tool handles that last step on your device. This guide is for job seekers, consultants, realtors and small teams who need credible headshots without a studio: setup, the slider values that look polished, and how to keep a whole team consistent.
📸 Try Portrait Blur (Bokeh) now — freeOpen →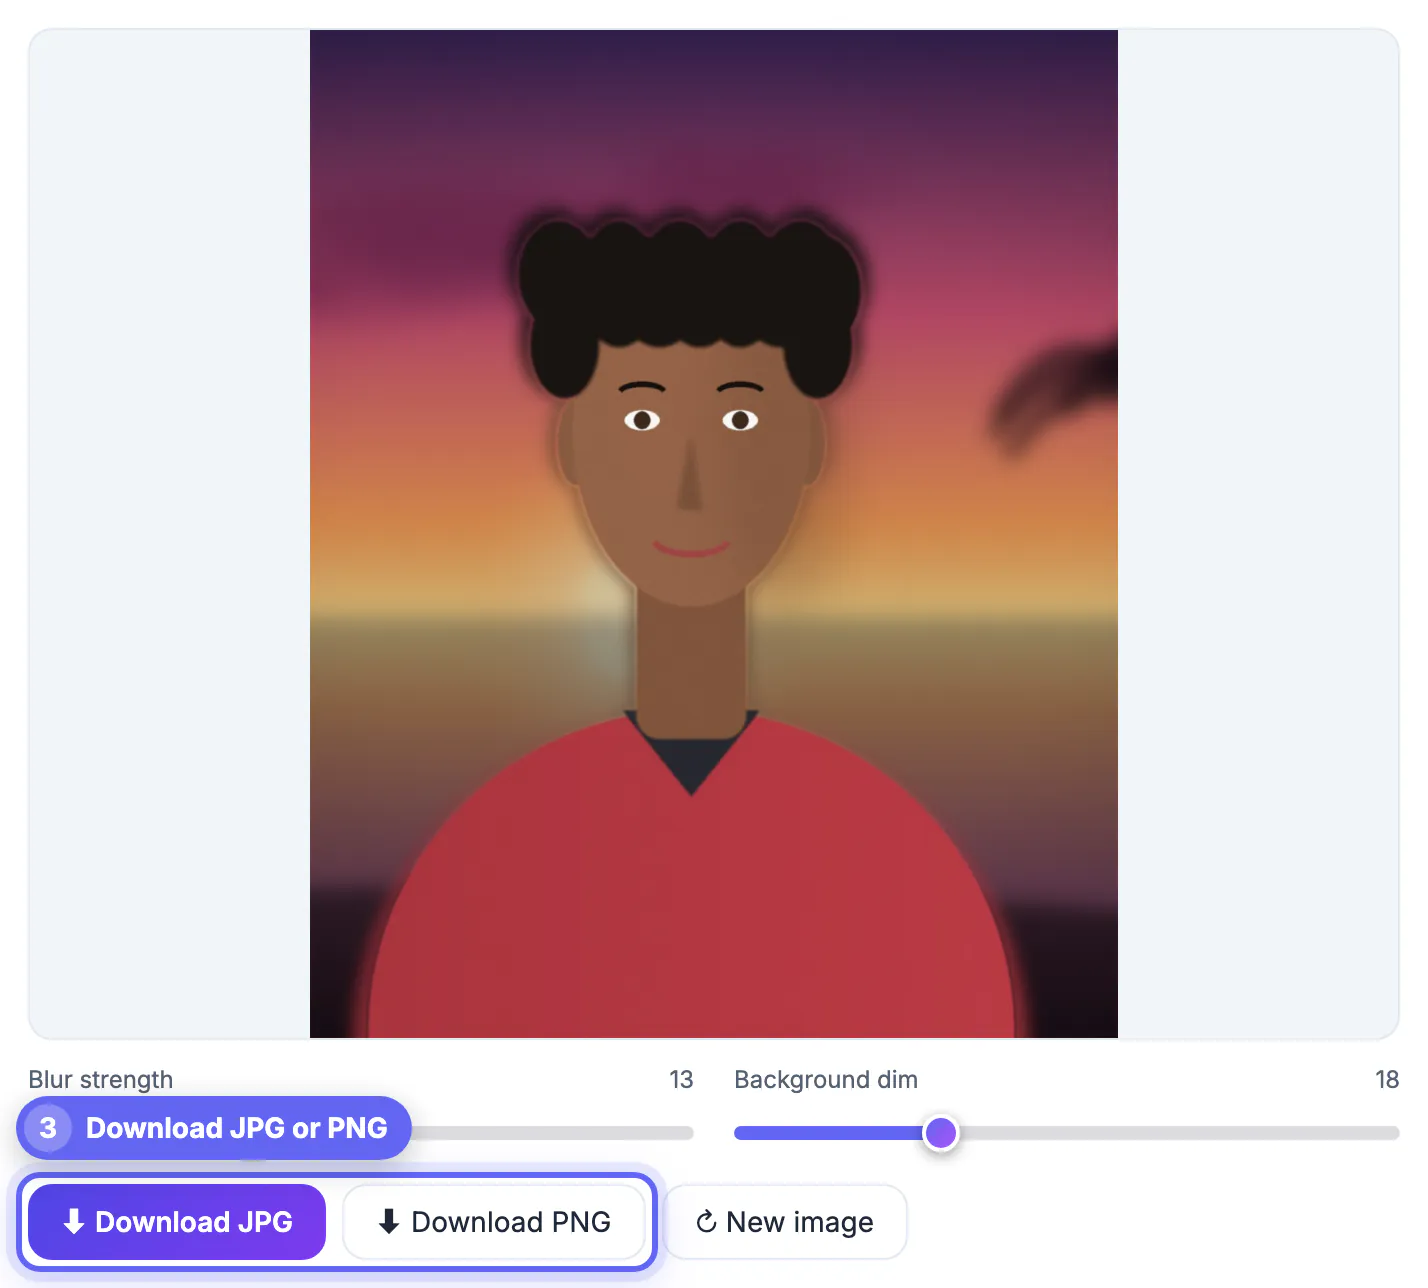
Recruiters, clients and conference attendees usually see your picture before they read a word you wrote. A phone snapshot against a kitchen cabinet signals casual, even when the person in it is highly qualified. A studio session is ideal but costs money and time. The middle path is a well-lit phone portrait with a softened, slightly darker setting. It keeps the environment honest, avoids the cut-out look of a fake backdrop, and puts attention on expression, which is what people remember. For small businesses the same logic applies to the About page, proposals and conference badges, where one polished picture is reused for years.
What makes a DIY headshot look professional
Software polishes a good shot; it cannot rescue a poor one. Get these right first.
- Face a window at a slight angle for soft, even light and a catchlight in the eyes
- Hold the camera at eye level or slightly above, never from below
- Use the 2x lens from about 1.5 to 2 meters to avoid wide-angle distortion
- Wear solid colors that contrast with the setting; avoid fine stripes
- Frame head and upper chest, with a little space above the hair
Take twenty frames and pick the one with relaxed eyes. That choice matters more than any setting you change later.
Setting choice counts before any editing. A bookshelf, a plant-lined office or a city street reads as context; a bathroom door, a bed or a car interior does not, however much softening you add later.
Softening and dim settings for business portraits
Moderate settings read as a real lens; extreme ones read as a video-call effect.
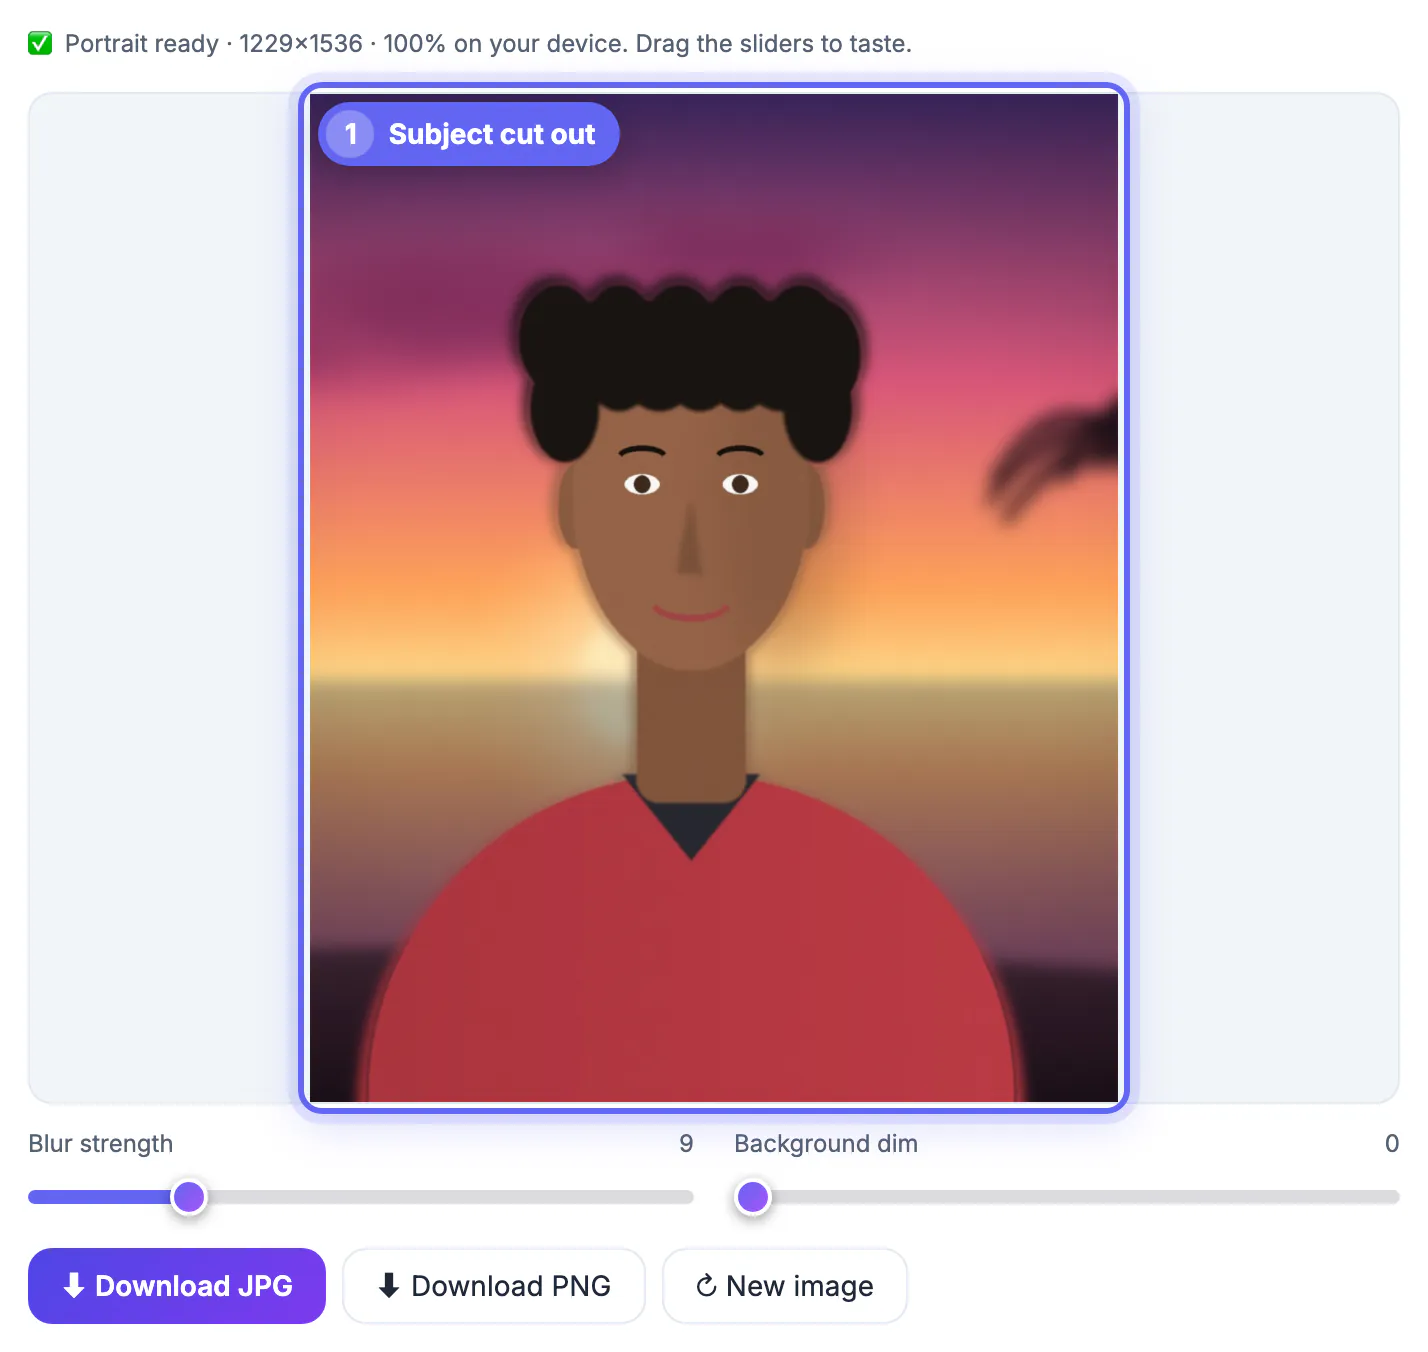
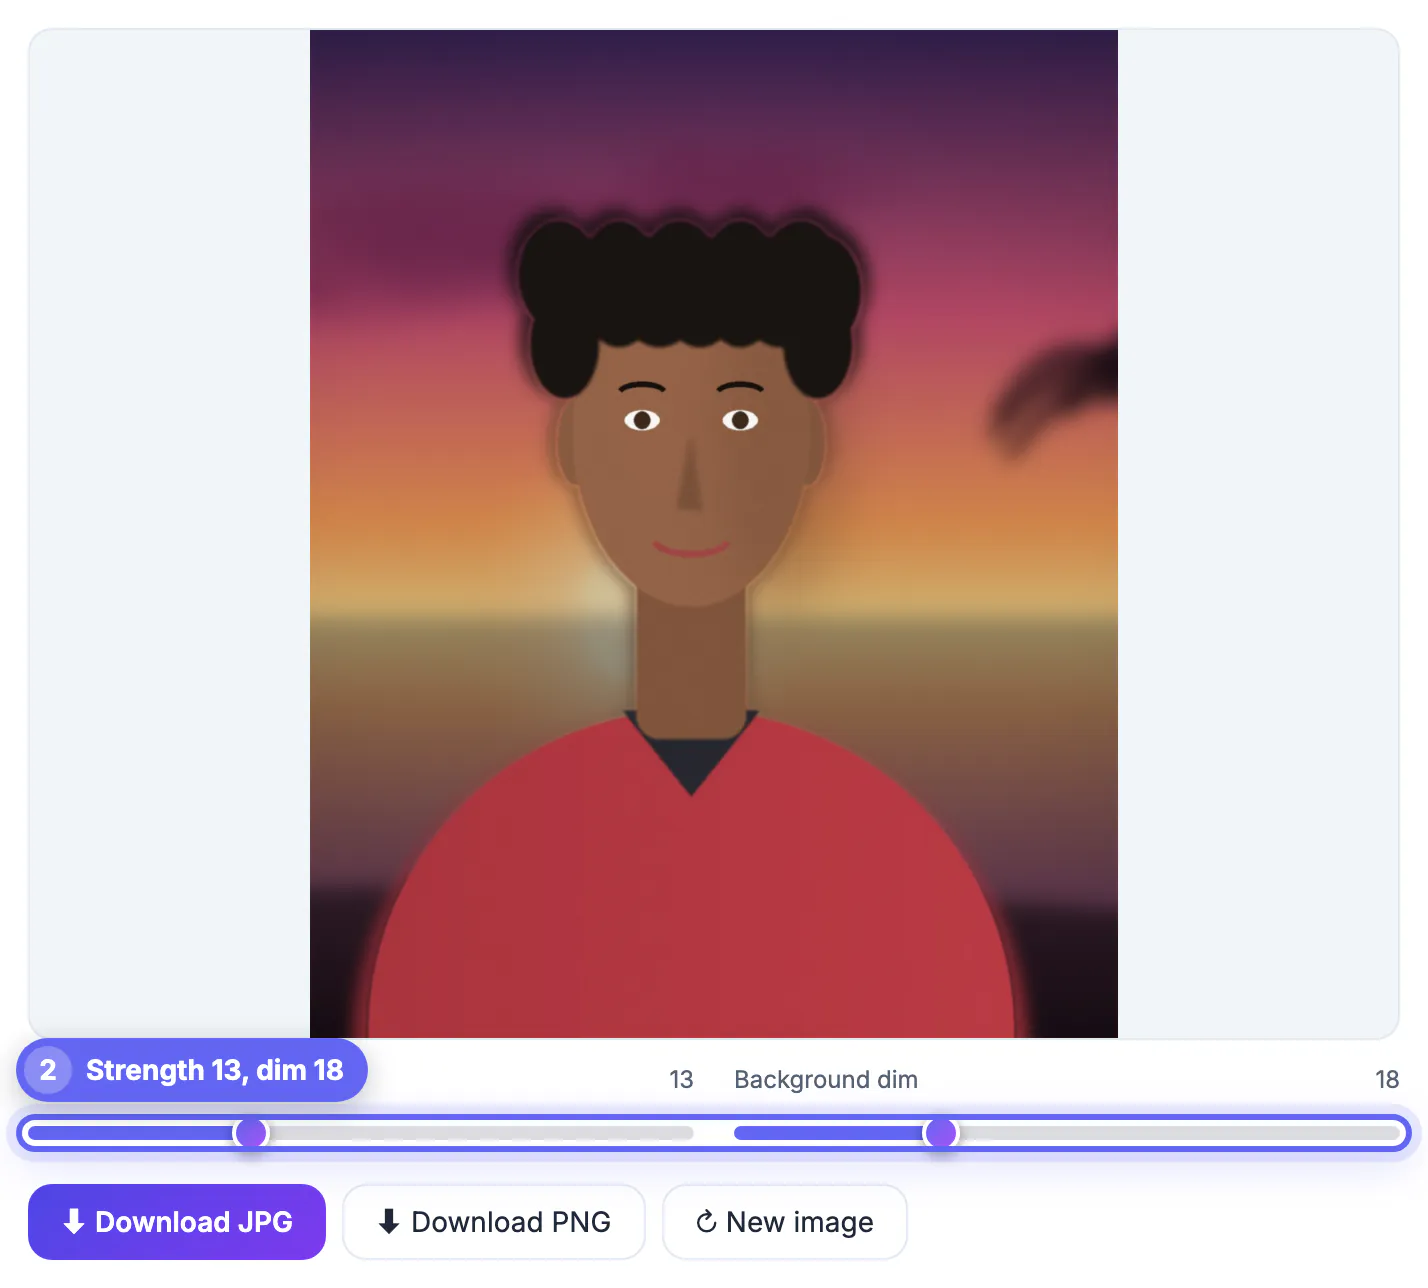
- Strength 10 to 16 for an office or bookshelf a couple of meters behind
- Strength 18 to 24 when the scenery is busy but you want it recognizable
- Dim 10 to 20 so the face is the brightest area in the frame
- Avoid strength above 30, which looks artificial on a close headshot
- For conservative fields such as law or finance, consider a plain color from a background remover instead
The choice between softened and plain is about brand. A softened office or city street says approachable and real; a flat gray says formal and consistent. Both are professional when the light is good.
Check the result at the size people will actually see, roughly thumbnail scale. Settings that look subtle at full screen can vanish at 100 pixels, while halos around hair become easier to spot when the image shrinks, so judge at both sizes.
If the scenery contains your company logo or a recognizable storefront, keep the strength near the low end so it stays legible; a hint of place can support a local business profile better than an anonymous blur.
Keeping a whole team consistent
Mismatched headshots make a team page look thrown together. Agree on a recipe and repeat it for every person.
- Shoot everyone in the same spot, at the same time of day, facing the same window
- Use the same lens and distance so faces appear the same size
- Write down the strength and dim values and reuse them for each person
- Process each picture separately; the tool remembers the last one, not a batch
- Crop all portraits to the same shape, square or circle, as a final step
For round avatars, send each exported JPG through the Profile Picture Maker with the same ring color. For new hires months later, the written recipe keeps the page uniform.
Remote teams can follow the same recipe at home: send a one-page guide with window position, lens, distance and slider values, and ask everyone to send the untouched original so one person does all the finishing.
Sizes and formats for LinkedIn, email and bios
GrabCast Portrait Blur exports up to 1,536 pixels on the long edge as JPG at quality 92 or as PNG. That covers most business uses.
- LinkedIn recommends a profile image of at least 400 by 400 pixels
- Email signatures display around 100 to 150 pixels wide, so resize down to keep the email light
- Conference bios often request 1,000 pixels or more; the export meets that
- A printed program headshot at 300 dpi of 1,536 pixels runs about 5 inches tall
- The AI runs on your device, so staff portraits are never sent to a server
Keep the original file in a shared folder. When a larger size or a different crop is needed later, you start from the full-resolution version rather than an already-edited copy.
Keep file names simple, such as first and last name plus the year, so marketing, HR and event organizers can find the current version without asking.
If you do not yet have a clean base photo, the Professional Headshot Maker is another way to get a consistent team look.
Step-by-step
Common mistakes to avoid
Pro tips
Frequently asked questions
Is a softened headshot acceptable on LinkedIn?
Yes. A moderately softened office or outdoor setting looks natural and keeps attention on your face. Avoid extreme settings that look like a filter. Keep the face well lit and in sharp focus, since that matters more than the setting.
Should I use softening or a plain color?
Softening feels approachable and real; a plain color feels formal and uniform. Choose based on your field and match the rest of your team. Whichever you pick, apply it to every person on the page.
What size should I export?
The tool exports up to 1,536 pixels on the long edge. That exceeds the 400 by 400 LinkedIn recommendation and suits most bio pages. Resize down for email signatures to keep messages light.
Can I process the whole team at once?
No, pictures are handled one at a time. Reuse the same slider values for each person so results match. Write the values down so new hires match later.
Are staff photos uploaded anywhere?
No. The AI runs in the browser on your device, so the portraits stay on your computer. Nothing is uploaded or stored on a server.
A credible DIY headshot is good light, eye-level framing and a moderate softening with a touch of dim. Write the settings down and reuse them, and a small team can look as consistent as a studio shoot.
Related guides
Browse more: all image guides · Portrait Blur (Bokeh)