Resize Image to 400x400 for a Sharp Profile Picture
To resize an image to 400x400 for a profile picture, crop it to a perfect square first, then scale that square down to 400 pixels wide. Doing it in that order keeps your face undistorted and lets you decide what the round mask will hide, instead of letting X, LinkedIn or Slack guess for you. Most platforms display the avatar far smaller than 400 pixels, often as a circle the size of a fingernail, so the whole job is about framing and sharpness at thumbnail scale. This guide walks through the crop, the math behind the number, the export format and the checks worth doing before you upload. GrabCast handles both the crop and the resize inside your browser, with no upload, no account and no watermark.
📐 Try Resize Image now — freeOpen →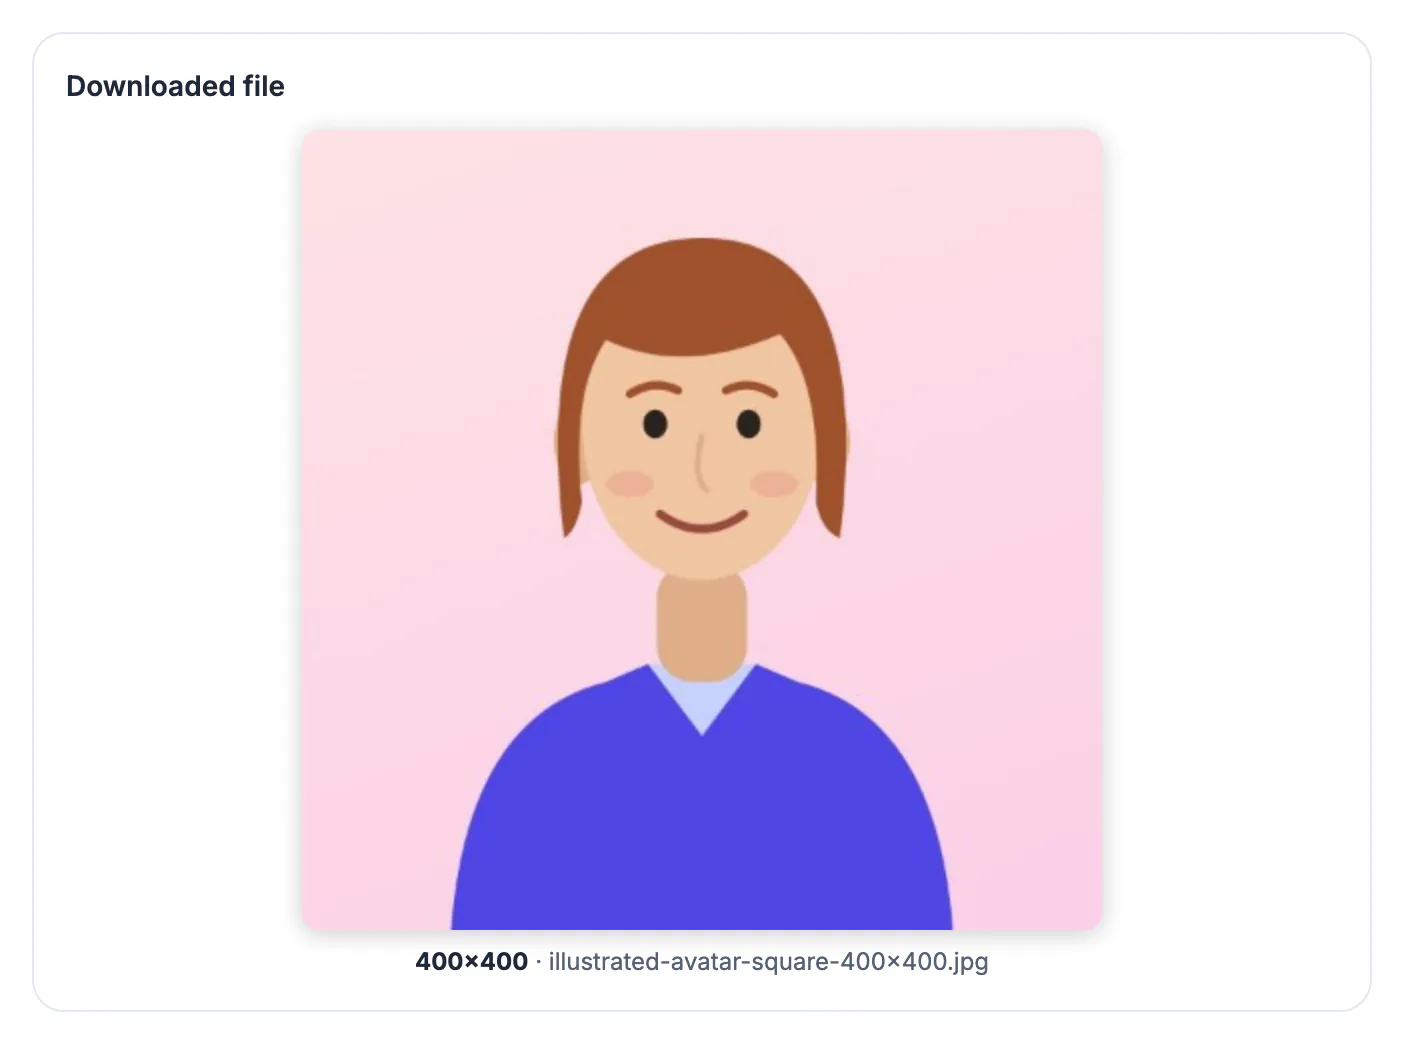
X and LinkedIn both recommend a 400 by 400 pixel profile photo, and most other networks accept it without complaint. The number is not arbitrary. On a high-density phone or laptop screen, one displayed pixel is drawn with two or three physical pixels, so an avatar shown at 150 to 200 points on your profile header needs roughly 300 to 600 real pixels to look crisp. A 400 pixel square covers that range while staying small enough, usually 40 to 90 KB as a JPG, that the platform barely has to recompress it. Upload a 4,000 pixel phone photo instead and the site shrinks it with its own settings, which is exactly where soft edges, odd crops and color shifts creep in.
Crop to a square before you resize the image
The order matters because Resize Image respects your aspect ratio. In Pixels mode with Keep aspect ratio switched on, typing 400 by 400 on a 4 by 3 photo fits the whole picture inside the box and hands you a 400 by 300 file, not a square. Switching the lock off does give you 400 by 400, but it squashes your face sideways. The clean route is a two-step job.
- Open Crop Image, pick the 1:1 preset and drag the box until your face sits slightly above center.
- Use the circle preset as a preview of what the round mask keeps; the corners it hides are dead space.
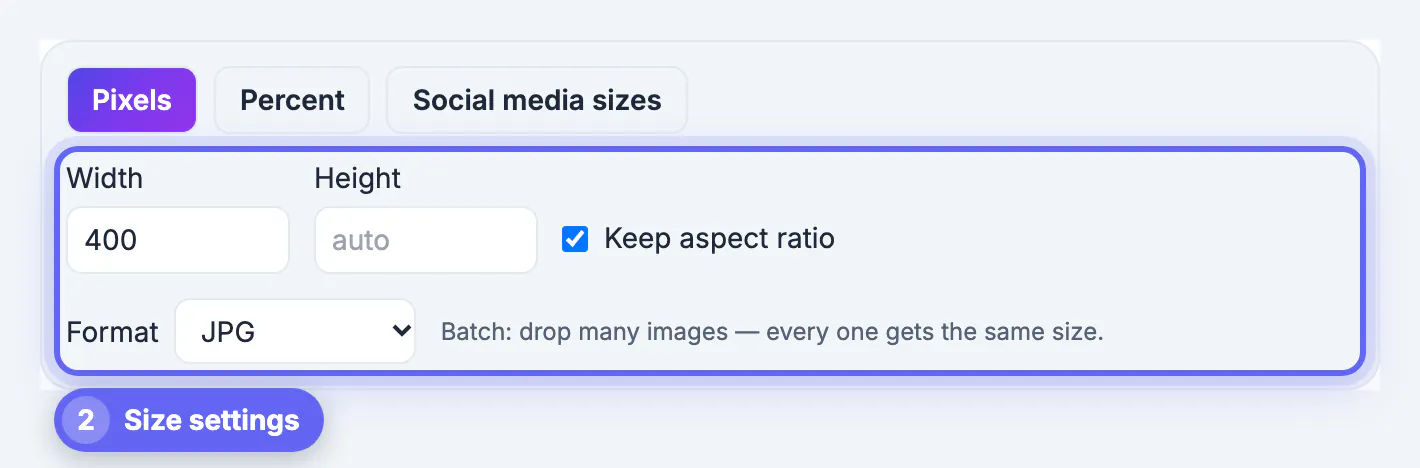
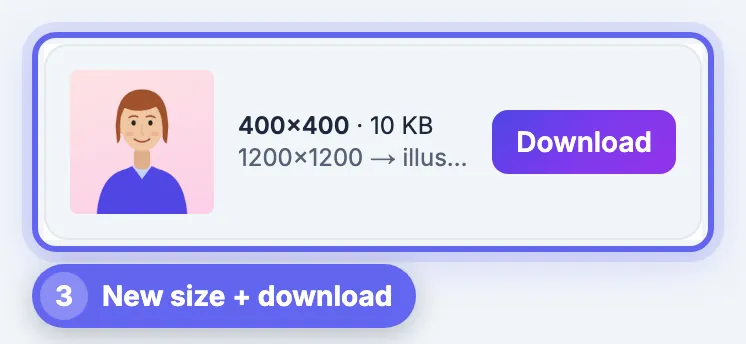
- Download the square, then load it into Resize Image and type 400 in the width field only.
- With the ratio locked, the height fills in as 400 automatically, so nothing stretches.
If your source is already square, such as a studio headshot exported at 1,080 by 1,080, you can skip the crop and resize directly.
Frame your face for a picture seen at thumbnail size
Think about where the avatar actually lives: beside comments, in chat lists and on search results, frequently at 32 to 48 points wide. At that scale a full-length shot turns into a colored smudge. A useful rule is that your face, from chin to hairline, should cover roughly 50 to 65 percent of the square height.
- Place your eyes about one third down from the top edge, which feels natural inside a circle.
- Leave a small gap above your hair so the round mask does not slice through it.
- Pick a plain or softly blurred background; busy patterns compete with your face at 40 pixels.
- Avoid text or a logo in the corners, since the circle crop removes about 21 percent of the square.
Brands have a different target: a logo mark should sit inside the central circle with even breathing room on all sides, and a wordmark alone rarely survives thumbnail scale.
Want a polished starting point first? The Profile Picture Maker is a quick way to prepare an avatar before you scale it.
Pick JPG or PNG and keep the file light
Resize Image lets you keep the original format or switch to JPG, PNG or WebP. For a photographic headshot, JPG is the practical choice; a 400 by 400 export typically lands between 40 and 90 KB, well under any upload limit. PNG makes sense for flat logos with sharp edges or when you want a transparent background, though several networks fill transparency with white or black.
- Photo of a person: JPG, the default quality is fine for a square this small.
- Logo or illustration with flat color: PNG keeps edges clean.
- WebP saves bytes, but some older forms reject it, so only use it where you know it is accepted.
- Always downscale from a larger original; enlarging a 200 pixel crop to 400 only adds blur.
The resizer shrinks big images in stages rather than one jump, which avoids the jagged, shimmering texture you can get on hair and patterned shirts.
Check the 400x400 result at real size before uploading
A picture that looks great at full screen can fall apart at avatar size, so test the way people will see it. Zoom your browser out or view the file on your phone at a tiny size, and ask two quick questions: can you recognize the person instantly, and does anything important touch the edges of the circle?
- Compare it against your current avatar side by side in the same chat or comment thread.
- Check both light and dark mode; a white shirt on a white background disappears in light mode.
- Reuse the same file across networks so colleagues recognize you everywhere.
- Keep the square master at a larger size too, in case a platform later asks for more pixels.
If you manage a team page, batch mode helps: drop every headshot at once, type 400 as the width and download all of them together as a ZIP.
Step-by-step
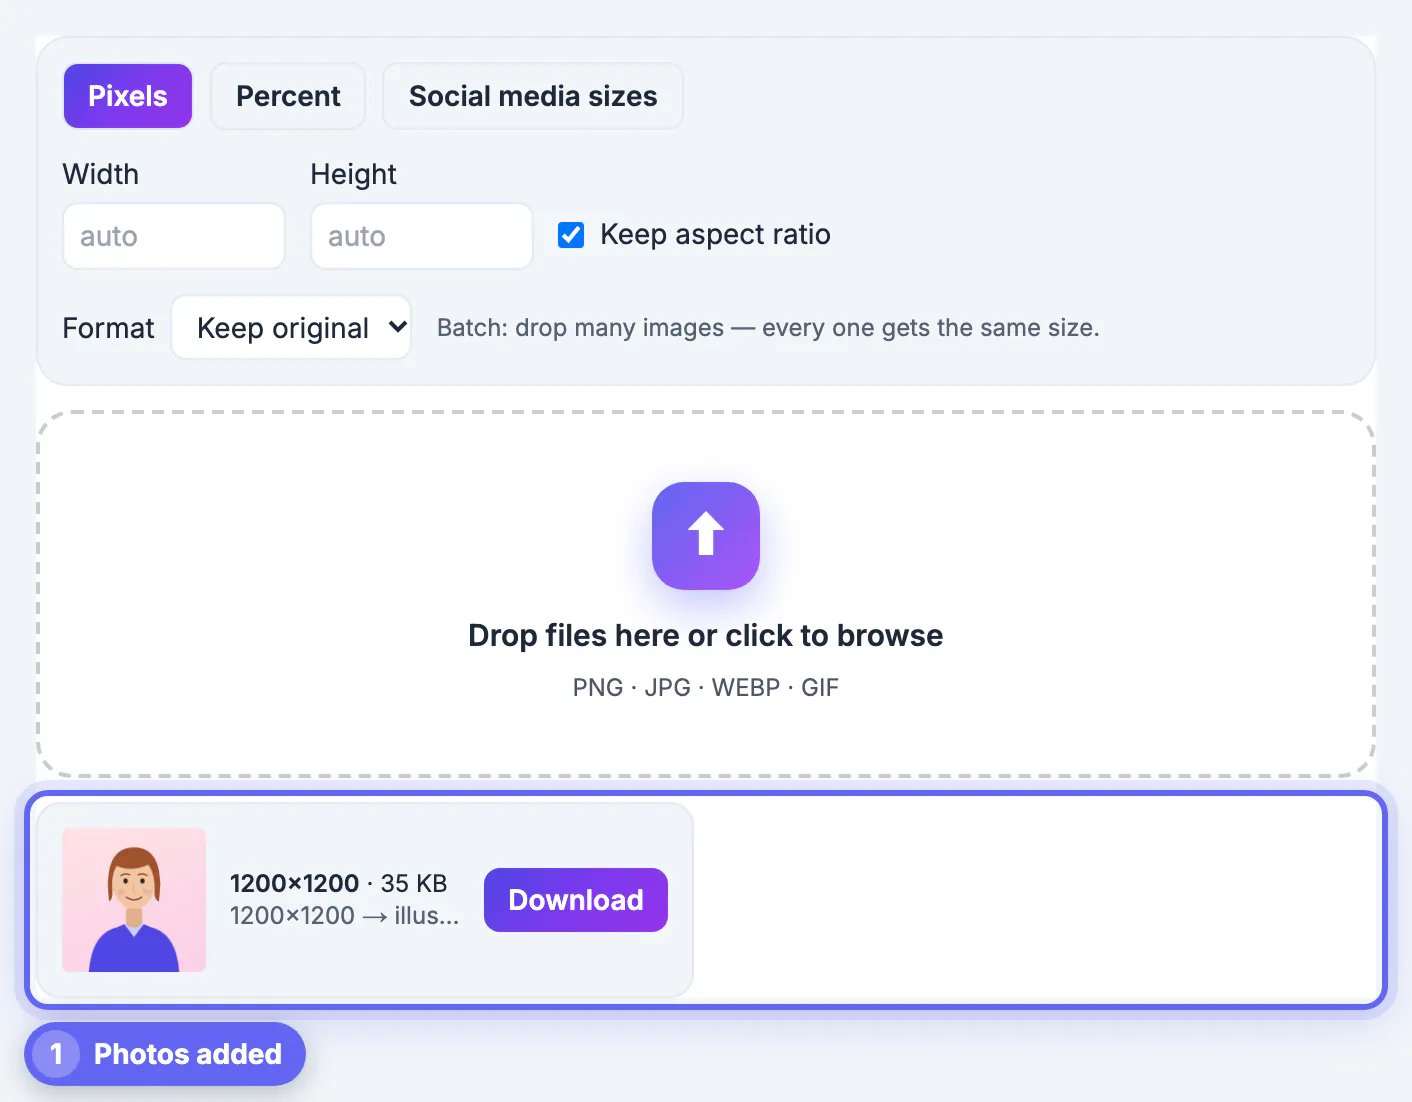
Common mistakes to avoid
Pro tips
Frequently asked questions
Is 400x400 big enough for a profile picture on a retina screen?
Yes for nearly every network. Avatars are shown at 32 to 200 points, and at 2x density that means 64 to 400 physical pixels, so a 400 pixel square covers even the large profile header view.
Why did my resized image come out 400 by 300 instead of square?
Keep aspect ratio was on and your source was rectangular, so the tool fitted the whole photo inside 400 by 400. Crop to a 1:1 square first, then resize by width only.
Should I save my profile picture as JPG or PNG?
Use JPG for photos of people, which gives a small file with no visible loss at this size. Use PNG for flat logos or when you need transparency, and check how the platform fills the background.
Do my photos get uploaded when I resize them with GrabCast?
No. Cropping and resizing both run in your browser on your own device, so the photo never leaves it. There is no account and no watermark on the result.
Can I resize several team headshots to 400x400 at once?
Yes. Crop each one to a square, drop them all into Resize Image, type 400 as the width and download everything as a single ZIP file.
A crisp profile picture comes from two decisions made in the right order: crop to a square that frames your face for a tiny circle, then resize that square to 400 pixels wide with the ratio locked. Export a JPG for photos or a PNG for logos, check it at thumbnail size, and you have one file that looks sharp on X, LinkedIn, Slack and everywhere else.
Related guides
Browse more: all image guides · Resize Image