Blur a Photo Background for a Portrait Mode Look
To blur a photo background after you have already taken the shot, you need software that separates the person from everything behind them and softens only the backdrop. That is what phone portrait mode does at capture time, and you can reproduce it on any existing picture in a browser. This guide covers which shots convert well, the blur strength to use for headshots, full-length shots and social posts, and how to spot and avoid a fake-looking result.
📸 Try Portrait Blur (Bokeh) now — freeOpen →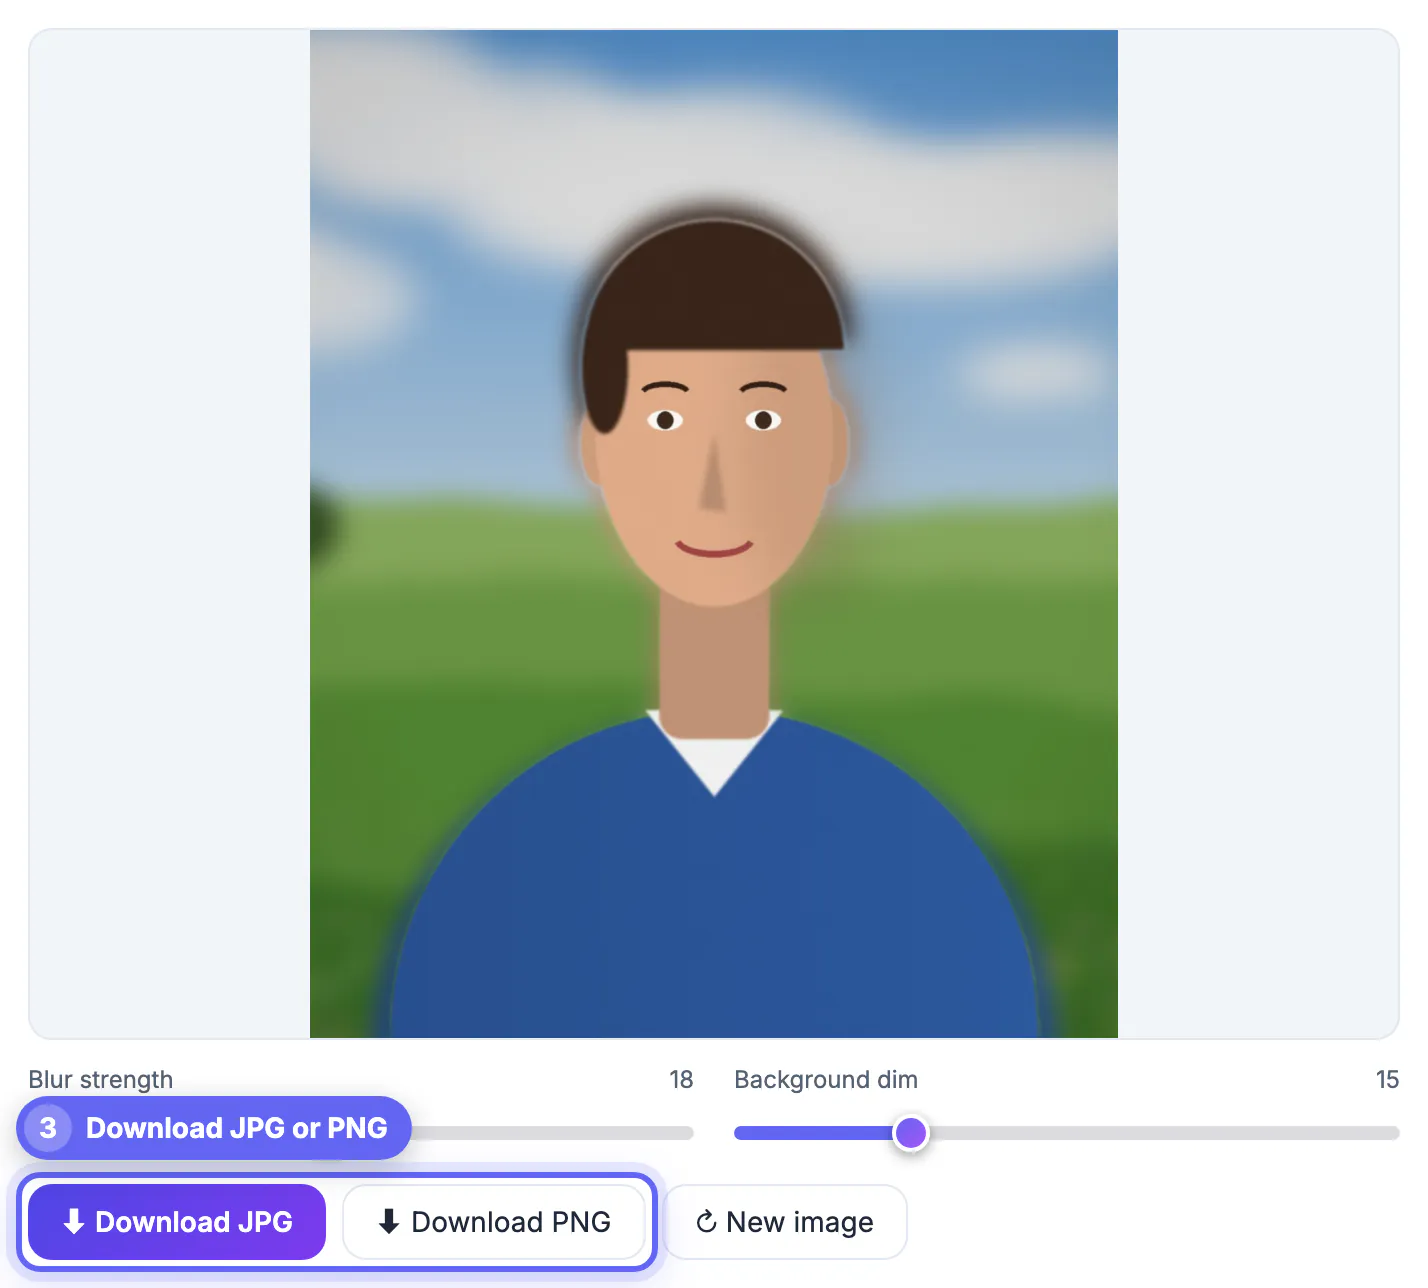
A large-sensor camera with an 85 mm f/1.8 lens creates blur optically: anything far from the focus plane melts, gradually, the farther away it is. Phones have tiny sensors that keep almost everything sharp, so portrait mode estimates depth with a second lens or a depth sensor, cuts out the subject, and blurs the rest in software. Editing after the fact works the same way, minus the depth data. The AI has to find the person from the picture alone, which is why subject choice and a sensible amount of blur matter more than any slider. Phones also get it wrong: glasses, stray hair and the gap between an arm and the body are classic portrait mode failures, and they are exactly the places to inspect after any edit. Knowing where errors hide makes a two-second check enough to catch them.
Which shots take a background blur well
- People are the sweet spot: the AI in this tool is trained on human portrait matting, so heads, shoulders and hair separate best
- Waist-up and head-and-shoulders framing looks most natural, because a flat, even softening suits a backdrop at one distance
- Clear contrast between subject and backdrop helps: a dark jacket against a bright street separates better than beige on beige
- Pets, products and food can work, but edges are less reliable than on people; check the preview closely
Full-length shots on a sidewalk or lawn are the hardest case. Real optics keep the ground at the feet sharp and blur it progressively; a uniform softening makes the ground look pasted on.
Quick rule of thumb: if you could imagine the shot taken with an 85 mm lens in a studio or on a quiet street, it will convert well. If it looks like a wide phone snapshot of a whole scene, keep the effect light or skip it.
Blur strength by use case
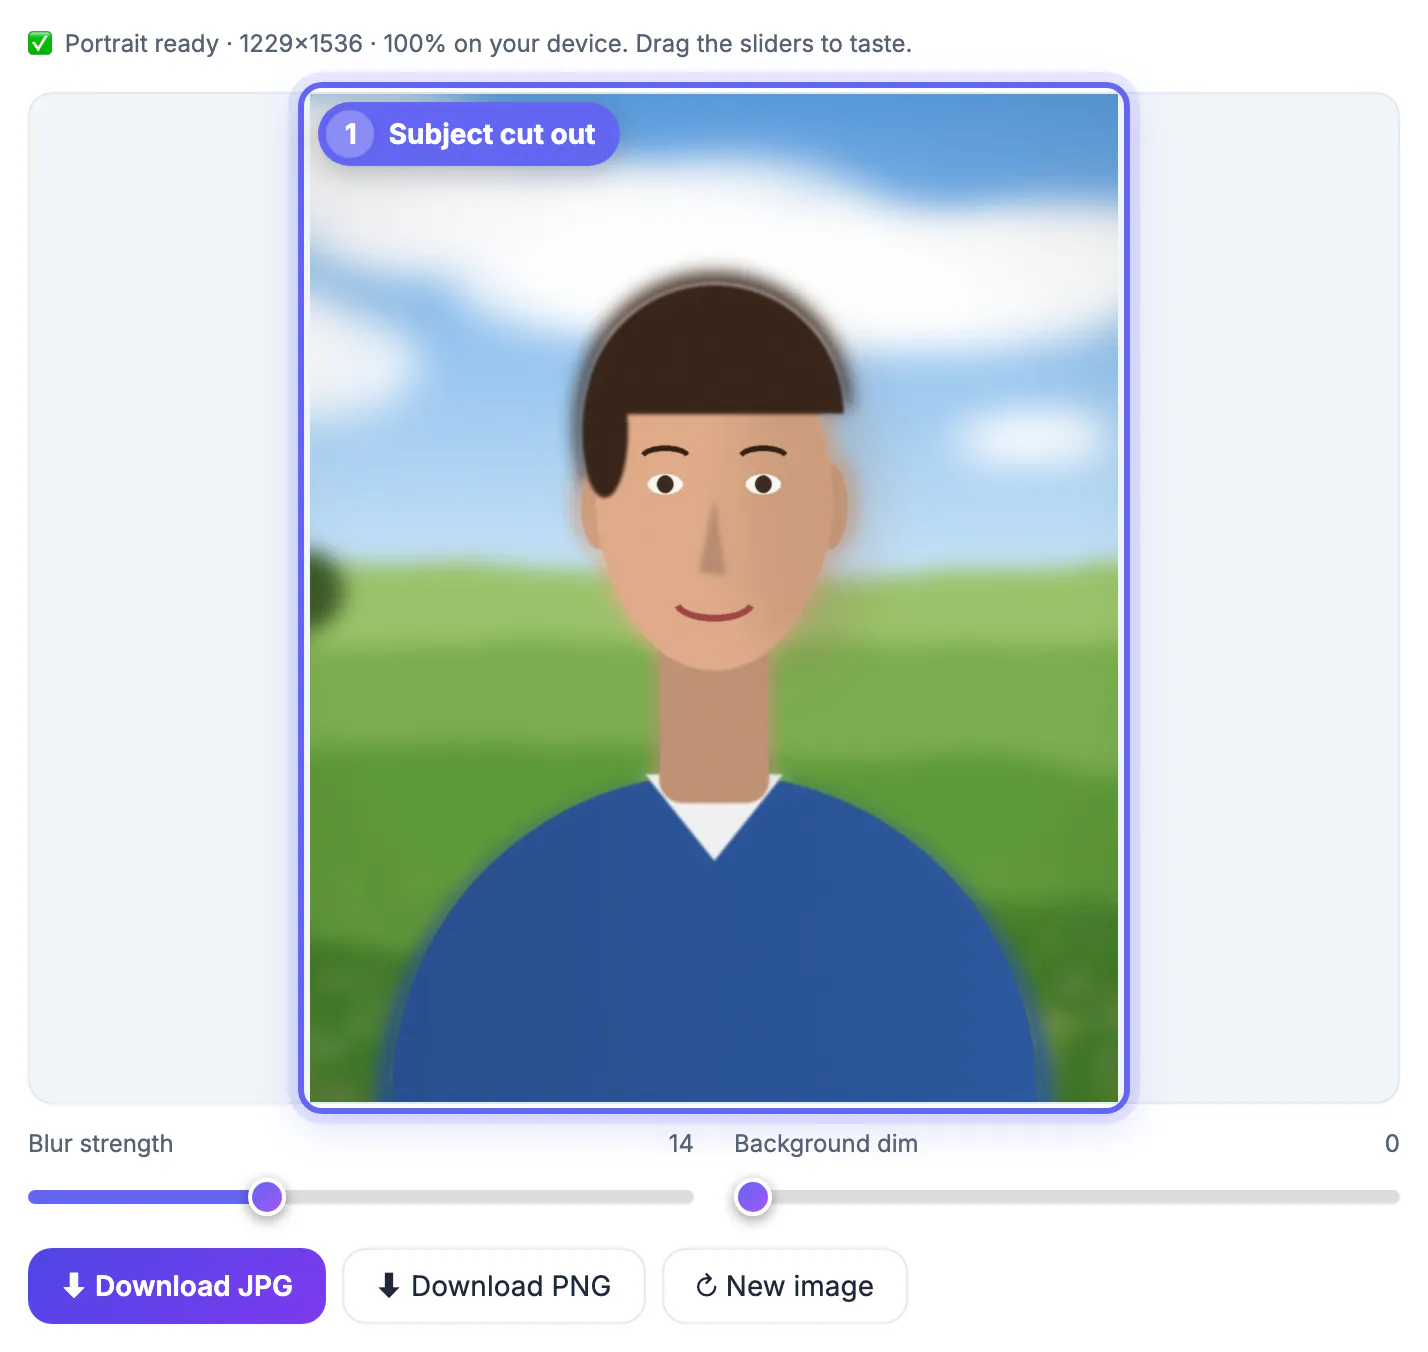
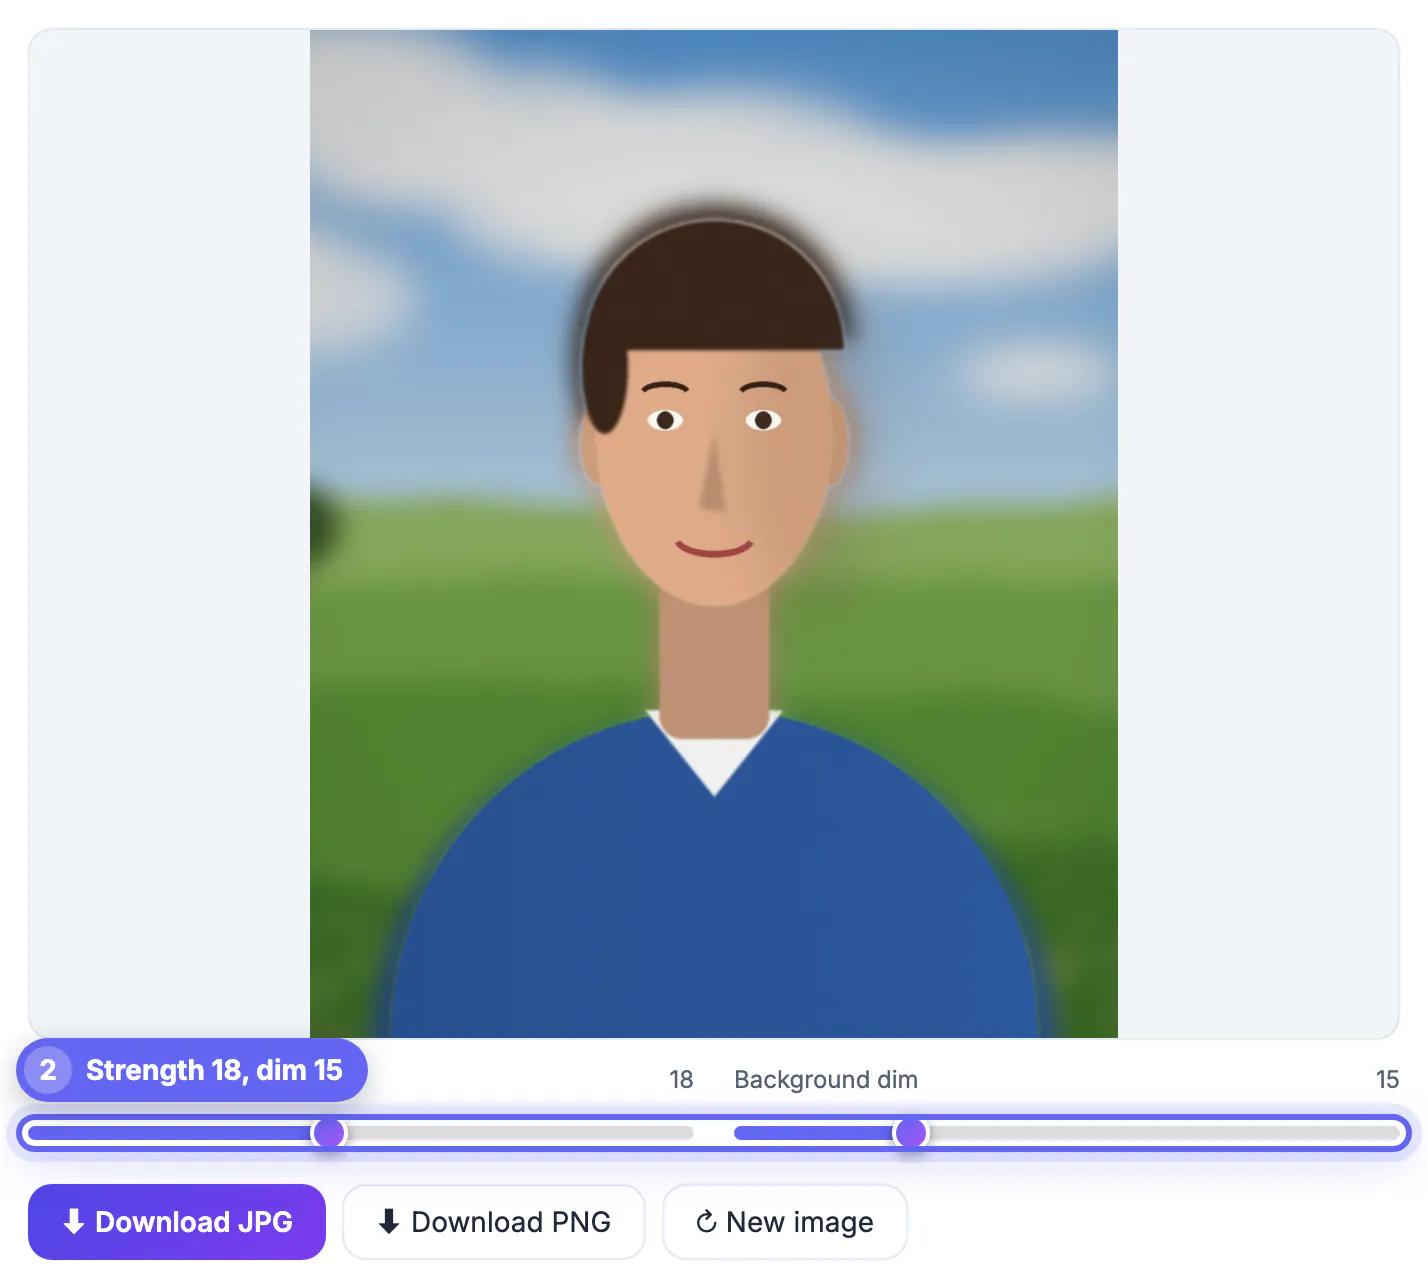
The tool offers a Blur strength slider from 0 to 40 (it opens at 14) and a Background dim slider from 0 to 60. Start from these and adjust by eye:
- LinkedIn or company headshot: blur 10 to 16, dim 0 to 10, for a clean studio feel that still shows context
- Dating or social profile: blur 14 to 22, dim 0, so the subject pops on a small circle crop
- Event or travel portrait: blur 6 to 12, keeping the landmark recognizable behind the person
- Product or poster with a person: blur 20 to 30 and dim 20 to 35 to push attention onto the subject and text
Dim is the underused control. Darkening a busy backdrop by 15 to 25 percent often does more for focus than a higher strength setting, and it looks more natural.
Change one slider at a time and compare at the size people will see: a profile photo is judged as a thumbnail about 200 pixels across, where a strength of 12 already looks dramatic.
Signs of a fake portrait mode edit
- A halo: a thin glow or sharp outline around hair, ears or shoulders where the cutout missed
- Sharp holes: gaps between an arm and the body, or between fingers, that stayed crisp while everything around them went soft
- Floating feet: a sharp person standing on a heavily smeared floor
- Too much of a good thing: a strength above about 30 on a casual snapshot reads as edited even to untrained eyes
If you see one of these, lower the strength a few steps first. Mild edge errors disappear at moderate blur and become obvious at maximum.
How the portrait blur tool works on your device
Drop a JPG, PNG or WebP. The first run downloads an AI matting network, then it is cached; on Chrome or Edge with WebGPU it runs on your graphics chip, otherwise on the processor. The cutout is computed locally, and your picture is never uploaded.
One honest limit: the tool works at up to 1536 pixels on the long side, so a 4000-pixel original comes back at 1536. That is plenty for profiles, social posts and slides, but for large prints, process a copy and keep the original. Download JPG for sharing or PNG for further editing, and your latest session is kept in the browser if you close the tab.
The tool runs on current Chrome, Edge, Firefox and Safari; very large pictures can run out of memory on older phones, so resize a huge original first if processing stalls.
For wider colour and tone tweaks, see how to edit photos with filters, and use the Compress Image tool if the finished file needs to be smaller.
Step-by-step
Common mistakes to avoid
Pro tips
Frequently asked questions
Can I blur a photo background without portrait mode on my phone?
Yes. Portrait Blur finds the person in an ordinary photo with AI and blurs everything else, so any existing shot from any camera can get the look afterward. It works on JPG, PNG and WebP files from phones, DSLRs, webcams and even screenshots of video calls, as long as a person is clearly visible.
Is my picture uploaded?
No. The AI runs in your browser on your device; after the one-time download of the AI files, the photo never leaves your computer or phone. That makes it suitable for family pictures, children and client headshots that should not sit on someone else's server.
Why is the result smaller than my original?
Processing is capped at 1536 pixels on the long side to keep it fast and within browser memory. That covers social, profile and slide use; for large prints keep a separate full-resolution original. Resize or crop in another tool afterward if a platform needs an exact size such as 400 x 400 pixels.
Does it work on pets and products?
Often, but the AI is trained for people, so fur and product edges are less dependable. Check the preview and use a moderate blur, which hides small edge mistakes. Pets with dark fur against a light floor tend to come out better than pale fur on a pale sofa.
How much blur looks natural?
For most portraits, 10 to 20 on the slider. Above about 30 the backdrop turns into smooth color, which suits posters but reads as heavily edited on everyday photos. Adding 10 to 20 of Background dim often does more than pushing the strength higher.
Choose a waist-up shot with some contrast, set a moderate blur and a touch of dim, and check the hair before you download. Done that way, a blur added afterward is hard to tell from a phone portrait mode capture.
Related guides
Browse more: all image guides · Portrait Blur (Bokeh)