Edit Photos Free Online With Filters and Simple Sliders
To edit photos free online with filters, open the picture in GrabCast's Photo Editor, tap one of 8 looks such as Vivid, Warm or Noir, and fine-tune brightness, contrast, saturation, warmth, vignette and blur before saving a full-size copy. It runs in the browser, so nothing is uploaded, nothing is installed and no watermark is added. This guide shows which slider fixes which everyday problem, how to treat a preset as a first draft, and how to chain the other free tools for cropping, resizing, background removal and compression in an order that keeps quality high.
🎨 Try Photo Editor & Filters now — freeOpen →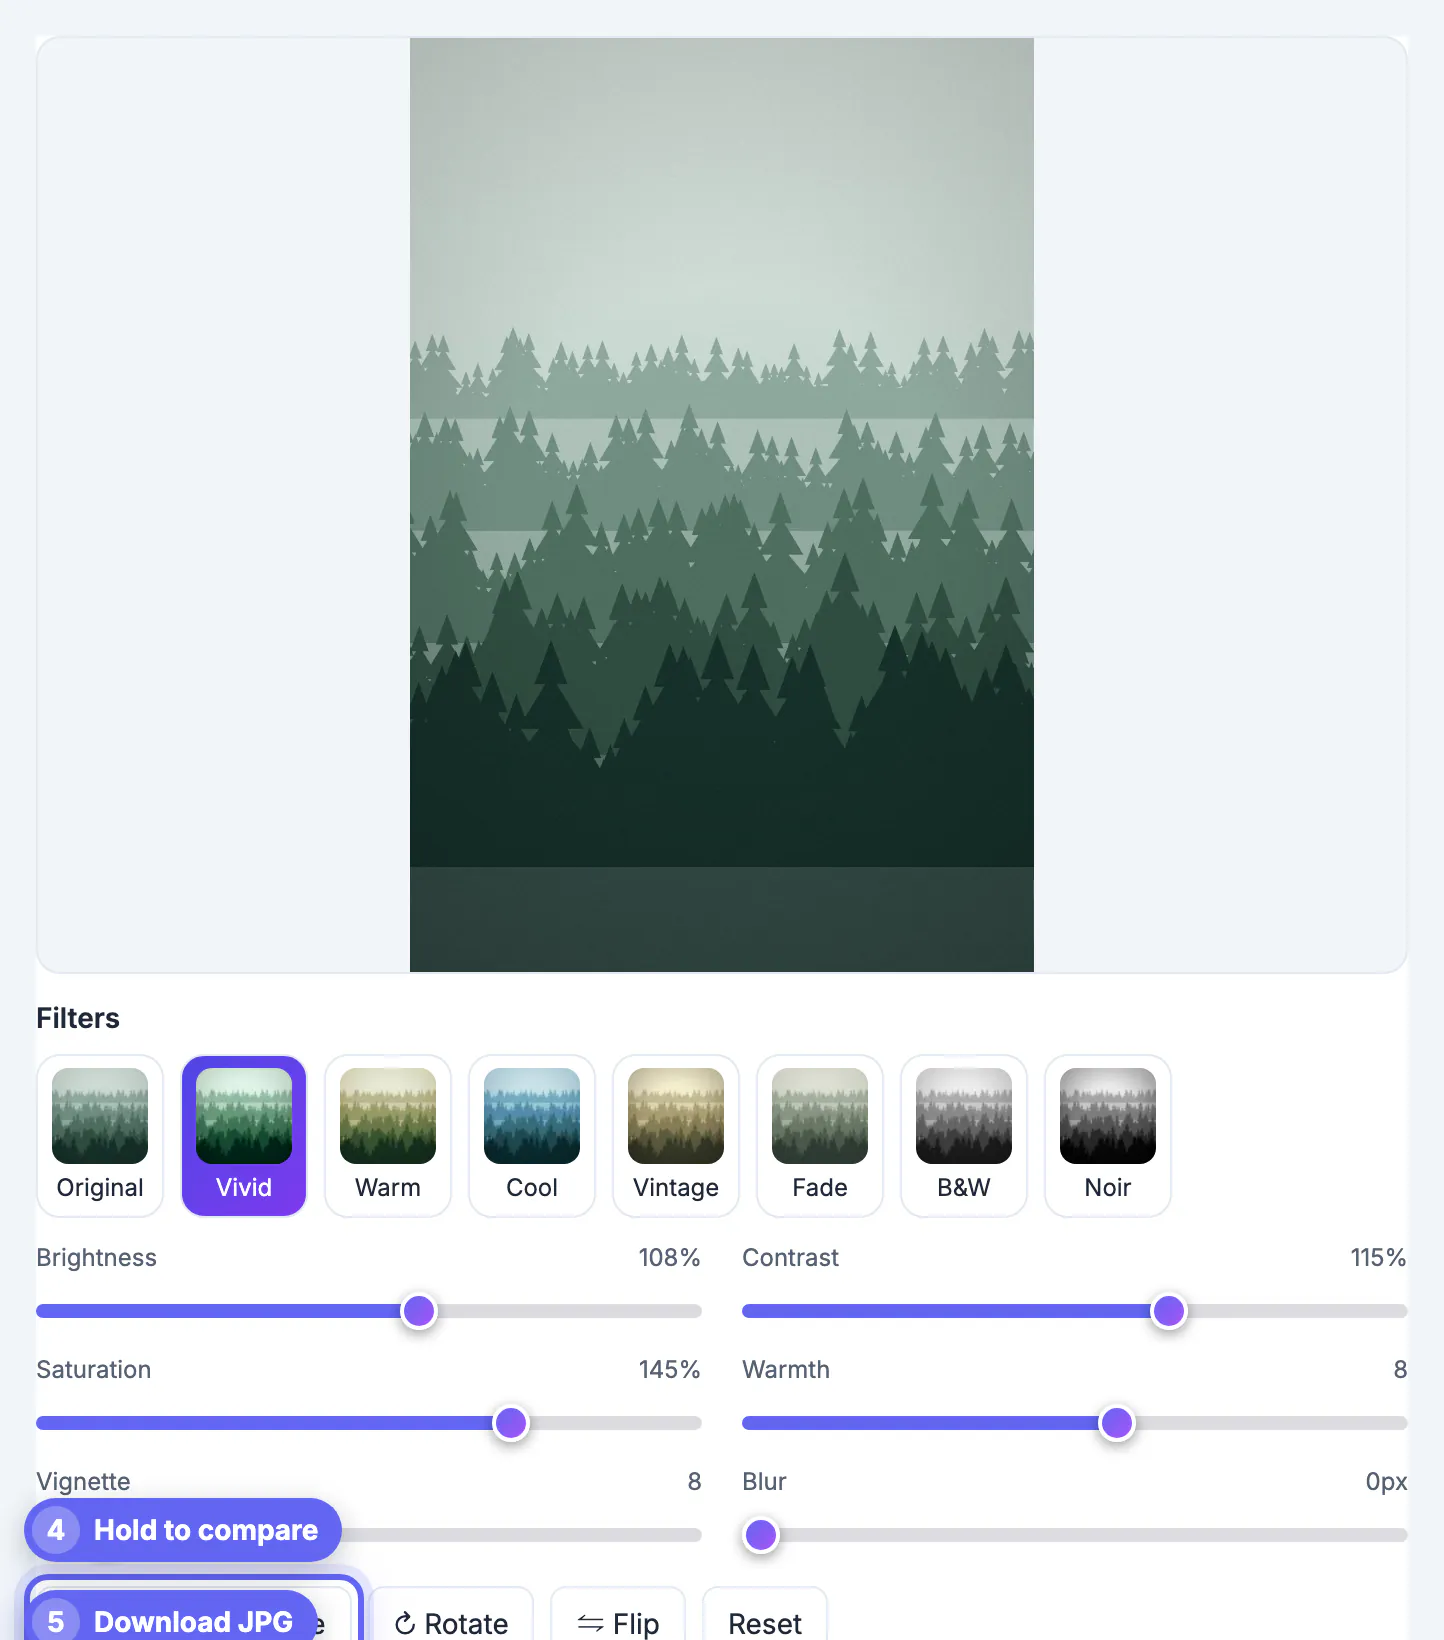
Phone cameras are good at focus and exposure, but they guess at color and brightness from the scene, and those guesses go wrong in predictable ways. Indoor lamps turn skin orange, overcast days make everything flat and gray, backlit portraits leave faces dark, and food looks duller than it tasted. Each of those problems takes one or two slider moves, which is why a light, fast set of controls covers most of what people need before posting or printing. Heavy desktop software still has its place, but for a birthday picture, a listing shot or a quick profile update it is more than the job requires.
Fix the four most common problems with sliders
Work in this order: light first, then color, then mood. Changing saturation before brightness often means redoing it afterward.
- Too dark indoors: raise Brightness to about 110 to 120 percent (it goes up to 150), then add Contrast of 105 to 110 so the picture does not look washed out
- Flat and gray on a cloudy day: Contrast 110 to 120 and Saturation 115 to 125, or start from the Vivid preset
- Orange skin under lamps: move Warmth, which runs from minus 60 to plus 60, toward about minus 15 to minus 25 until white objects look white
- Dull food or products: Saturation around 120 and Warmth of 10 to 15 for an appetizing glow
Press and hold the compare button to flip back to the original at any moment. If you cannot see the difference, the move was too small to matter; if it jumps out, it was probably too much.
Use filters as a starting point, not the final answer
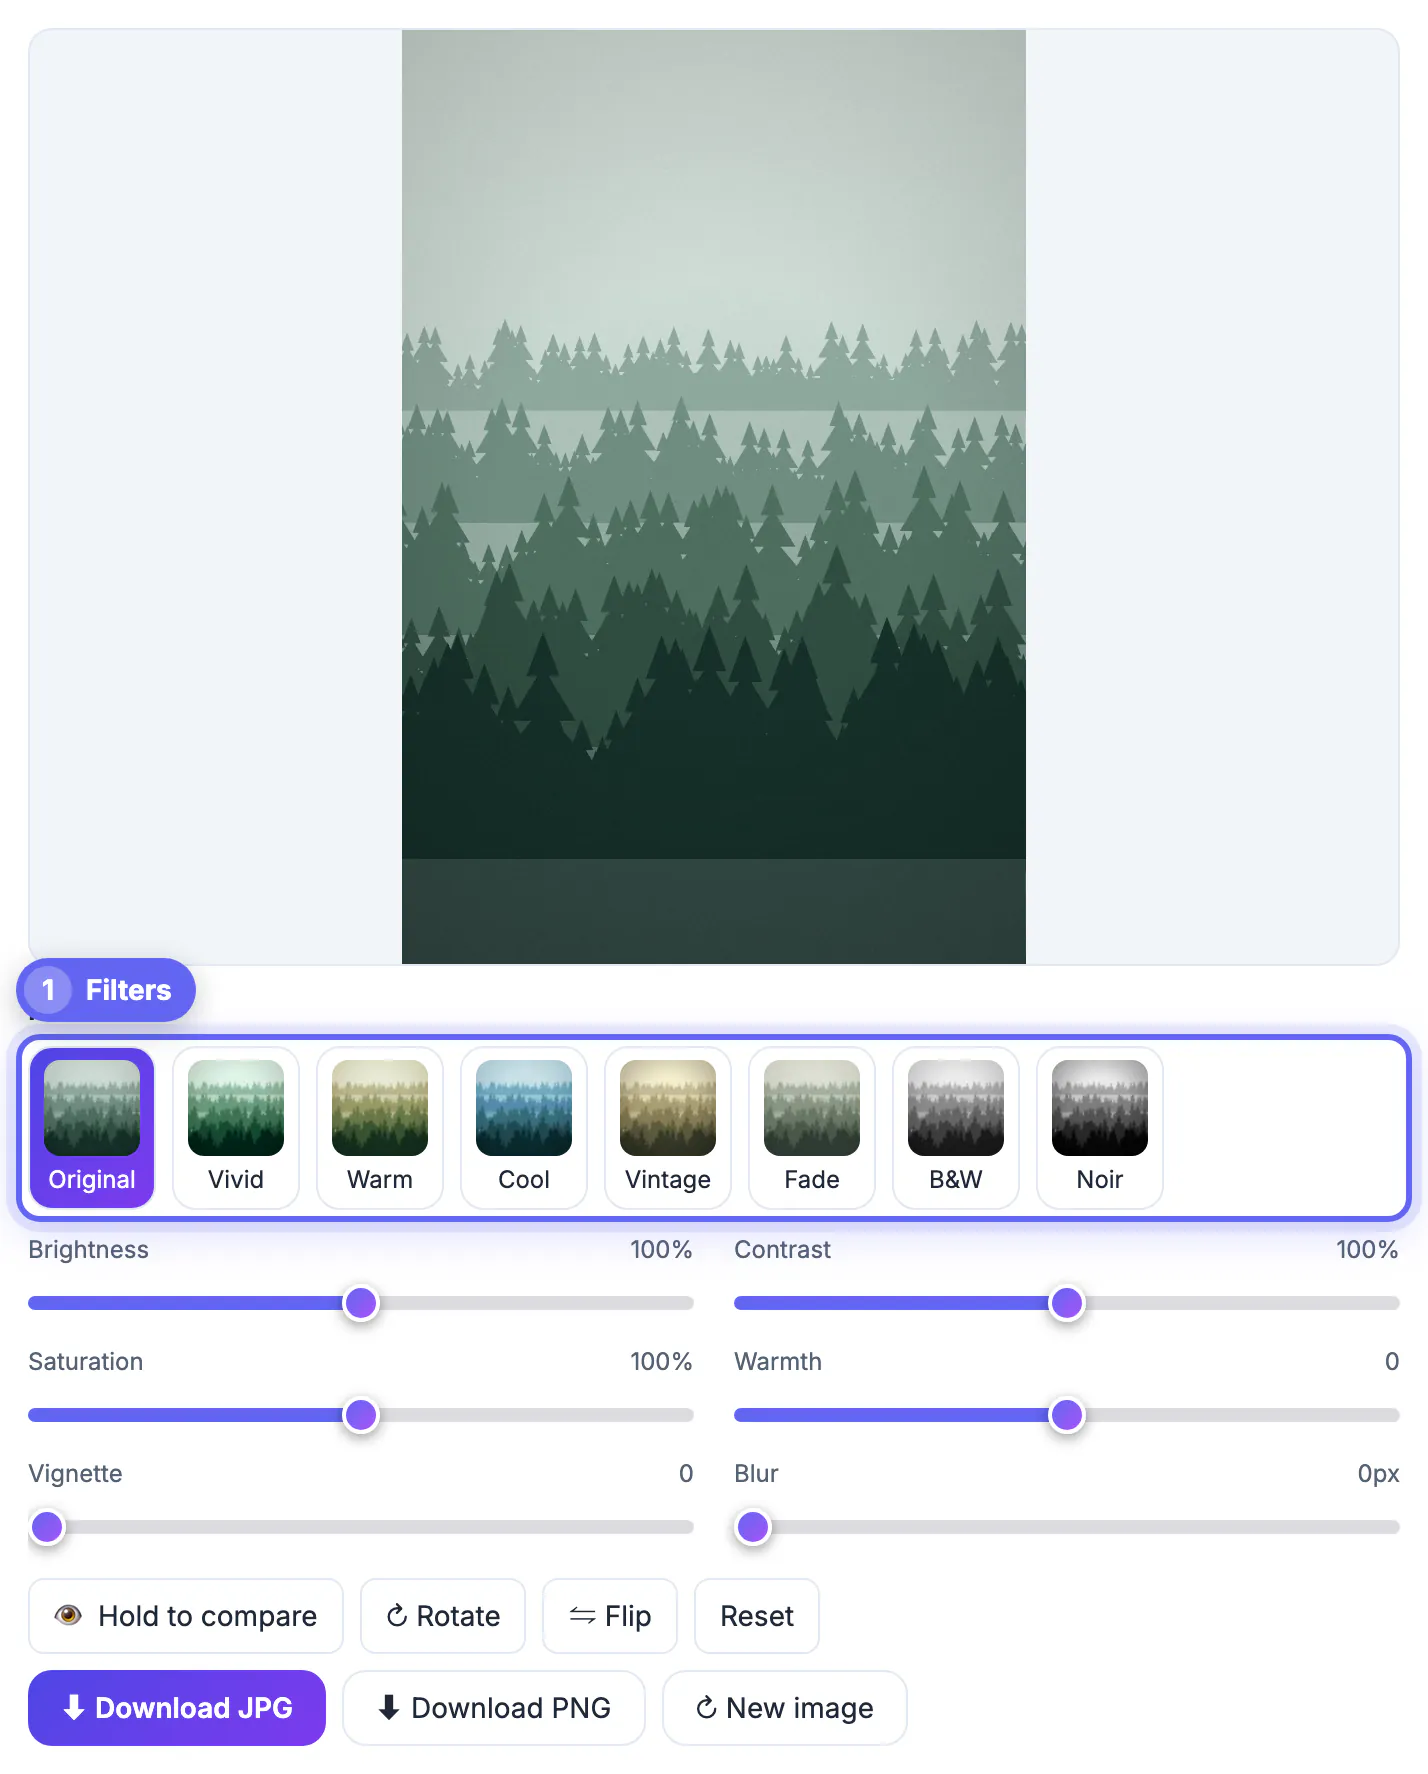
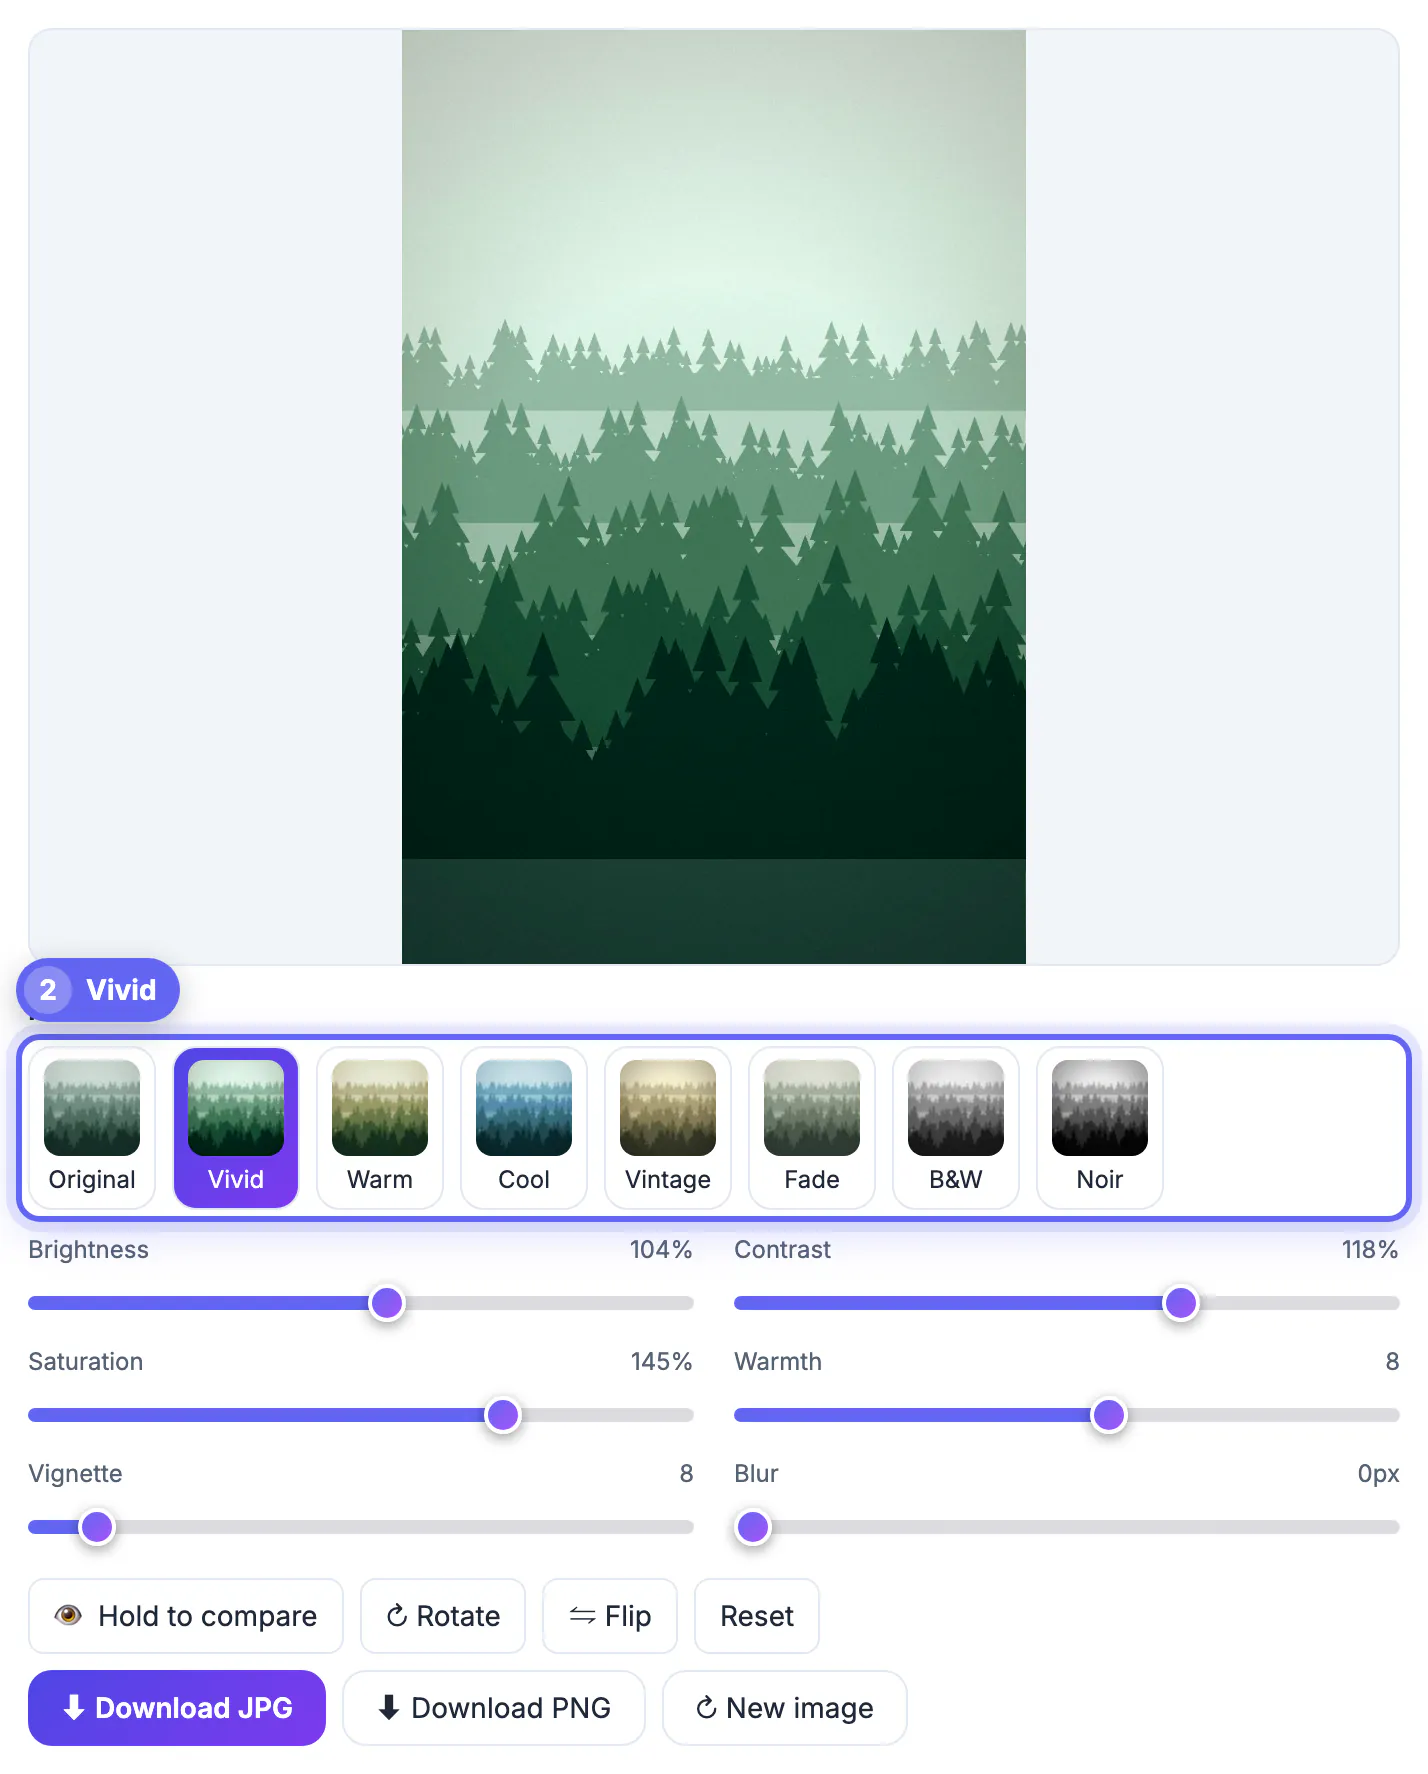
The eight presets set several sliders at once, and every thumbnail shows your own picture with that look applied, so you choose by eye rather than by name.
- Original: resets everything to the untouched shot
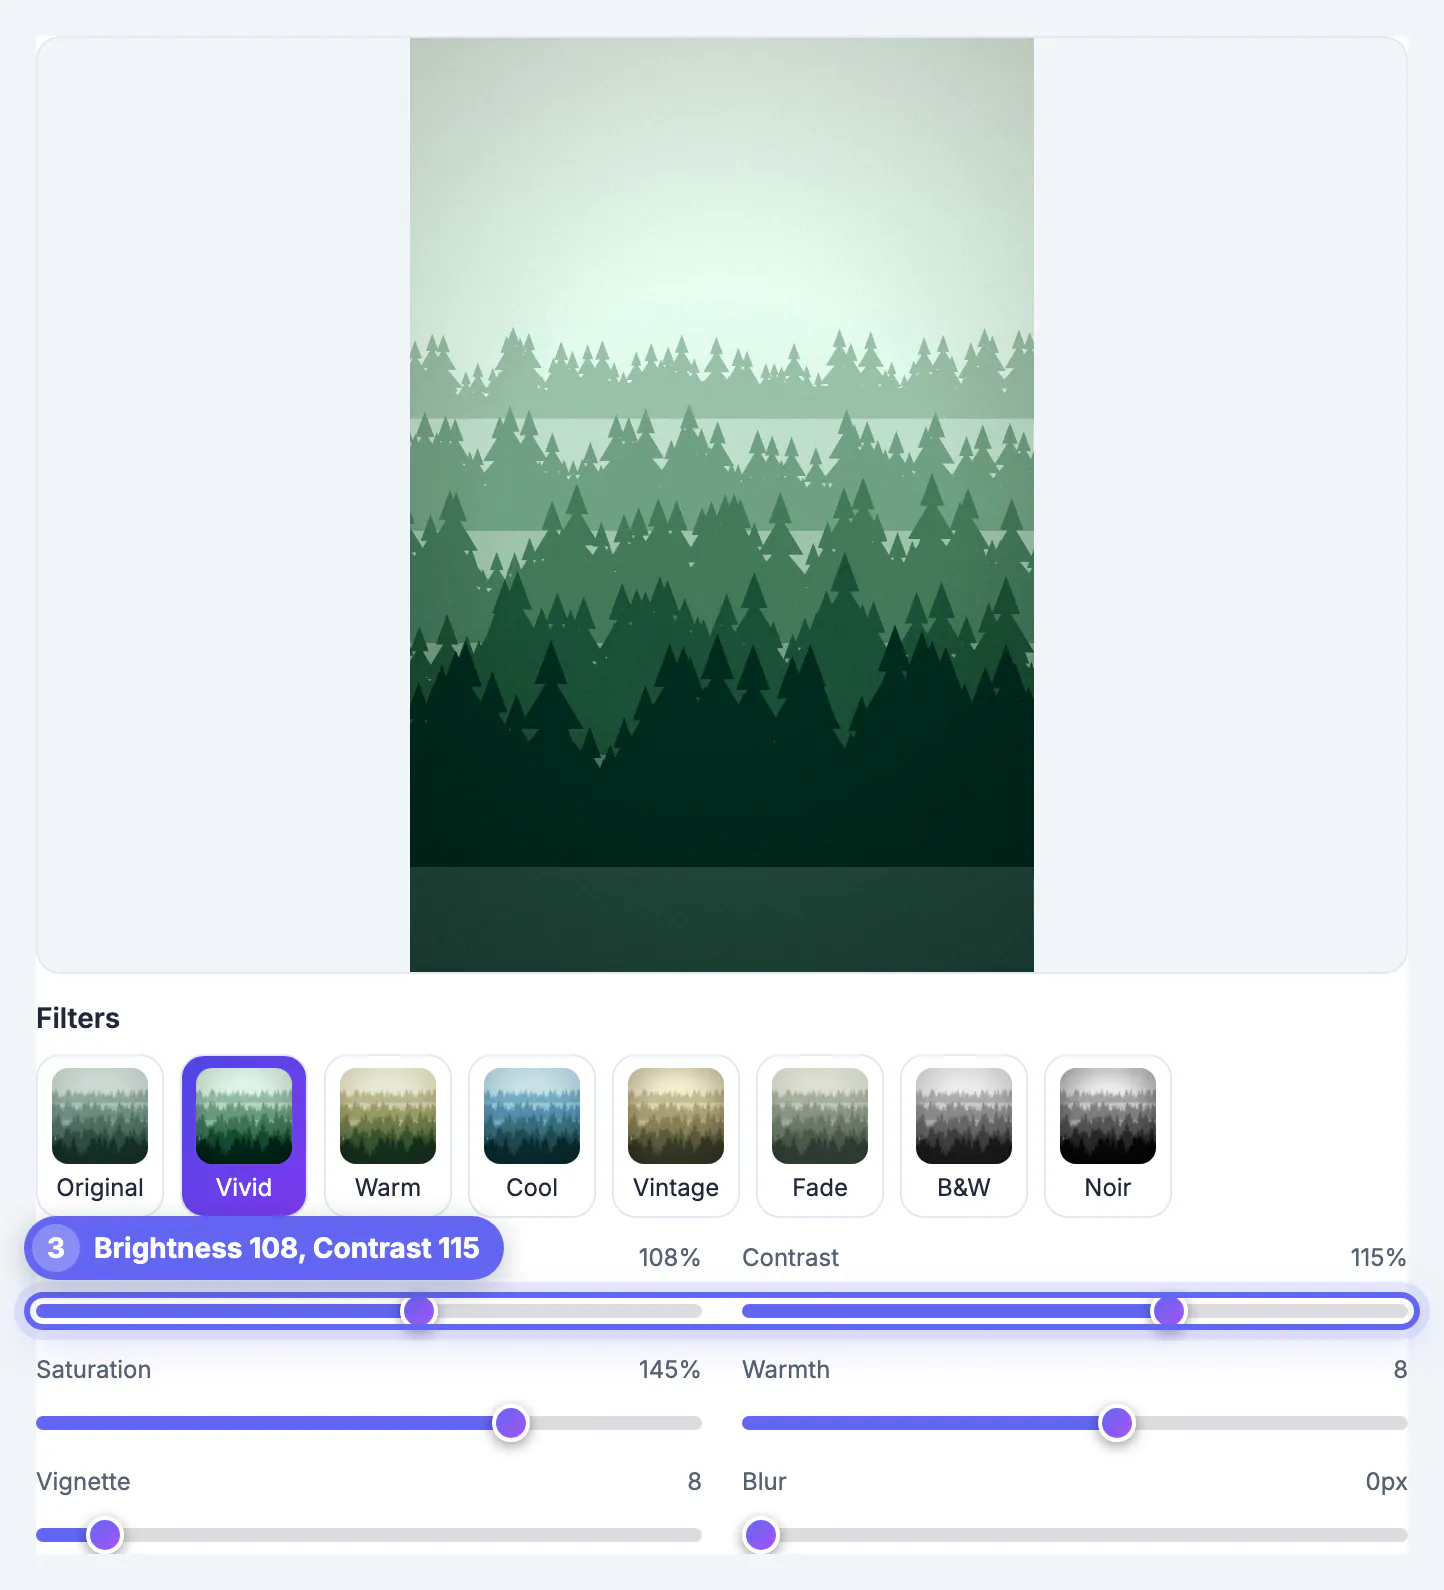
- Vivid: stronger contrast and much richer color for landscapes, travel and street scenes
- Warm and Cool: shift the mood toward sunset gold or crisp blue, with a light vignette
- Vintage and Fade: softer contrast, muted color and a sepia tint for a film look
- B and W and Noir: monochrome, with Noir pushing contrast and a heavy vignette for drama
After you tap a preset, the sliders show its values, so you can pull Saturation back from Vivid or brighten a Noir portrait that went too dark. Vignette between 15 and 30 subtly pulls the eye to the center; above 50 it becomes a visible frame. The Blur slider, 0 to 12 pixels, softens the whole picture, subject included, so use Portrait Blur when you want only the background out of focus.
The order to edit photos free online without losing quality
Filters handle light and color. Everyday edits often need a few other steps, and each has its own free browser tool. Doing them in a sensible order avoids wasted work and a second round of compression.
- 1. Crop and straighten first with Crop Image, so trimmed edges no longer influence how the picture looks
- 2. Adjust light, color and filters in the Photo Editor; Rotate turns in 90-degree steps and Flip fixes mirrored selfie text
- 3. Remove or blur the background if needed, with the Background Remover or Portrait Blur
- 4. Resize to exact pixels or a social preset with Resize Image, shrinking rather than enlarging
- 5. Compress last with Compress Image, so you shrink the final picture instead of an intermediate copy
Keep a cut-out with a transparent background as PNG through every step, because saving it as JPG anywhere along the chain fills the empty areas with white.
Save at full size, and know the limits
Downloads are rendered at full resolution up to 8,000 pixels on the long side, so a 12- or 48-megapixel phone shot keeps its detail. Choose JPG, saved at 92 percent quality, for sharing and printing, or PNG when you plan further work in another app and want to avoid another round of compression. The export is a fresh image, so camera metadata such as the location is not carried over.
The editor keeps your last image and settings in this browser for up to 3 days, so an accidental reload does not lose your work. It deliberately stays simple.
- No crop, curves, per-color controls or RAW support
- No spot healing, skin retouching, text or layers
- One picture at a time, with no batch processing
- For those jobs, use the dedicated GrabCast tools above or a full desktop editor
Step-by-step
Common mistakes to avoid
Pro tips
Frequently asked questions
Can I edit photos online without installing software?
Yes. Filters, light and color, rotate and flip run in the Photo Editor, and cropping, resizing, background removal and compression each have a free browser tool. Nothing needs to be installed on a phone or computer.
Is this photo editor really free with no watermark?
Yes. There is no account, no paid tier and no watermark or logo on the exported picture, and no queue or upload wait even for large pictures.
Are my pictures uploaded?
No. Filters are drawn with your browser's canvas on your own device. Your last session is stored only in this browser, for up to 3 days, and New image clears it.
What order should I edit a photo in?
Crop first, then adjust light and color, then remove the background if needed, then resize, and compress last so the final file is shrunk only once.
Does it work on iPhone and Android?
Yes, in a current mobile browser. Very large pictures take a moment longer to save on older phones, but the sliders and filters work the same way as on a computer.
Most pictures need just light, color and mood: fix brightness and contrast first, correct warmth, then pick a filter and pull it back to taste. Crop before you edit, resize and compress after, and you get a polished, full-size photo for free without uploading it anywhere.
Related guides
Browse more: all image guides · Photo Editor & Filters