Turn a Photo Into a Cartoon Free: 6 Styles at Full Res
To turn a photo into a cartoon free, drop the picture into GrabCast's Cartoon and Comic Effect, click one of six styles (Cartoon, Comic, Pop art, Poster, Duotone or Sketch), fine-tune the sliders and download a JPG or PNG with no watermark. The effect runs on your own device, and the download keeps your photo's full resolution up to 4,000 pixels on the long side, so a 12-megapixel phone shot comes back at about 4000 by 3000 pixels, sharp enough for a mug or an 8 by 10 inch print. This guide is for everyday uses: a profile picture, a pet portrait, a set of team avatars or a birthday gift. It covers what each style really does, how to keep a face recognizable, and which size and format to save for each job.
🖍️ Try Cartoon & Comic Effect now — freeOpen →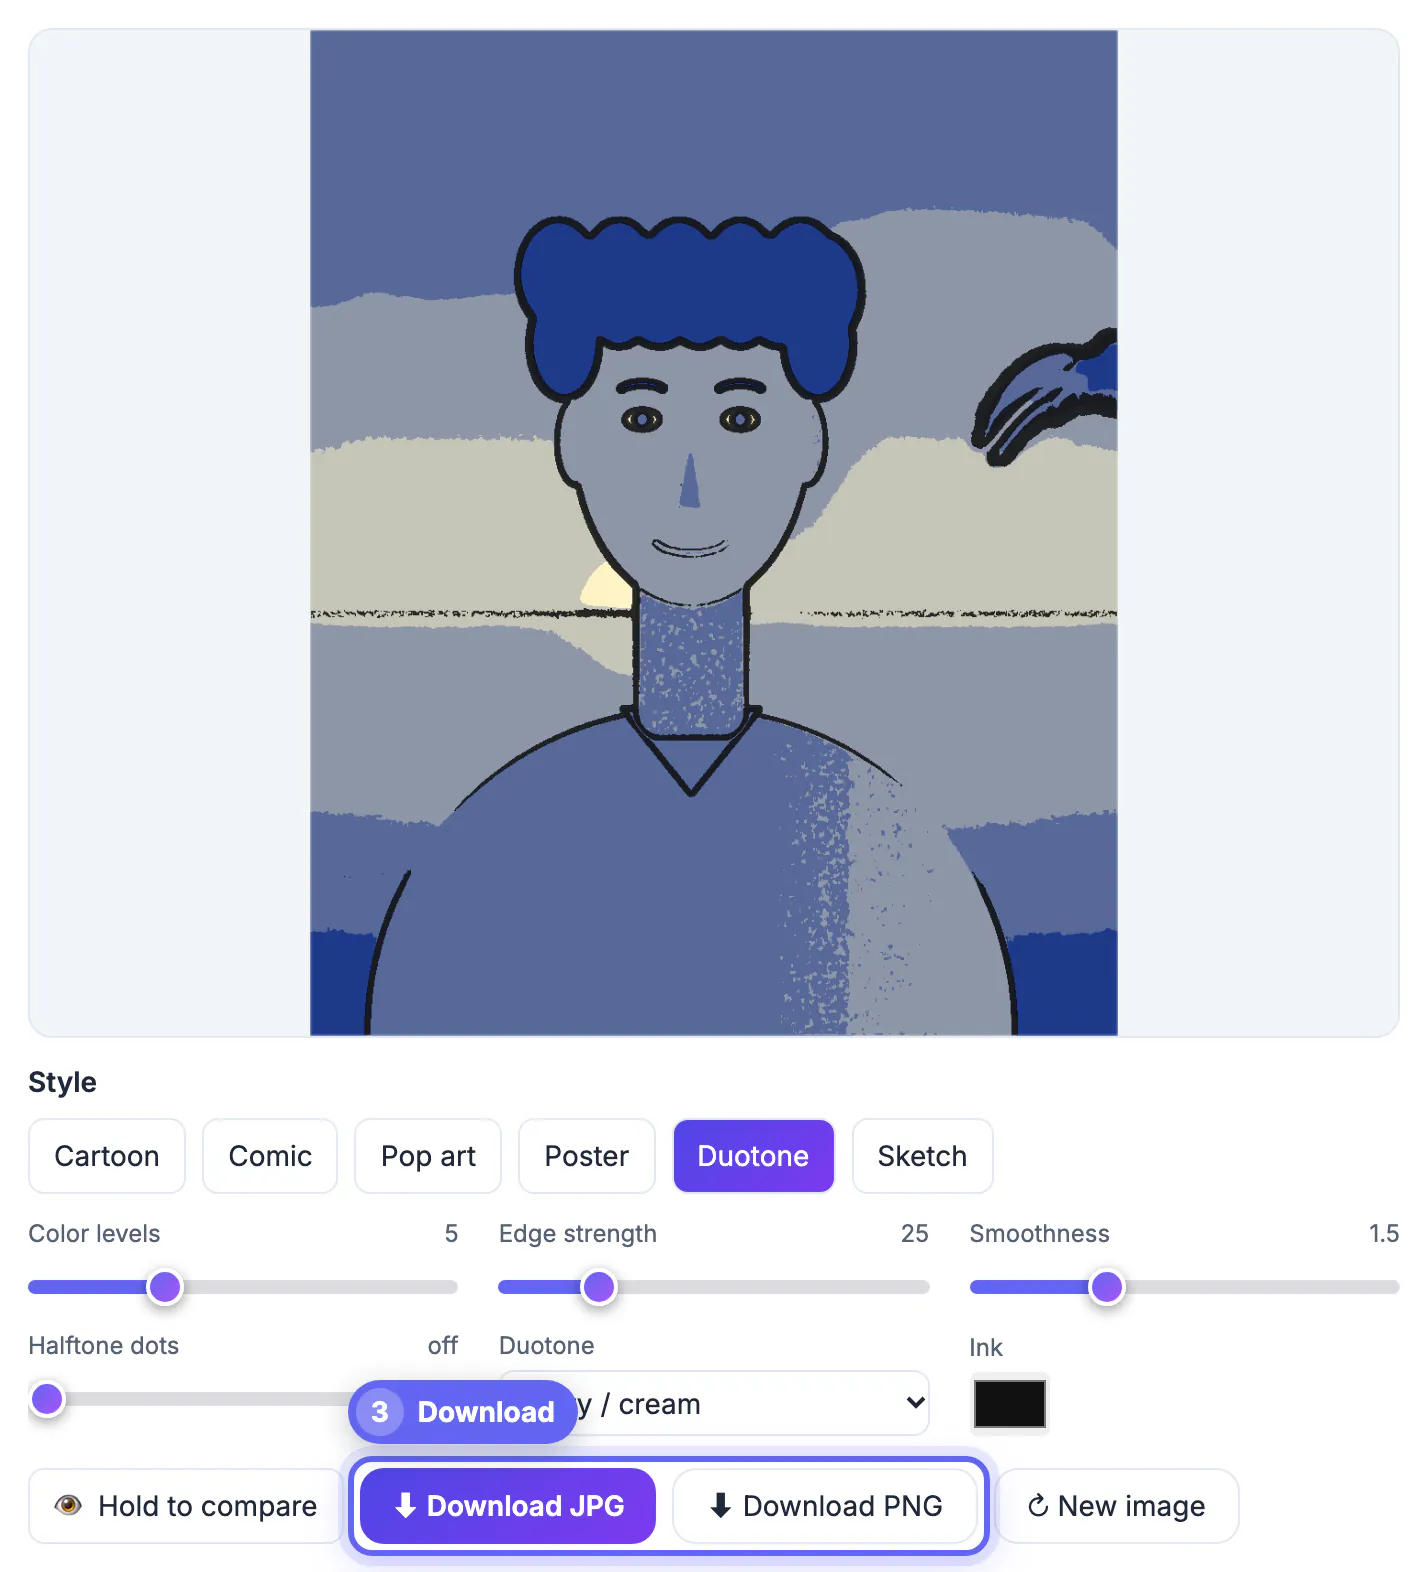
Generative AI apps redraw your face from scratch. That is fun, but it is slow, usually cloud-based, and it often changes who you look like: a new jawline, different eyes, a stray extra finger. A classic cartoon filter does something more predictable. It flattens similar colors into bold blocks and traces the strongest edges as ink lines, so the pose, the expression and the likeness stay exactly as you shot them. That makes it the right choice when people need to recognize the subject at a glance: a Slack avatar, a pet portrait on a mug, a class photo turned into a yearbook page. The honest trade-off is that it will not turn a snapshot into an anime character or a 3D animated movie still; for that you need a generative app and its privacy terms.
Six ways to turn a photo into a cartoon, compared
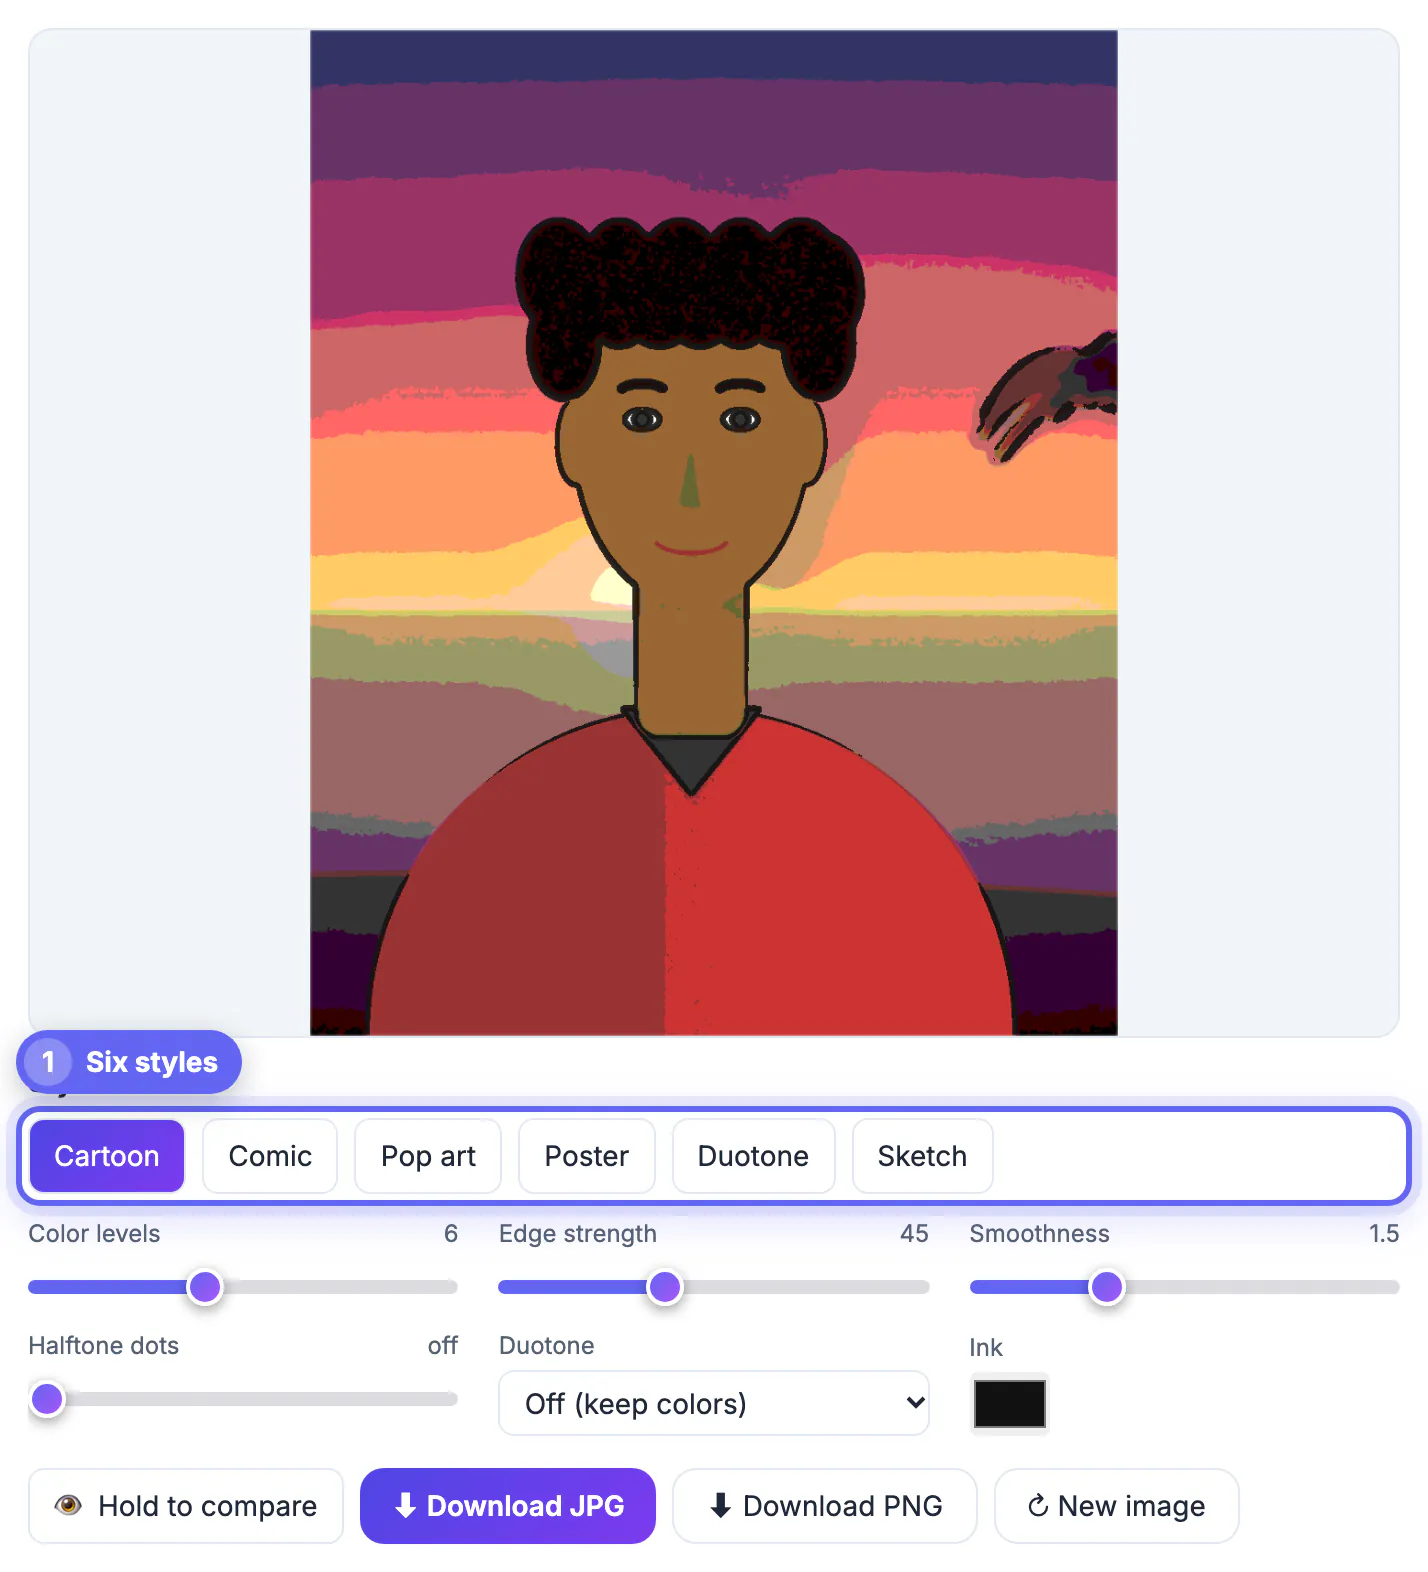
Each style button simply loads a set of slider values, so you can click through all six in under a minute and then fine-tune the one you like. Nothing is re-uploaded between tries.
- Cartoon (6 color levels, edge 45, smoothness 1.5): soft flat color with medium outlines, the friendliest look for faces, kids and pets.
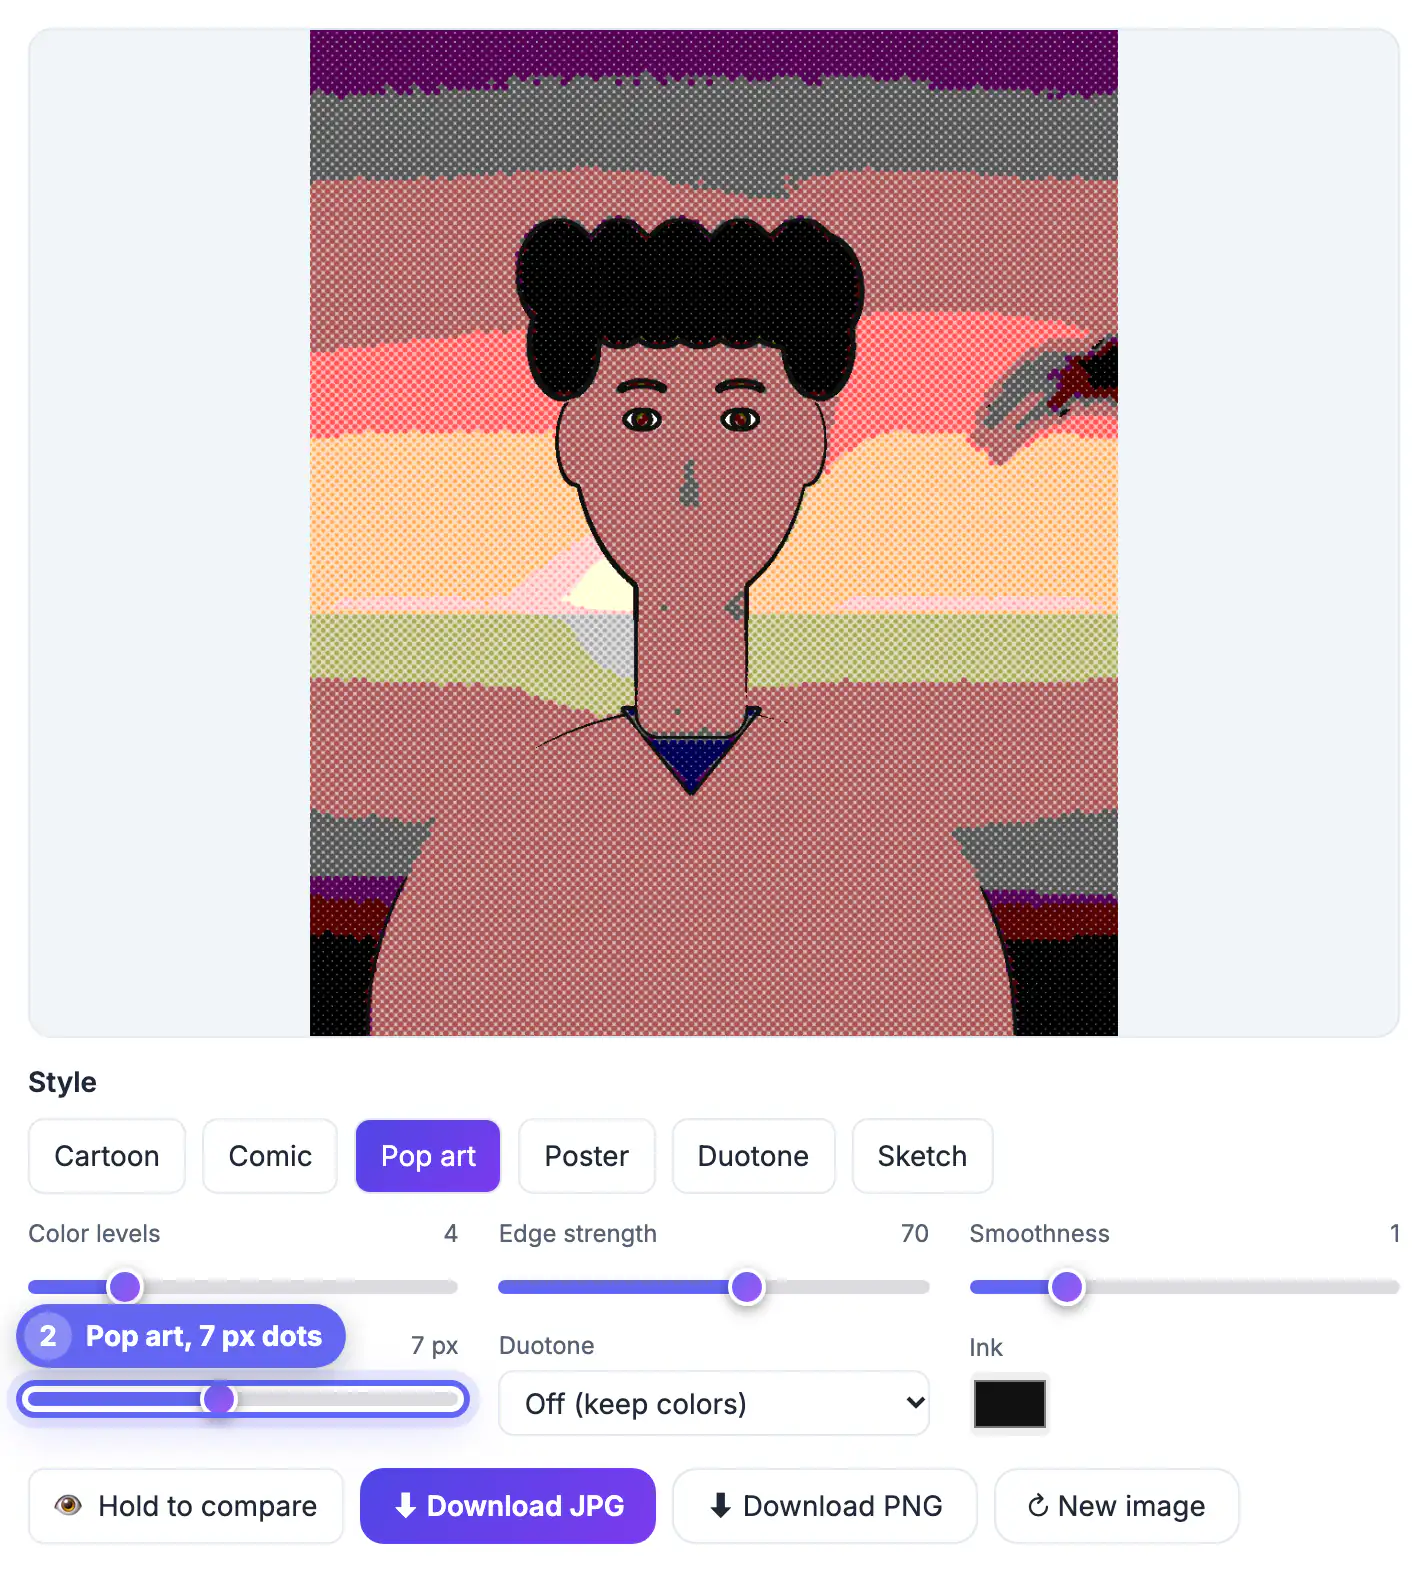
- Comic (4 levels, edge 70, smoothness 1): fewer tones and bolder ink, like a printed comic panel.
- Pop art (Comic plus 7-pixel halftone dots): a pale base covered in round dots on a 45 degree grid, with bigger dots in darker areas, the classic Roy Lichtenstein-style newsprint look.
- Poster (3 levels, edge 20, smoothness 2): broad flat tones and very few lines, the screen-printed flyer feel.
- Duotone (5 levels in navy and cream): every tone is remapped to steps between two colors; switch the pair to pink and yellow, noir red, teal and orange, forest and mint, or your own two colors.
- Sketch (10 levels, edge 90, smoothness 0.5): lots of tonal detail with thin, crisp outlines, closer to an inked illustration.
A useful rule of thumb: fewer color levels and bolder edges read better small, while more levels and lighter edges look better printed large. Try every style once before touching a slider; a moody portrait often shines in Duotone, and a bright beach snapshot suits Poster because its colors are already simple.
Picking a source image that cartoons well
The filter can only simplify what is already in the frame, so the input decides most of the result.
- Use the original camera file. A picture forwarded through WhatsApp or iMessage is often squeezed to about 1,600 pixels and full of compression blocks, which turn into mushy blobs.
- Soft, even light from a window beats harsh overhead light, which leaves dark patches that become heavy ink under the eyes.
- Plain or softly blurred backgrounds keep attention on the subject. A busy street becomes a tangle of lines, so remove or blur the background first if you can.
- Face the camera or turn three quarters, with eyes open and clearly visible.
- Crop close before converting so the subject fills most of the frame and the full-resolution export is spent on the face, not on empty wall.
Pets are forgiving subjects: fur edges turn into lively ink strokes, and a dog with high-contrast markings looks great in Comic. Scanned prints work too, but dust specks become tiny black dots, so wipe the scanner glass, scan at 600 dpi and crop off the white border first.
Keeping the likeness: slider settings for faces
Likeness lives in the eyes, the mouth and the outline of the face, so protect those areas when you tune the sliders.
- Smoothness (0 to 5) blurs before inking. Raise it only until skin texture disappears; above about 3 it starts erasing eyelids and lip lines.
- Edge strength (0 to 120) is a threshold, so a lower number draws more lines. If eyes turn into dark holes or pores become freckles, raise it toward 60 or 70.
- Color levels (2 to 12): keep portraits at 5 or 6. Very low values can merge hair into the background and flatten warm or deep skin tones into one muddy block.
- Ink color replaces pure black outlines. A dark brown or navy ink looks gentler on children's portraits than stark black.
- Hold the compare button to flash the original, and check the result at thumbnail size too, since avatars are mostly seen tiny.
Your last image and settings are remembered in the browser, so if the tab closes you can restore the edit when you come back. Save two or three variants and pick one later with fresh eyes; the differences are clearer after a short break.
Sizes and formats for avatars, stickers and prints
The preview works on a 1,100-pixel copy so the sliders respond instantly, but the download re-renders the effect from your original at up to 4,000 pixels on the long side. Dot size and blur are scaled up to match, so the file looks like the preview, only sharper. Smaller photos are kept at their own size rather than blown up. The file name records the size, for example beach-comic-4000x3000.jpg.
- Profile pictures for Slack, Discord or LinkedIn: JPG is fine; crop square or circular afterward and leave space above the head.
- Vinyl stickers and labels: PNG keeps the flat color edges crisp, which cutting machines and print shops prefer.
- Mugs, T-shirts and cards: an 8 by 10 inch print at 300 dpi needs 2,400 by 3,000 pixels, which a modern phone photo now covers without upscaling.
- Team or classroom sets: keep every portrait on identical slider values and the same ink color so the set looks deliberate.
- Social posts: the 92 percent quality JPG is several times smaller than the PNG and uploads faster.
On older phones a 4,000-pixel render can be too large for the browser's memory; if you see a warning, crop the photo tighter first. Everything happens on your device, and the download carries no watermark.
To turn the result into a sticker, cut out the subject with the Remove Image Background tool, and use the Compress Image tool if the file is too large for an app.
Step-by-step
Common mistakes to avoid
Pro tips
Frequently asked questions
Is my picture uploaded when I cartoonize it?
No. The effect is computed in your browser, so the picture never leaves your phone or computer. Your last edit is stored only in that browser so you can restore it.
Is this an AI cartoon generator?
No. It is an image filter that flattens colors, draws ink outlines and can add halftone dots or a two-color duotone, so it keeps your exact pose and likeness instead of inventing a new drawing.
How big is the downloaded file?
The download keeps your photo's resolution up to 4,000 pixels on the long side, so a typical phone photo exports at about 4000 by 3000 pixels. The on-screen preview is smaller only to keep the sliders fast.
Which style works best for a profile picture?
Cartoon or Comic with 5 or 6 color levels suits faces. For very small icons, Poster reads more clearly, and Duotone gives a clean, on-brand look for a whole team.
Is there a watermark or usage limit?
No. It is free and unlimited, needs no account, and downloads carry no watermark. Use photos you took or have permission to edit.
Turn a photo into a cartoon free by starting with a sharp, evenly lit original, trying all six styles, protecting eyes and mouth with gentle smoothness, and downloading a full-resolution, watermark-free file that never left your device.
Related guides
Browse more: all image guides · Cartoon & Comic Effect