Timelapse From a Normal Video: 8x and 16x Frame Skipping
You can make a timelapse from any normal video by keeping only every 8th or 16th frame and playing those frames at the original frame rate. Clouds race, crowds flow and a sunset passes in seconds. GrabCast's Change Video Speed has 8x and 16x timelapse presets that do exactly this in your browser, mute the soundtrack by default and show the new length before you export. In the example, a 6-second night-sky clip becomes an 8x timelapse lasting under a second. Below is the planning math that tells you how long to record, and the camera habits that separate a smooth timelapse from a jittery one.
⏩ Try Change Video Speed now — freeOpen →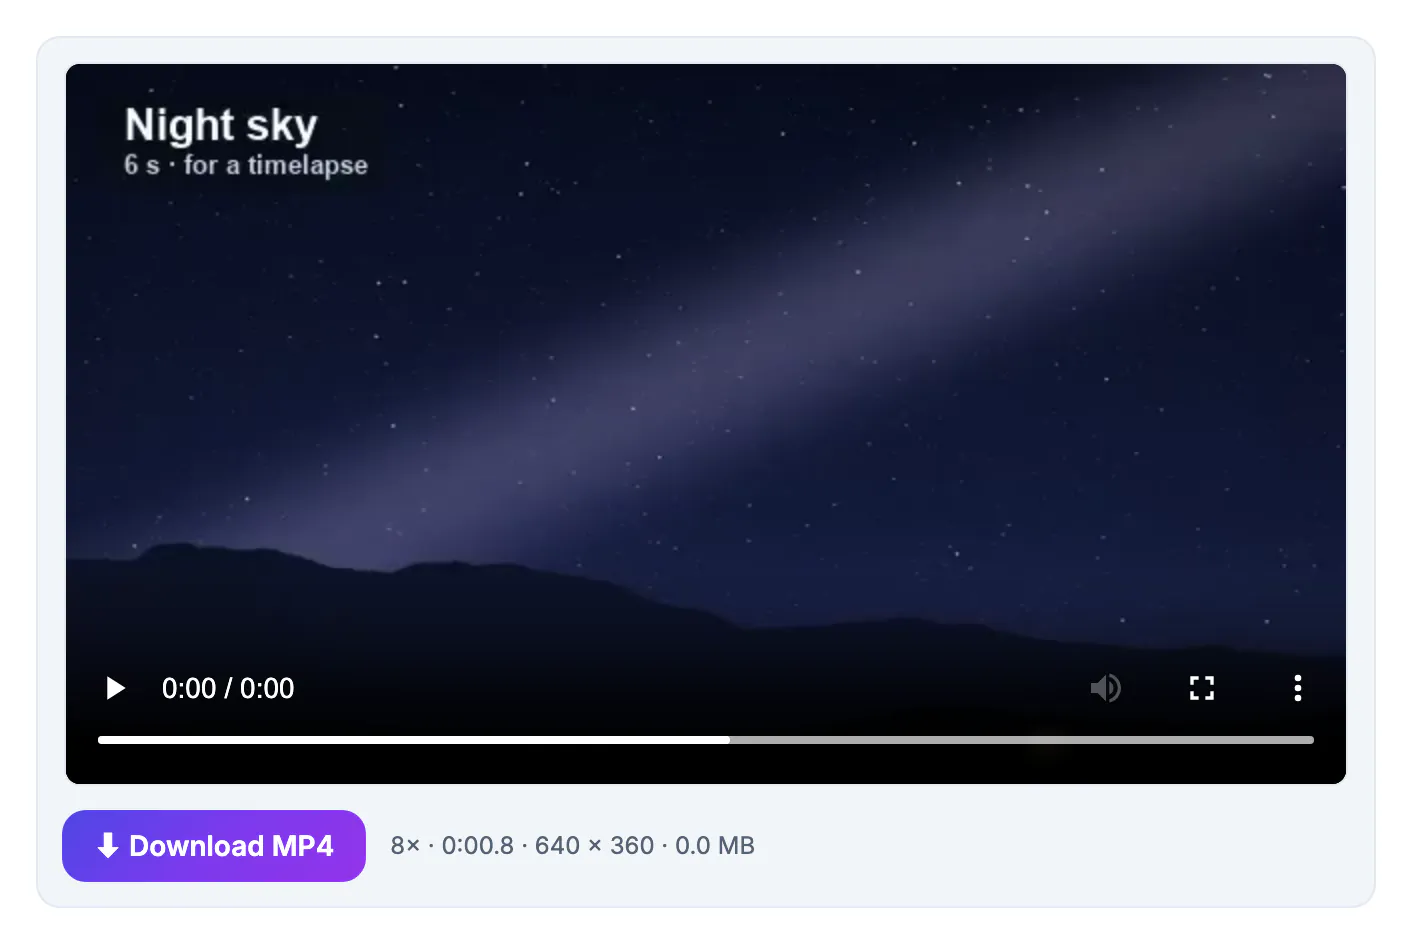
Dedicated timelapse modes capture one photo every few seconds, which saves storage but locks in the speed before you know what the scene will do. Recording normal video keeps your options open: the same hour of footage can become a 16x sweep, an 8x version with more detail, or a real-time cutaway of the moment the light changed. It also works with any camera, including ones without a timelapse mode, and with footage you already have, such as a long dashcam-style drive, a construction view or a screen recording of a design being built. The price is file size, since video records every frame, and processing time, since the tool has to read all of those frames to pick out the ones it keeps. For clips of a few minutes that is a fair trade, and it runs on your own device without uploading hours of footage anywhere.
How 8x and 16x timelapse presets work
A timelapse preset drops frames rather than blending them, which keeps every remaining frame sharp.
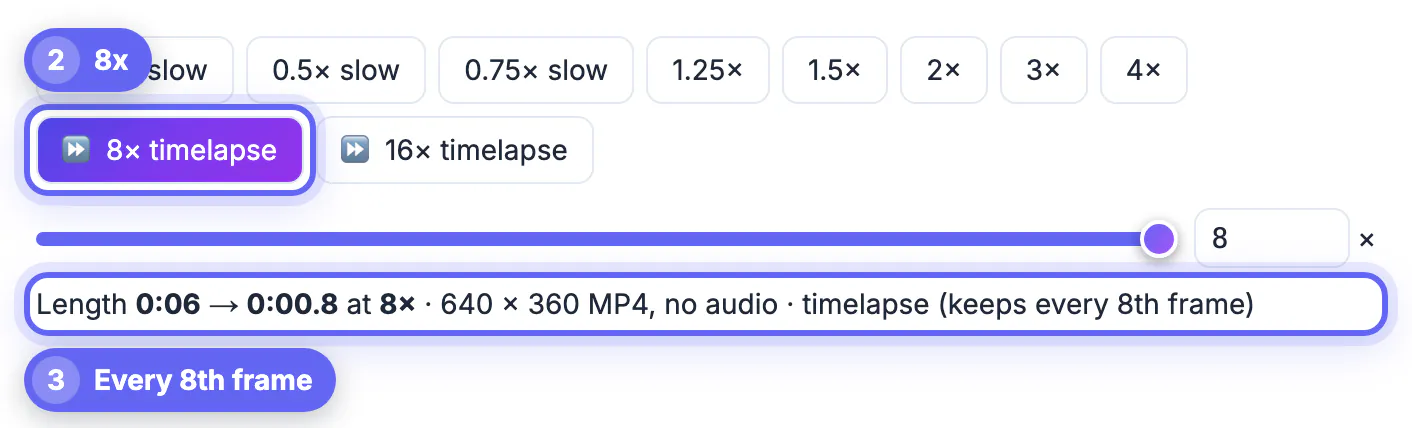
- 8x keeps every 8th frame and 16x every 16th, then plays them at the source frame rate.
- The summary spells this out, for example Length 0:06 → 0:00.8 at 8x · timelapse (keeps every 8th frame).
- The exported video keeps the original frame rate, so motion is quick but not blurred.
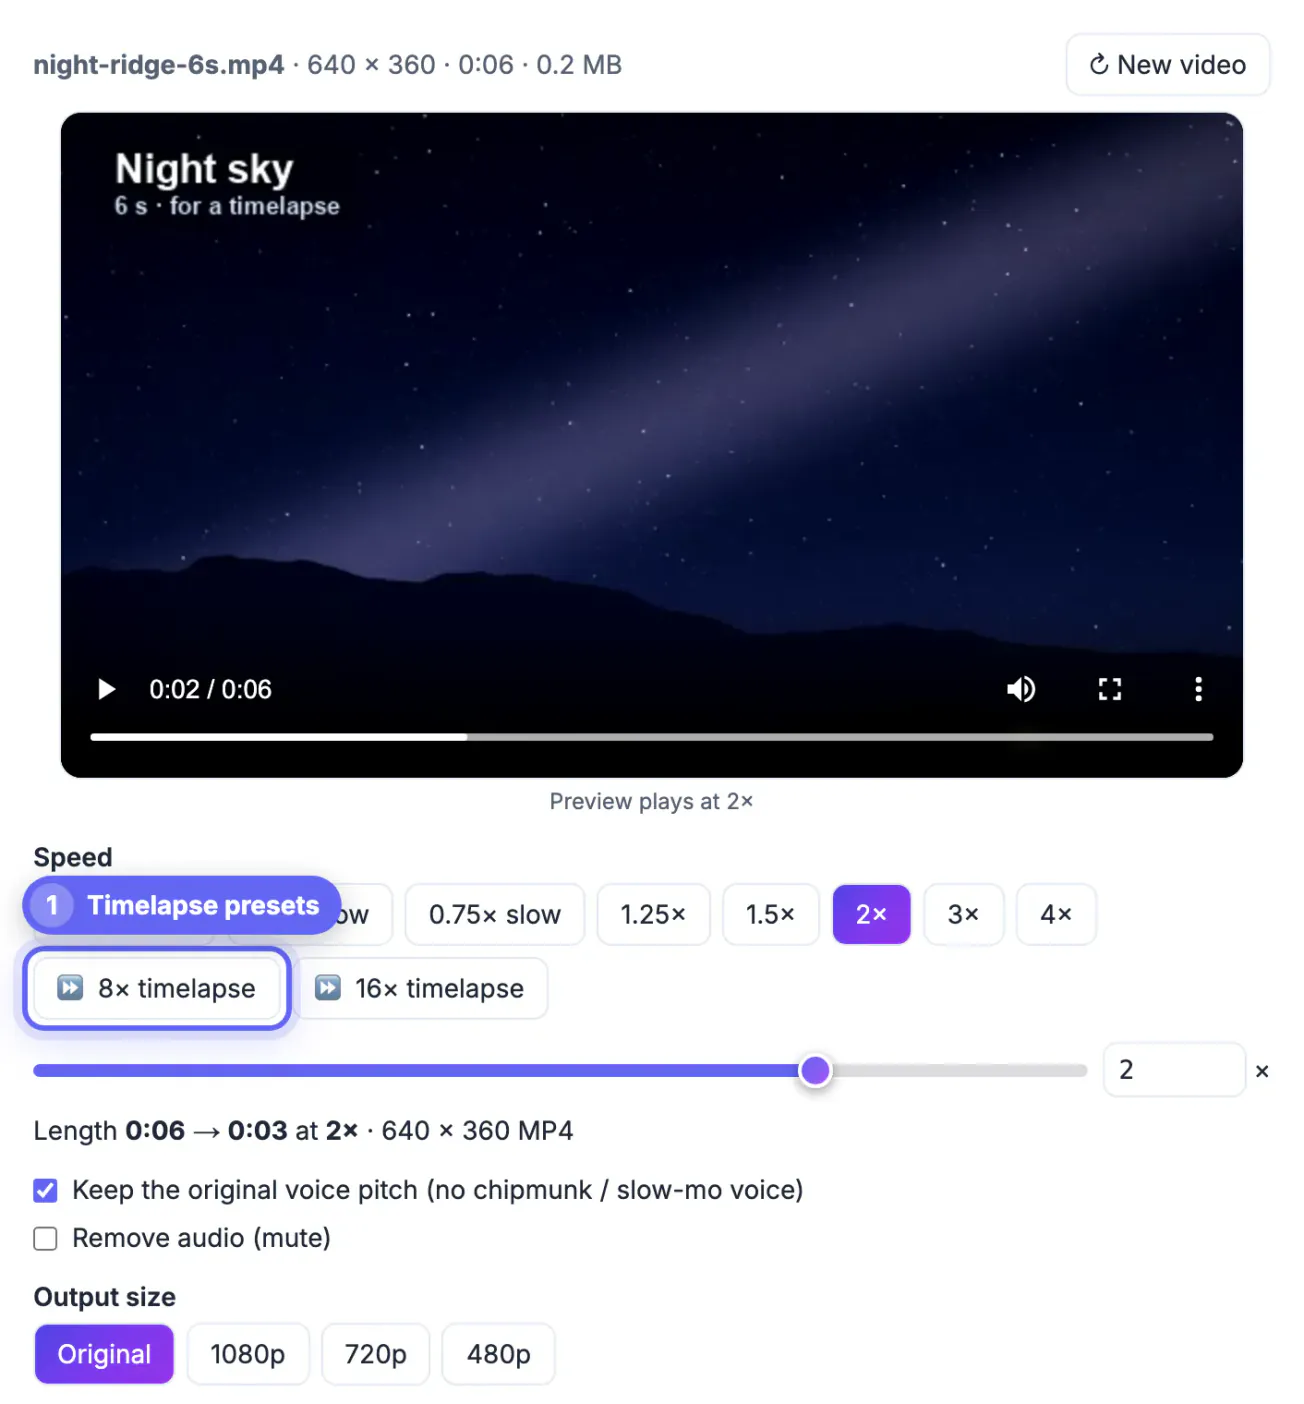
- You can type other values up to 16x in the number box; whole numbers above 4 use the same keep-every-nth-frame method.
- Speeds from 1.25x to 4x use the regular speed-up path, which also keeps the soundtrack by default.
Because frames are skipped rather than blended, fast-moving objects such as cars may appear to jump between positions. Softer subjects like clouds, shadows and water look the smoothest.
Planning the recording: timelapse length math
Divide the recording time by the speed to get the finished length, or multiply the length you want by the speed to know how long to record.
- A 60-second clip becomes 7.5 seconds at 8x and 3.75 seconds at 16x.
- For a 15-second timelapse at 16x, record 4 minutes; at 8x, record 2 minutes.
- A 10-minute sunset at 16x becomes 37.5 seconds, a comfortable length for a social post.
- The 6-second example becomes 0.75 seconds at 8x, which is why real timelapses start from minutes of footage.
- If one pass is not fast enough, export at 16x and run the result through again for 256x overall.
Planning with these numbers before you press record avoids the most common disappointment: a beautiful scene that turns into a clip too short to post.
Sound and output settings for timelapses
At 8x or 16x, the original audio is almost never useful, so the tool handles it for you.
- Remove audio (mute) ticks itself automatically when you choose a timelapse speed.
- Untick it if you really want the sped-up sound, for example for a comic effect.
- Output size can stay Original or drop to 1080p, 720p or 480p, which speeds up the export of long clips.
- The export is an MP4 with H.264 video at CRF 23, playable on every phone and social platform.
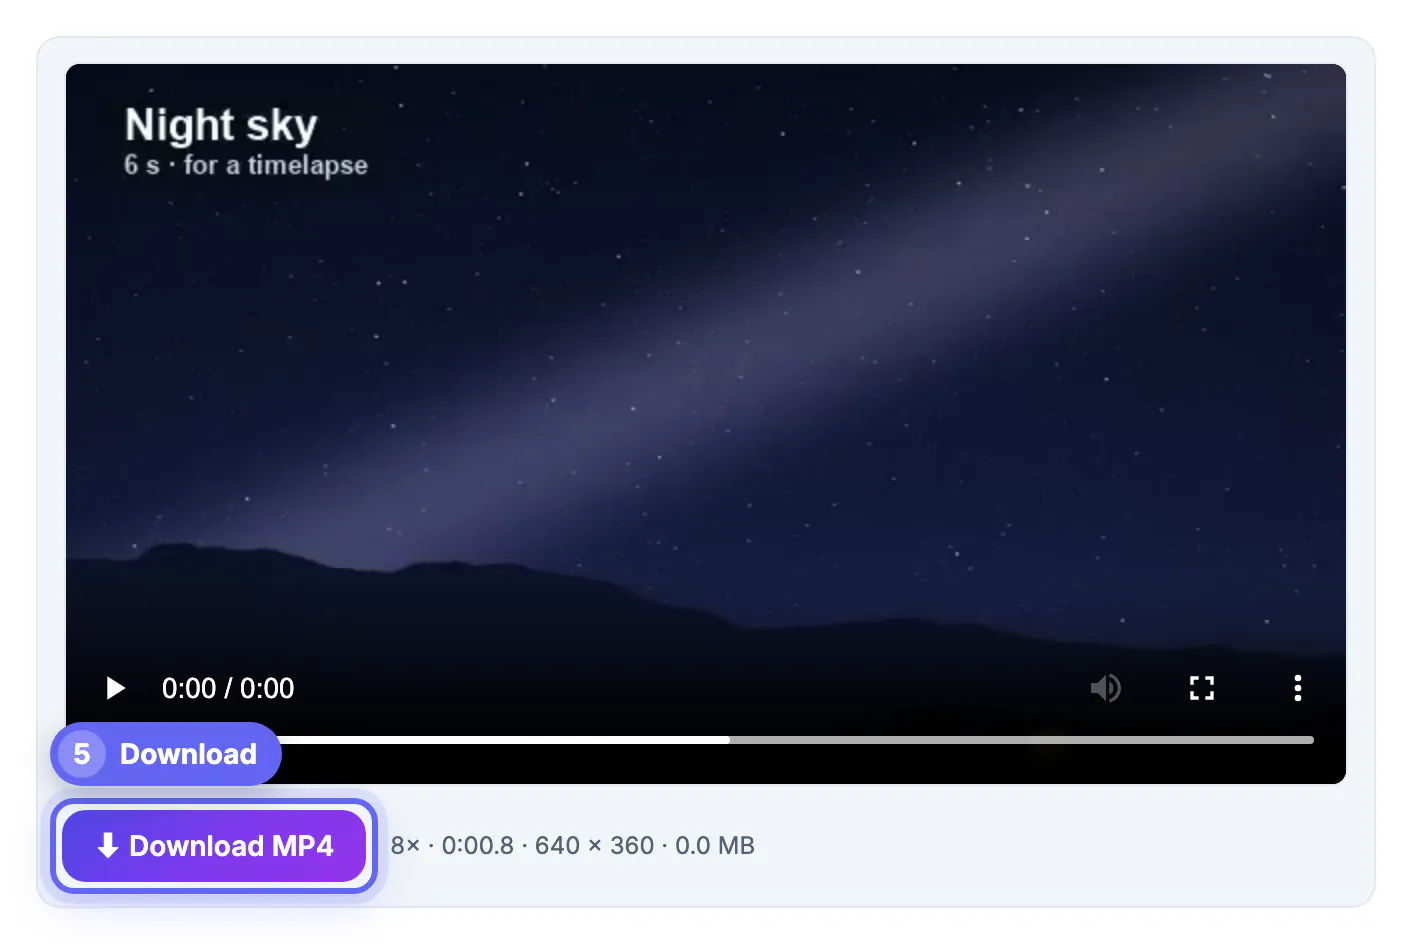
- The result card shows the speed, length, size and file size, such as 8x · 0:00.8 · 640 × 360.
The small file sizes of timelapse exports are a bonus. Dropping seven of every eight frames makes the MP4 much lighter than the source, which helps with uploads and messaging.
Trim the source first with the Video Trimmer, and lay music under the sped-up clip with Add Music to Video.
Camera habits for a steady timelapse
Speeding footage up multiplies every wobble, so stability matters far more than in normal video.
- Use a tripod, a clamp or a bag of rice; a handheld phone produces a shaky timelapse even at 8x.
- Lock exposure and focus if your camera allows it, so the brightness does not pulse as clouds pass.
- Choose scenes with steady movement: clouds, traffic, tides, shadows, crowds or a long drive.
- Keep the phone plugged in; long recordings drain the battery quickly.
- Check the storage space first; a few minutes of 1080p video can use several hundred megabytes, and the tool warns above about 600 MB on a computer.
A few test recordings of a minute or two, turned into timelapses right away, teach you more about speed and framing than any amount of reading.
Step-by-step

Common mistakes to avoid
Pro tips
Frequently asked questions
How do I turn a normal video into a timelapse?
Drop it into Change Video Speed, click 8x or 16x timelapse and export. The tool keeps every 8th or 16th frame, plays them at the original frame rate and removes the audio by default. Any steady clip of a minute or more works well as a starting point, including footage you recorded months ago.
How long should I record for a timelapse?
Multiply the finished length by the speed. A 15-second timelapse at 16x needs 4 minutes of footage; at 8x it needs 2 minutes. A 60-second clip at 16x, for example, becomes 3.75 seconds.
Why is the audio removed?
At 8x or 16x the original sound turns into an unrecognizable burst, so Remove audio is ticked automatically. You can untick it to keep the sped-up sound. Plan a little extra so you can trim the start and end, where the camera was being touched.
Can I go faster than 16x?
The tool's maximum is 16x. For more, export at 16x and speed the result up again; two passes at 16x give 256x overall. Each pass is re-encoded, so keep the number of passes small and start from the original each time you try a new speed.
Does the timelapse lose quality?
Each kept frame is re-encoded once to H.264 at CRF 23, so the frames stay sharp. Dropping frames rather than blending them avoids smearing. Frames are dropped, never smeared together, so clouds and stars keep clean edges.
A timelapse is just normal video with most of the frames left out. Record minutes rather than seconds on a steady support, choose 8x or 16x, let the tool mute the audio and export an MP4 that turns a slow scene into a few seconds of motion.
Related guides
Browse more: all video and audio guides · Change Video Speed