Turn Audio Into a Video Free for Reels and YouTube
To turn audio into a video free, load an MP3, WAV or M4A into GrabCast's Audio to Waveform Video, add cover art and a title, choose 9:16, 1:1 or 16:9 and let it render an MP4 you can post anywhere. It all happens inside your browser, so an unreleased song or a private sermon clip is never uploaded to a server.
🎙️ Try the Audio Waveform Video tool now — freeOpen →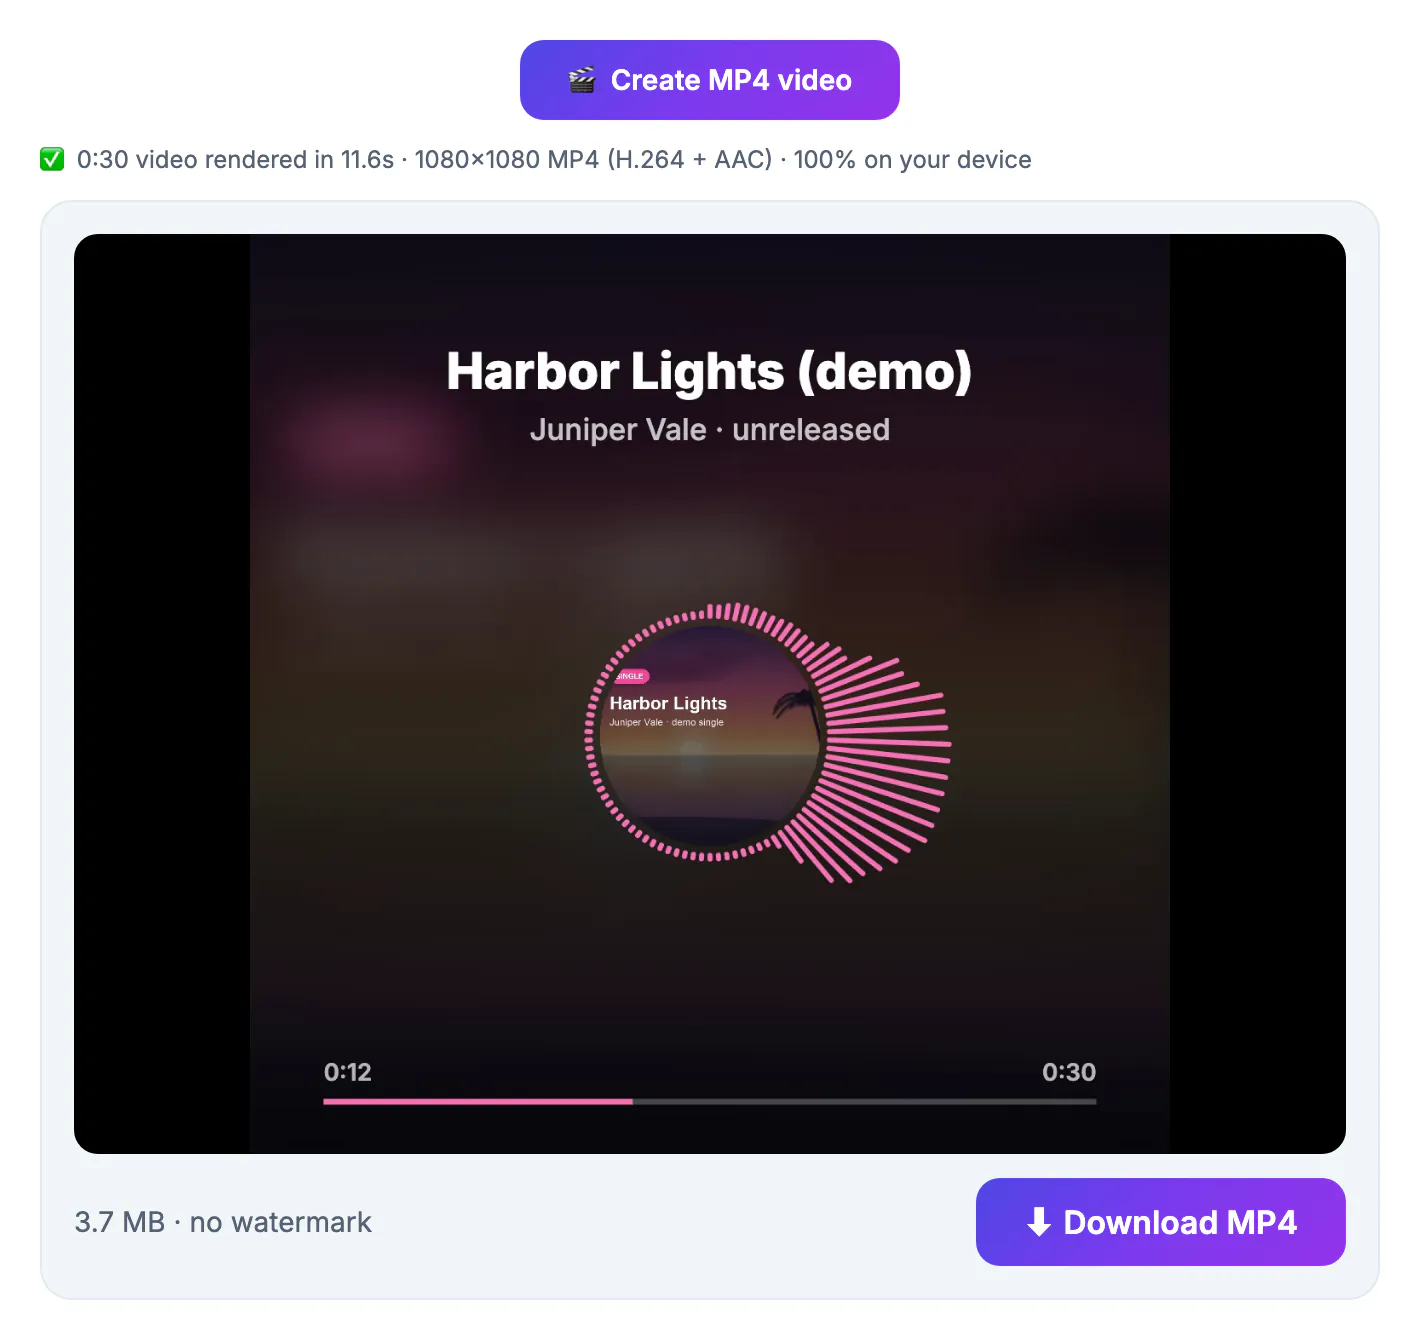
TikTok, Instagram Reels, YouTube Shorts and LinkedIn are video feeds: their upload buttons reject an MP3 outright, and even where a platform accepts plain sound, it gets no preview frame and no autoplay pull. Wrapping a clip in moving visuals solves both problems. The animated waveform proves something is playing even with the phone on mute, the cover art tells people whose work it is, and the title gives scrollers a reason to tap for sound. Radio stations, podcast networks and independent musicians have used this audiogram format for years because it is cheap to make and honest about what the post contains: something worth hearing, not an expensive music video.
Who benefits from converting sound to an MP4
Anyone whose best material is spoken or sung, but whose audience scrolls visual feeds, gets more reach from a waveform clip.
- Independent musicians teasing a 30-second hook from a single before release day
- Churches and speakers sharing a one-minute highlight from a Sunday message
- Language teachers posting a short pronunciation drill students can replay
- Audiobook narrators showing a sample chapter opening to win new listeners
- Local radio hosts and community groups repackaging a call-in moment for social media
Pick a moment that works without context: a punchline, a chorus, a strong opinion or a surprising fact. The first three seconds decide whether a viewer keeps listening.
Music rights still apply. Posting your own recording is fine, but a waveform over a commercial song you do not own can be muted or removed by the platform's content matching, and it will not earn you anything.
How to turn audio into a video free, start to finish
Prepare the clip first: the video is drawn and encoded on your own device, so longer clips take longer to render and use more memory.
- Cut the moment you want to its final length, ideally 30 to 90 seconds; long files mean long renders and weak retention
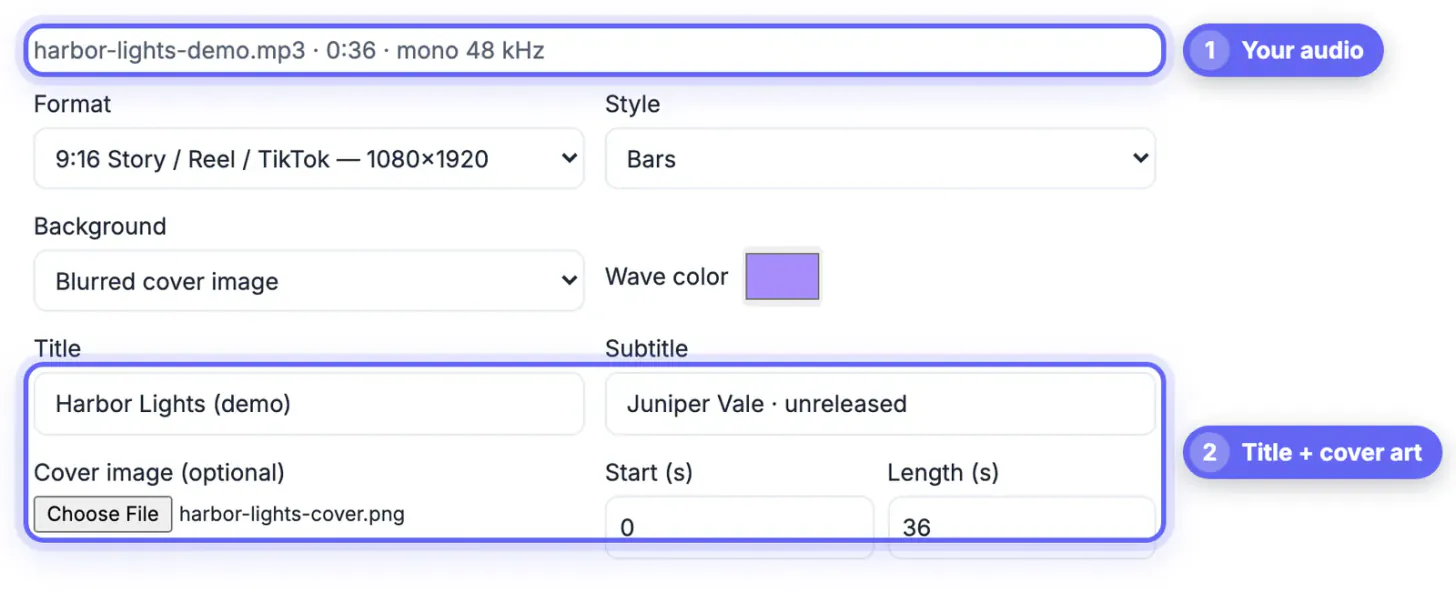
- Drop the MP3, WAV or M4A into the tool and add square cover art such as album artwork, a show logo or a headshot
- Type a short title of 3 to 7 words that tells viewers what they will hear
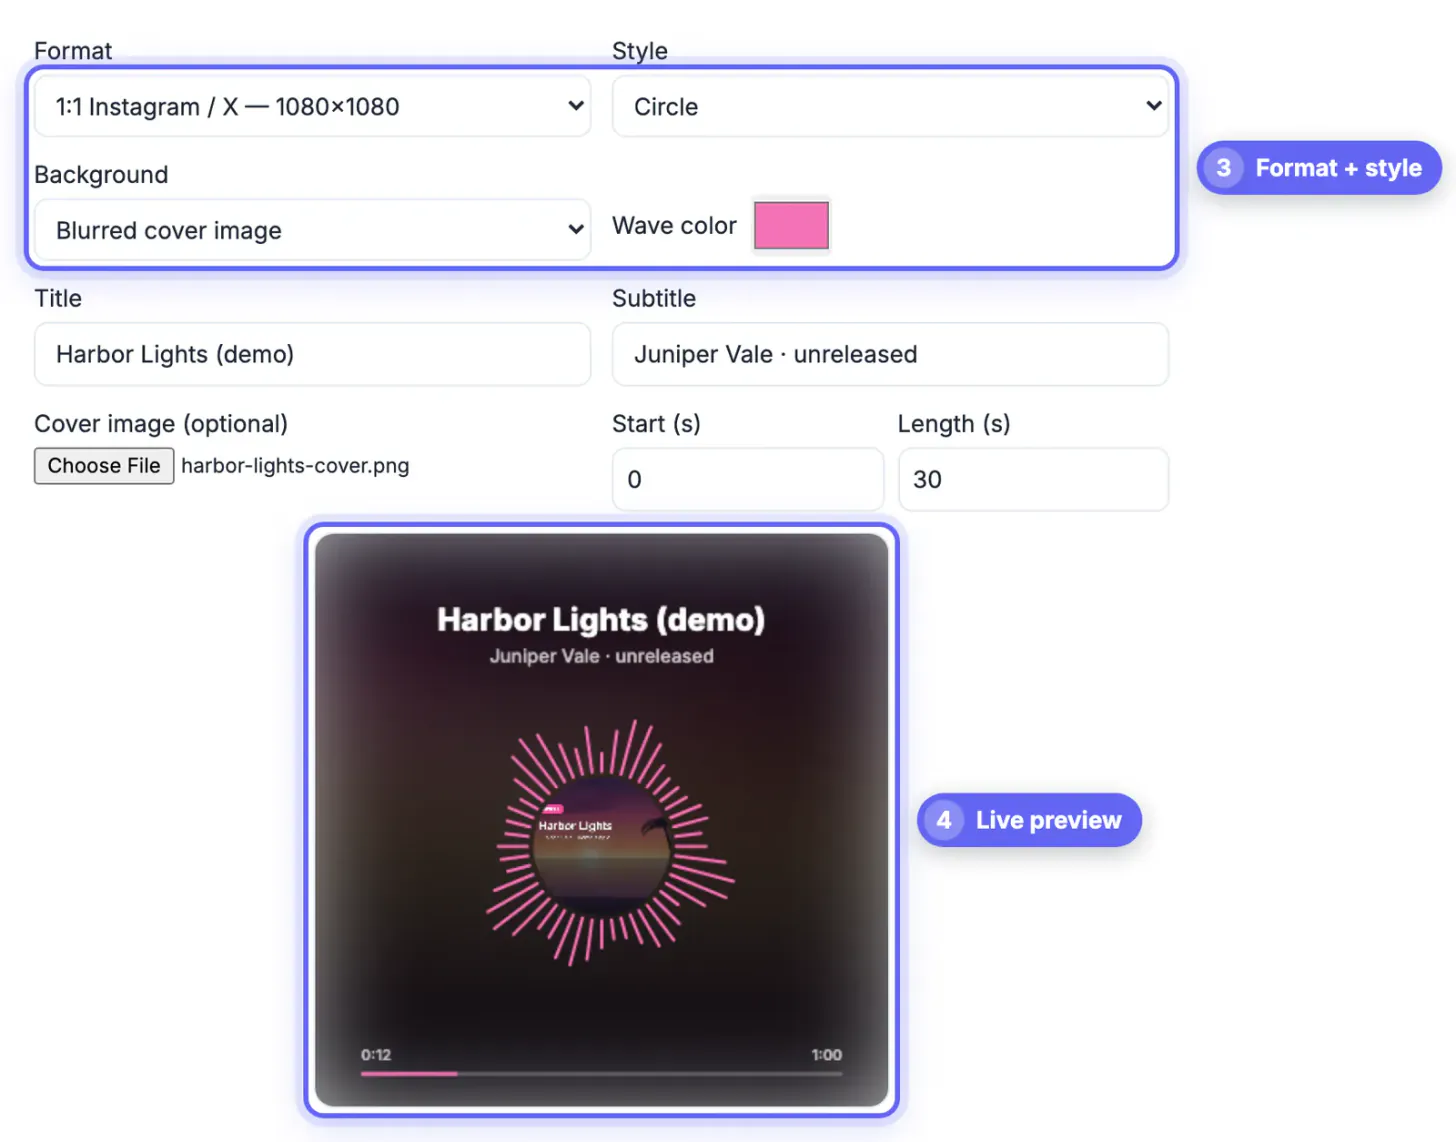
- Choose one of the four waveform styles and a color that contrasts with your artwork
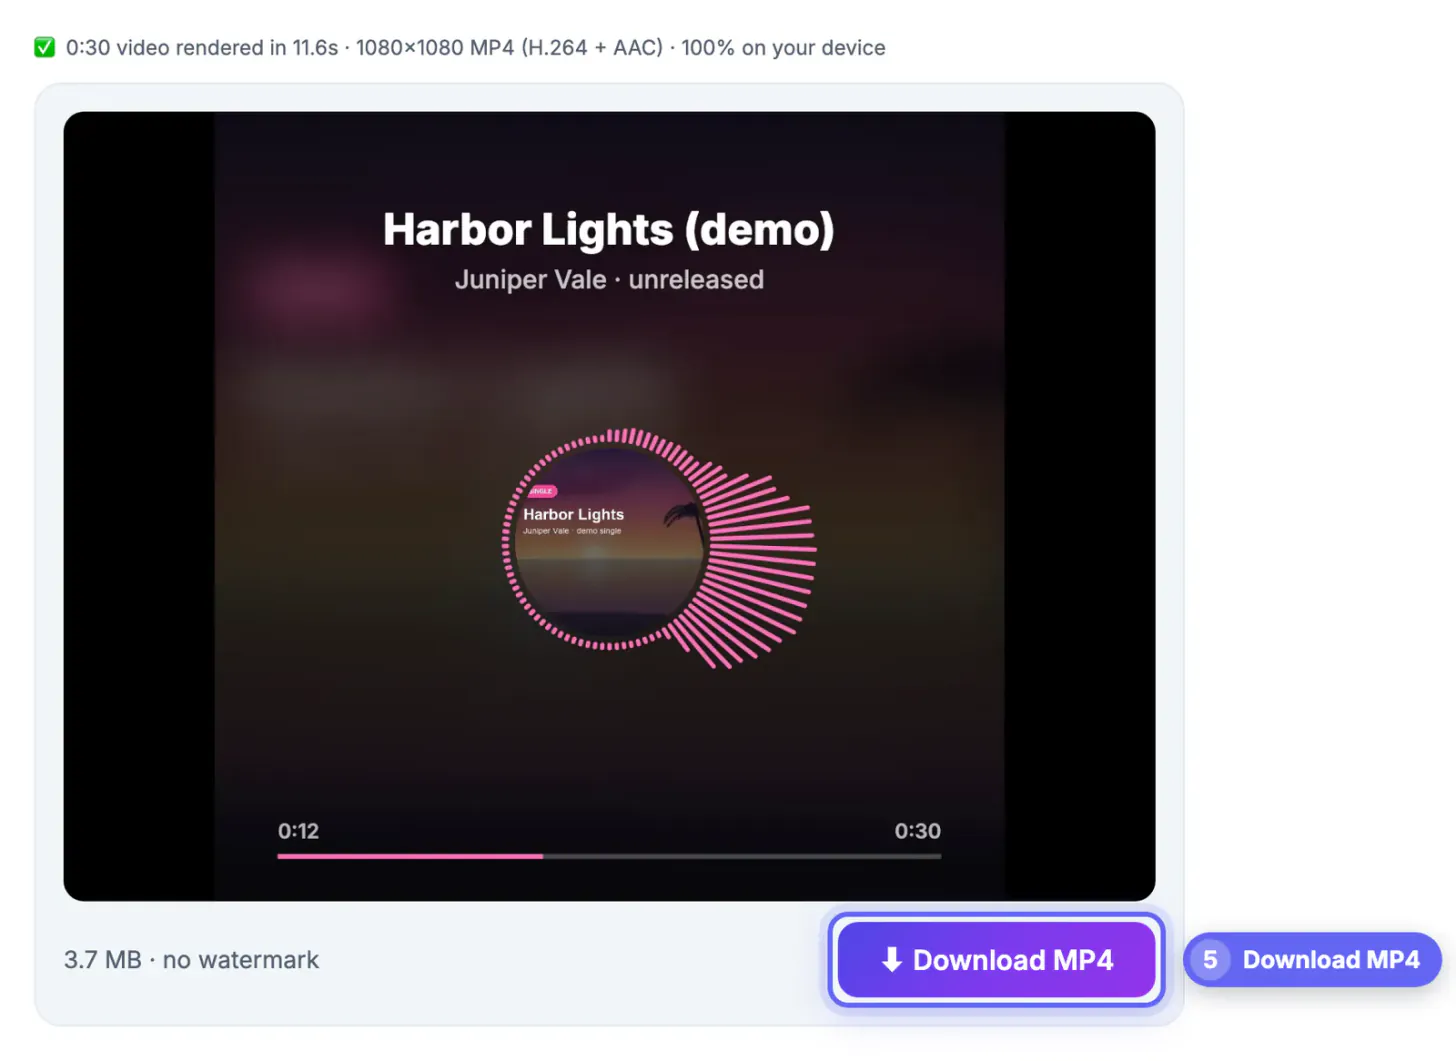
- Pick the frame shape, press create and keep the tab open and in front until the MP4 finishes, then download it
Closing the tab before the download button appears cancels the render, so let it finish.
A quick pre-flight checklist saves re-renders: clip trimmed, loudness even, artwork square and sharp, title spelled correctly, frame shape matched to the destination. Fixing any of these later means rendering the whole MP4 again.
If the audio runs long, trim it down first so the video only carries the best part.
Choosing 9:16, 1:1 or 16:9 for each platform
The frame shape decides how much of the screen your post fills, and a mismatch means black bars or an awkward crop.
- 9:16 vertical fills the phone screen on TikTok, Reels, Shorts and Stories; this is the default for most short clips
- 1:1 square works in the Instagram and Facebook feeds, LinkedIn posts and X, and looks tidy on desktop and mobile
- 16:9 widescreen is right for regular YouTube uploads, website embeds and presentation slides
- Shorts and Reels currently allow uploads up to around 3 minutes, but completion rates fall sharply after 60 seconds
- Export separate versions for separate platforms rather than stretching one file to fit every feed
If you post the same highlight everywhere, render 9:16 first; it covers three platforms at once and is the one people actually watch.
Remember the safe zones. On TikTok and Reels, the bottom fifth of a vertical frame sits under the caption and buttons, and the right edge holds the like and share icons, so keep the title and artwork centered.
Making the clip look on-brand
Consistency is what makes followers recognize your posts before they read a word.
- Reuse the same waveform style and two or three brand colors across every clip in a series
- Use cover art at least 1000 pixels square so it stays sharp on high-density phone screens
- Keep titles short and readable at arm's length; long sentences shrink to unreadable size
- Normalize loudness beforehand so a quiet voice note does not sound weak next to music in the feed
- The tool does not burn in captions, so for spoken clips create an SRT in AI Studio and add subtitles in your editor or on the platform
Captions matter: most feed viewing starts muted, and a waveform plus readable words gives people two reasons to turn the sound up.
Batch your work. Pick four or five moments from one episode or album, render them in one sitting with the same style, and schedule them across two weeks, so a single recording session keeps your feed active.
Finally, write a caption for the post itself: one line on what listeners will hear, a link to the full episode or track, and two or three relevant hashtags, so the clip drives people somewhere instead of ending in the feed.
Step-by-step
Common mistakes to avoid
Pro tips
Frequently asked questions
Can I post an MP3 on Instagram or TikTok?
Not directly. Both apps accept video files only, which is why converting sound to an MP4 with a waveform and cover art is the standard workaround.
Is my audio uploaded to make the video?
No. The waveform, artwork and title are drawn and encoded in your browser, and the finished MP4 downloads straight to your device.
How long does rendering take?
It depends on your device and the clip length, because every frame is drawn and encoded on your computer. Short highlights finish quickest, and the 16:9 720p format renders faster than the larger sizes.
Does it add subtitles automatically?
No. It produces a waveform, cover art and title. For captions, transcribe the clip in AI Studio, export an SRT, and add it in your editor or the platform's caption tool.
Is there a watermark?
No. The MP4 is free to download with no watermark and no account, so it looks like your own branded post.
Turn audio into a video free by trimming a strong 30 to 90 second moment, adding cover art and a short title, rendering a 9:16, 1:1 or 16:9 MP4 in your browser, and adding captions separately for muted viewers.
Related guides
Browse more: all video and audio guides · the Audio Waveform Video tool