Add Captions to TikTok and Instagram Reels Free, Styled
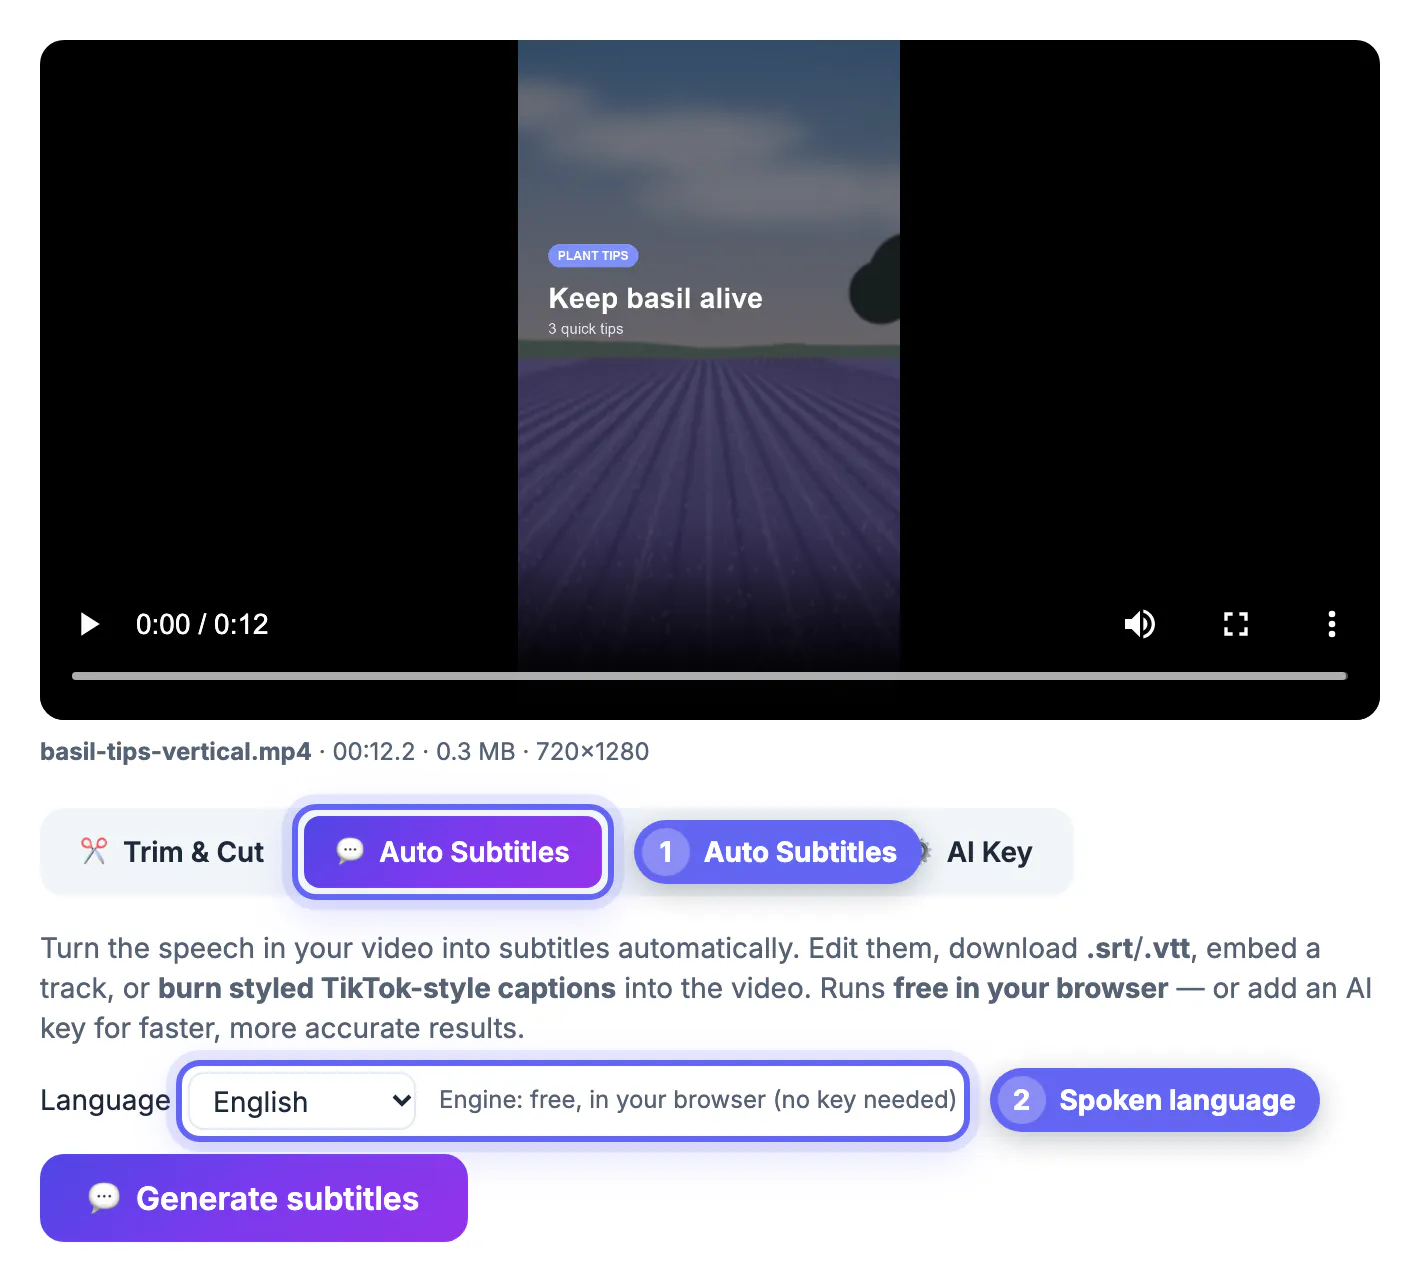
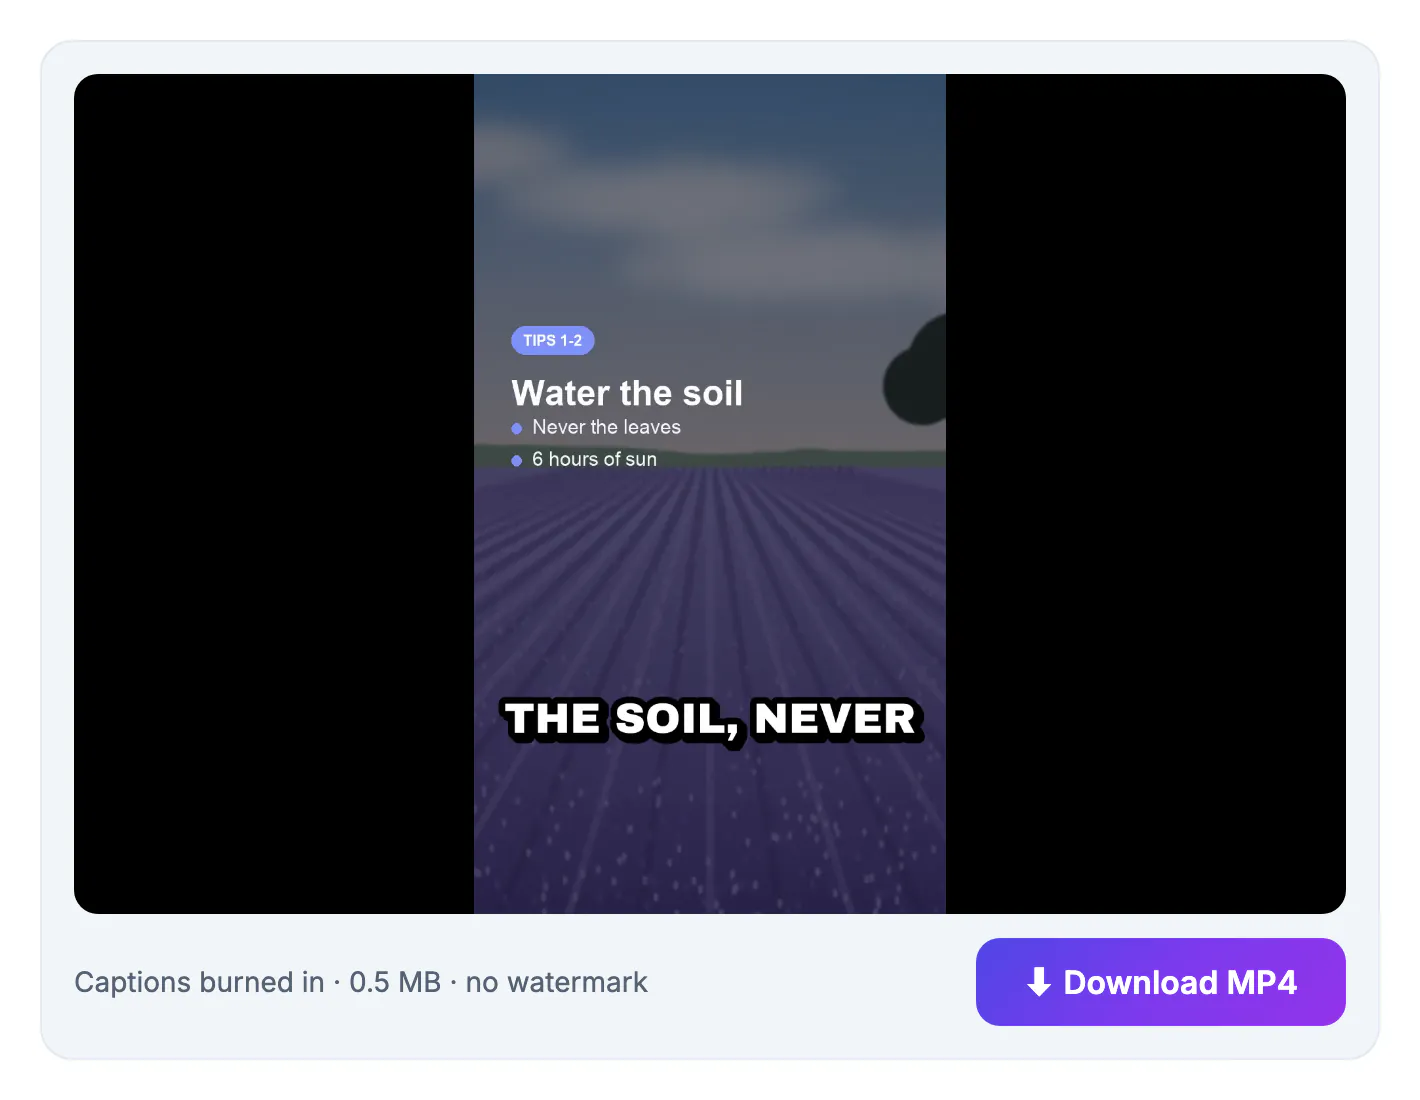
To add captions to TikTok and Instagram Reels for free, load your clip into the GrabCast Video Trimmer, press Generate subtitles, fix any misheard words, then burn the text into the picture with one of four TikTok-style looks and download a finished MP4 with no watermark. Burned captions travel with the file, so they look identical on TikTok, Reels, YouTube Shorts and X. If your source is a long podcast, webinar or livestream, cut the 20 to 60 second moment first and caption only that piece, which keeps processing quick on a laptop or phone. This guide walks through the whole pipeline: trimming, choosing a style, placing text clear of the app buttons, pacing words per caption, and checking the result before you post. Disclosure: some links below are affiliate links, and GrabCast may earn a commission at no extra cost to you.
✂️ Try Video Trimmer & Subtitles now — freeOpen →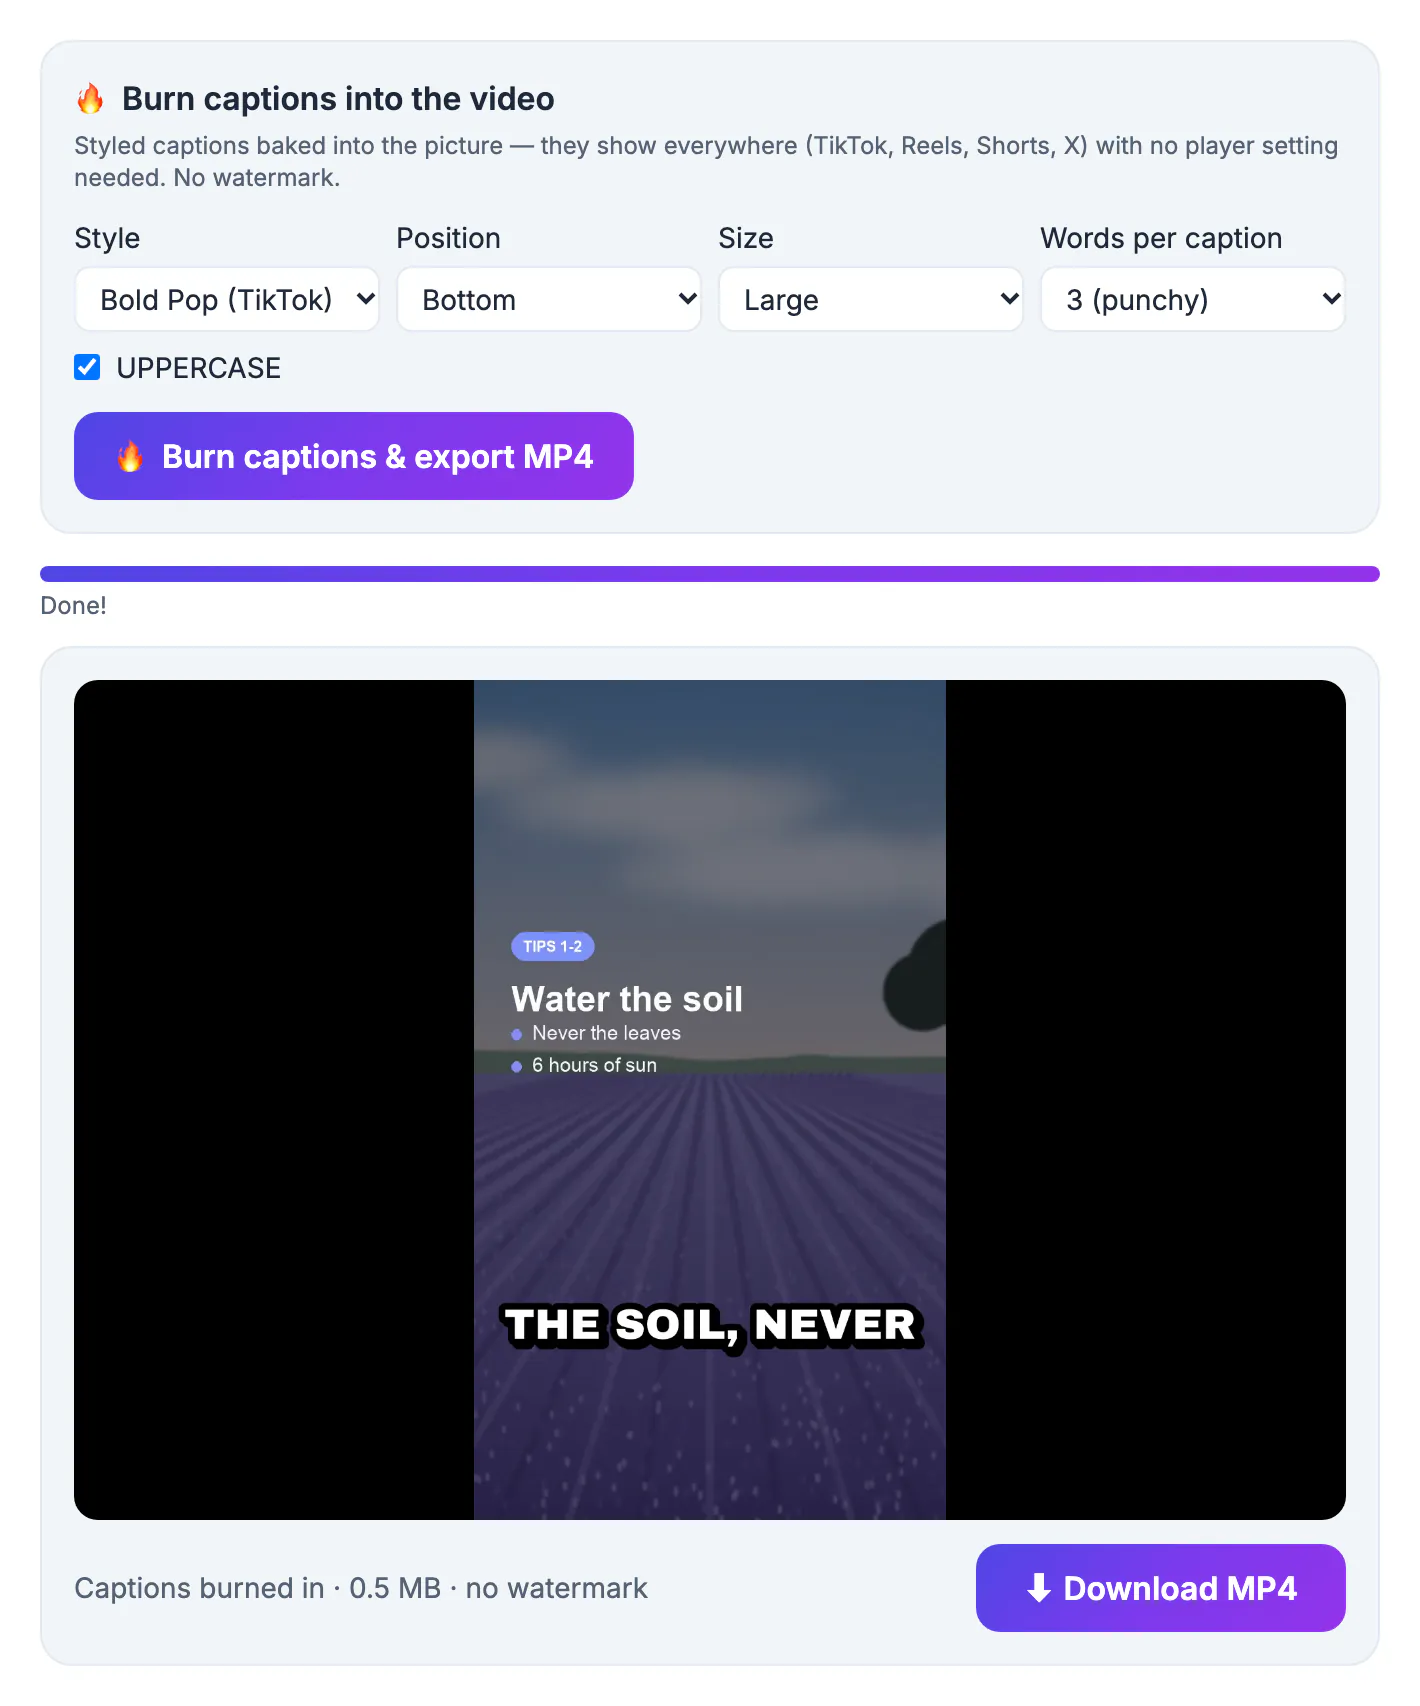
Plenty of people scroll with the sound off, on a train, in bed or at a desk, so the words on screen carry the video. TikTok and Instagram both offer automatic captions, which help, but viewers can hide them, styling options are limited, and you must redo them on every app you post to. A caption can also be accurate and still fail: text hidden behind the username overlay, a full sentence that vanishes before anyone can read it, or thin white letters over a bright window. Burning your own captions fixes the look, timing and placement once, in one file you can cross-post. Everything runs in your browser, so unreleased episodes and client footage never sit on someone else's server.
Trim first when the clip comes from a long video
Burning captions re-encodes every frame on your device, so a 45-second clip finishes in a minute or two while a full hour would take far longer and may run out of memory. The Video Trimmer warns before trouble: files around 250 MB are the practical ceiling on phones and about 2 GB on desktops.
- Find the moment: if you have a transcript or .srt, paste it into the AI Clip Finder, which suggests 20 to 45 second moments with a hook line for each. It uses a cloud AI, so only the text is sent, never the video.
- Fast mode copies the original stream without re-encoding: instant and lossless, but the cut snaps to the nearest keyframe, so the start can shift slightly.
- Precise mode re-encodes so the clip starts and ends on the exact frame, which matters when the first word is the hook.
- Leave half a second at each end, and start on the line that creates curiosity rather than on a greeting.
A 90-minute podcast episode often yields five to ten usable clips. Cut them in one sitting, then reload each short file for captions.
Movavi Video Editor is a paid desktop editor for Windows and Mac that lists automatic subtitles among its features. It is a fit when captions are one step in a longer project with many clips, music and titles. For a single short clip the free GrabCast tools above are enough, so start there and check Movavi's current price and trial limits only if you outgrow them.
See Movavi plans →Pick one of the four caption styles
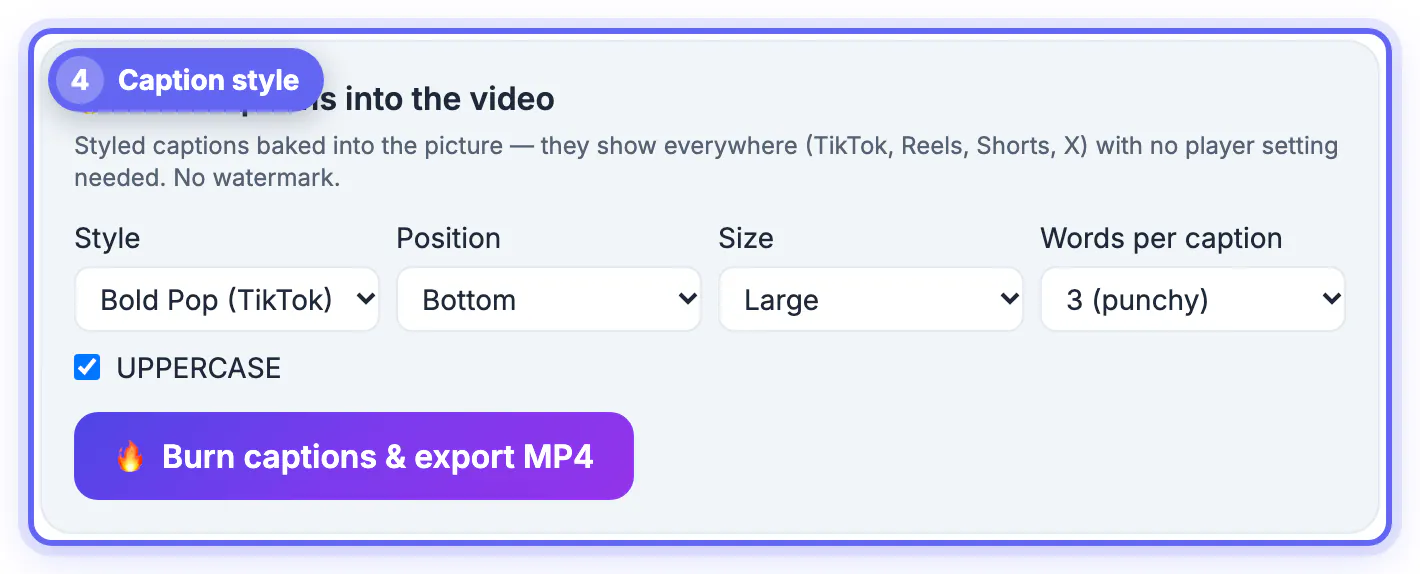
The burn panel offers four looks, drawn with bundled bold fonts so the result is the same on every phone. Choose by what sits behind the text.
- Bold Pop: heavy white letters with a black outline, the classic TikTok look and the safest choice for talking heads.
- Yellow Outline: the same weight in bright yellow, readable on white walls and daylight scenes; popular for gaming and commentary.
- Classic Box: white text on a translucent dark band, best over busy footage such as recipes, crowds or detailed screen recordings.
- Big Condensed: tall, narrow letters that fit more words per line, suited to motivational, fitness and quote edits.
Keep one style per series. Regular viewers learn to read your format at a glance, and a consistent look makes your videos recognizable in a busy feed.
Place TikTok and Reels captions clear of the app buttons
Both apps cover the bottom of the screen with your handle, the description and the audio ticker, plus a column of buttons on the right. On vertical footage, the Bottom position lifts the text about a fifth of the way up the frame, which clears that overlay on current layouts.
- Bottom: the default for most clips; faces stay visible and text sits above the description.
- Middle: when the lower half holds a product, whiteboard or gameplay.
- Top: for reactions or demos where the action happens low in the frame.
- Landscape source: the tool keeps the original shape and does not reframe to vertical, so a 16:9 Zoom or OBS clip posts with bars; choose Middle so the text sits on the picture.
Before posting, open the MP4 in the app's draft screen with the interface visible. Thirty seconds of checking beats reposting a clip whose punchline hides behind a heart icon.
Before you place captions, crop the video to 9:16 vertical so the safe areas line up with what viewers actually see.
Words per caption, capitals and a final proofread
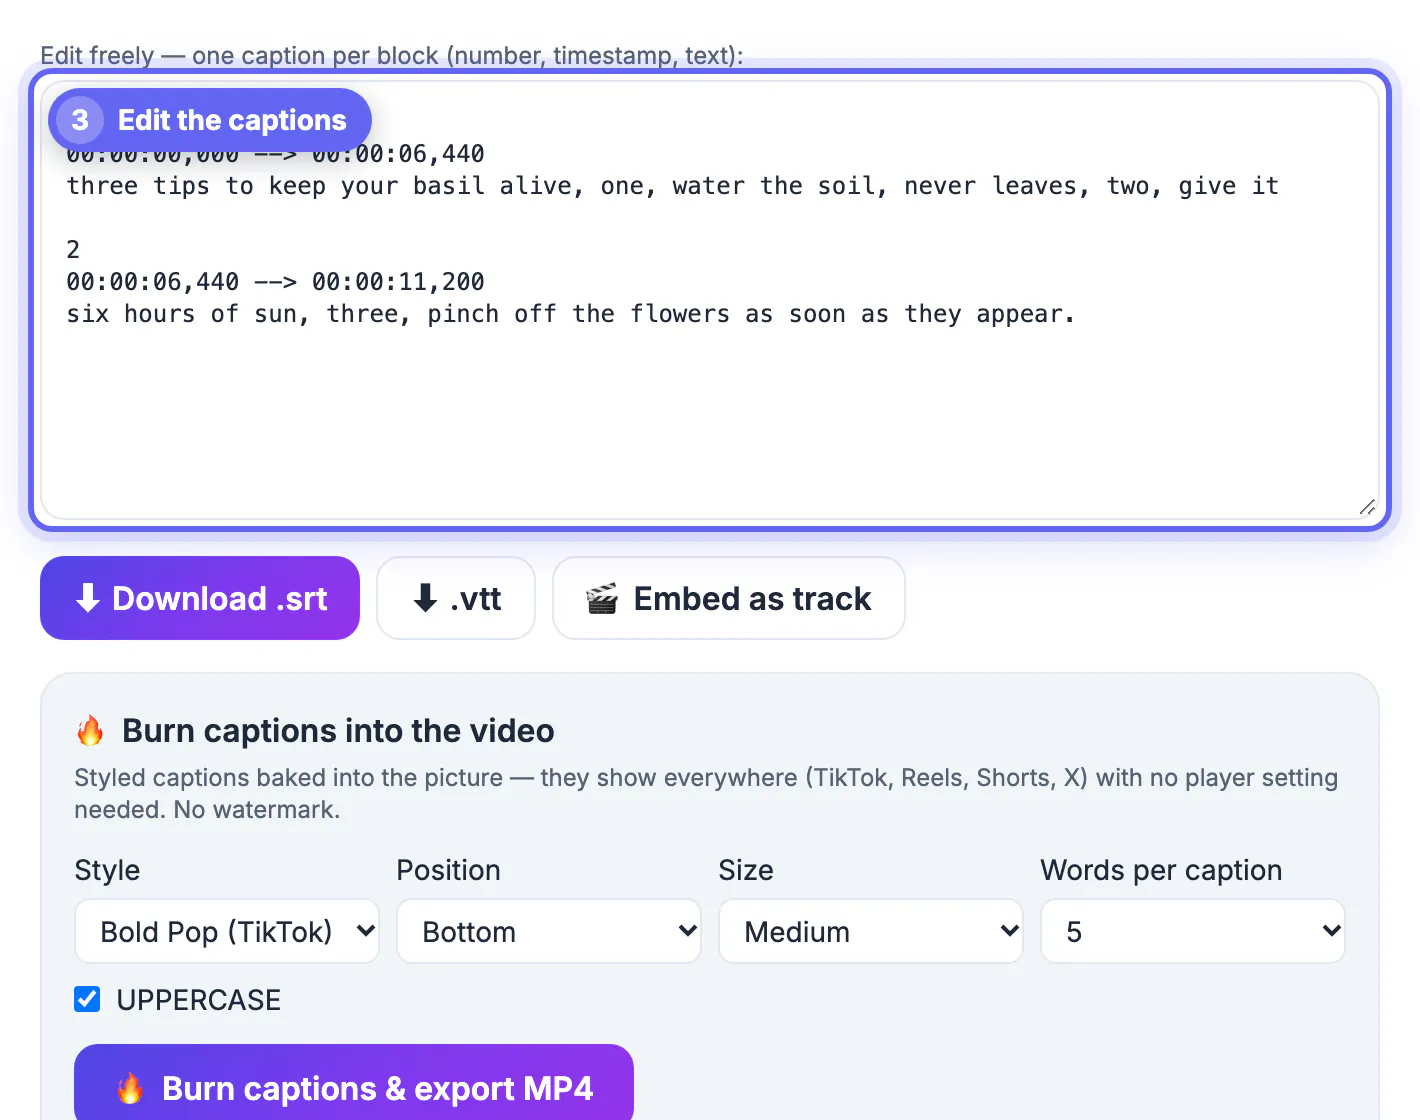
The words per caption setting splits each subtitle into chunks of 3, 5 or 8 words, or keeps full lines, and times each chunk in proportion to its share of the original line.
- 3 words: punchy, for hooks, comedy and fast talkers.
- 5 words: the balanced default for explainers, podcasts and storytime clips.
- 8 words or full lines: calm tutorials, webinars and slower speakers, usually with UPPERCASE switched off.
- Size: Medium for most clips, Large for single-word emphasis, Small when the frame is crowded.
UPPERCASE is on by default because capitals in a bold outline stay legible at arm's length. Proofread before burning, since burned text is permanent: check brand names, handles, slang and guest names, and split any block where two people talk. Keep the downloaded .srt so you can restyle the clip later without transcribing again.
Step-by-step
Common mistakes to avoid
Pro tips
Frequently asked questions
How do I add captions to TikTok and Instagram Reels for free?
Generate subtitles in the GrabCast Video Trimmer, correct them, pick a style, position, size and words per caption, then burn and download the MP4. There is no watermark and no account.
Should I use in-app captions or burned-in captions?
In-app captions are quick, but viewers can hide them and styling is limited. Burned captions look the same everywhere and survive cross-posting the same file.
How long should a captioned clip be?
Aim for 20 to 60 seconds built around one idea. Short clips are more likely to be watched to the end, and they caption and burn much faster on your device.
Will the tool turn a landscape video into a vertical one?
No. It trims and captions at the original shape. Post a landscape clip with bars and set captions to Middle, or record future sessions with vertical framing.
Is my video uploaded when I add captions?
No. Transcription and burning run in your browser. Only if you add your own Groq or OpenAI key on the AI Key tab is the audio sent to that provider for faster transcription.
Good short-form captions start with a short clip: trim the moment first, generate and proofread the words, pick a style that contrasts with your footage, keep text above the app buttons and pace it at 3 to 5 words. Export one MP4 and it looks right on TikTok, Reels and Shorts alike.
Related guides
Browse more: all video and audio guides · Video Trimmer & Subtitles