Free AI Image Upscaler & Enhancer: What 2× Really Fixes
A free AI image upscaler doubles the width and height of a photo and redraws edges and texture so the bigger version looks sharp instead of mushy. GrabCast's version runs the Swin2SR model directly in your browser, so a 600-pixel product shot becomes 1,200 pixels without the file ever leaving your device. It is excellent at rescuing images that are small but in focus, and it cannot fix ones that were never sharp. Knowing that difference, plus the tool's real size limits, saves you from chasing a result no upscaler can deliver.
🔍 Try the AI Image Upscaler now — freeOpen →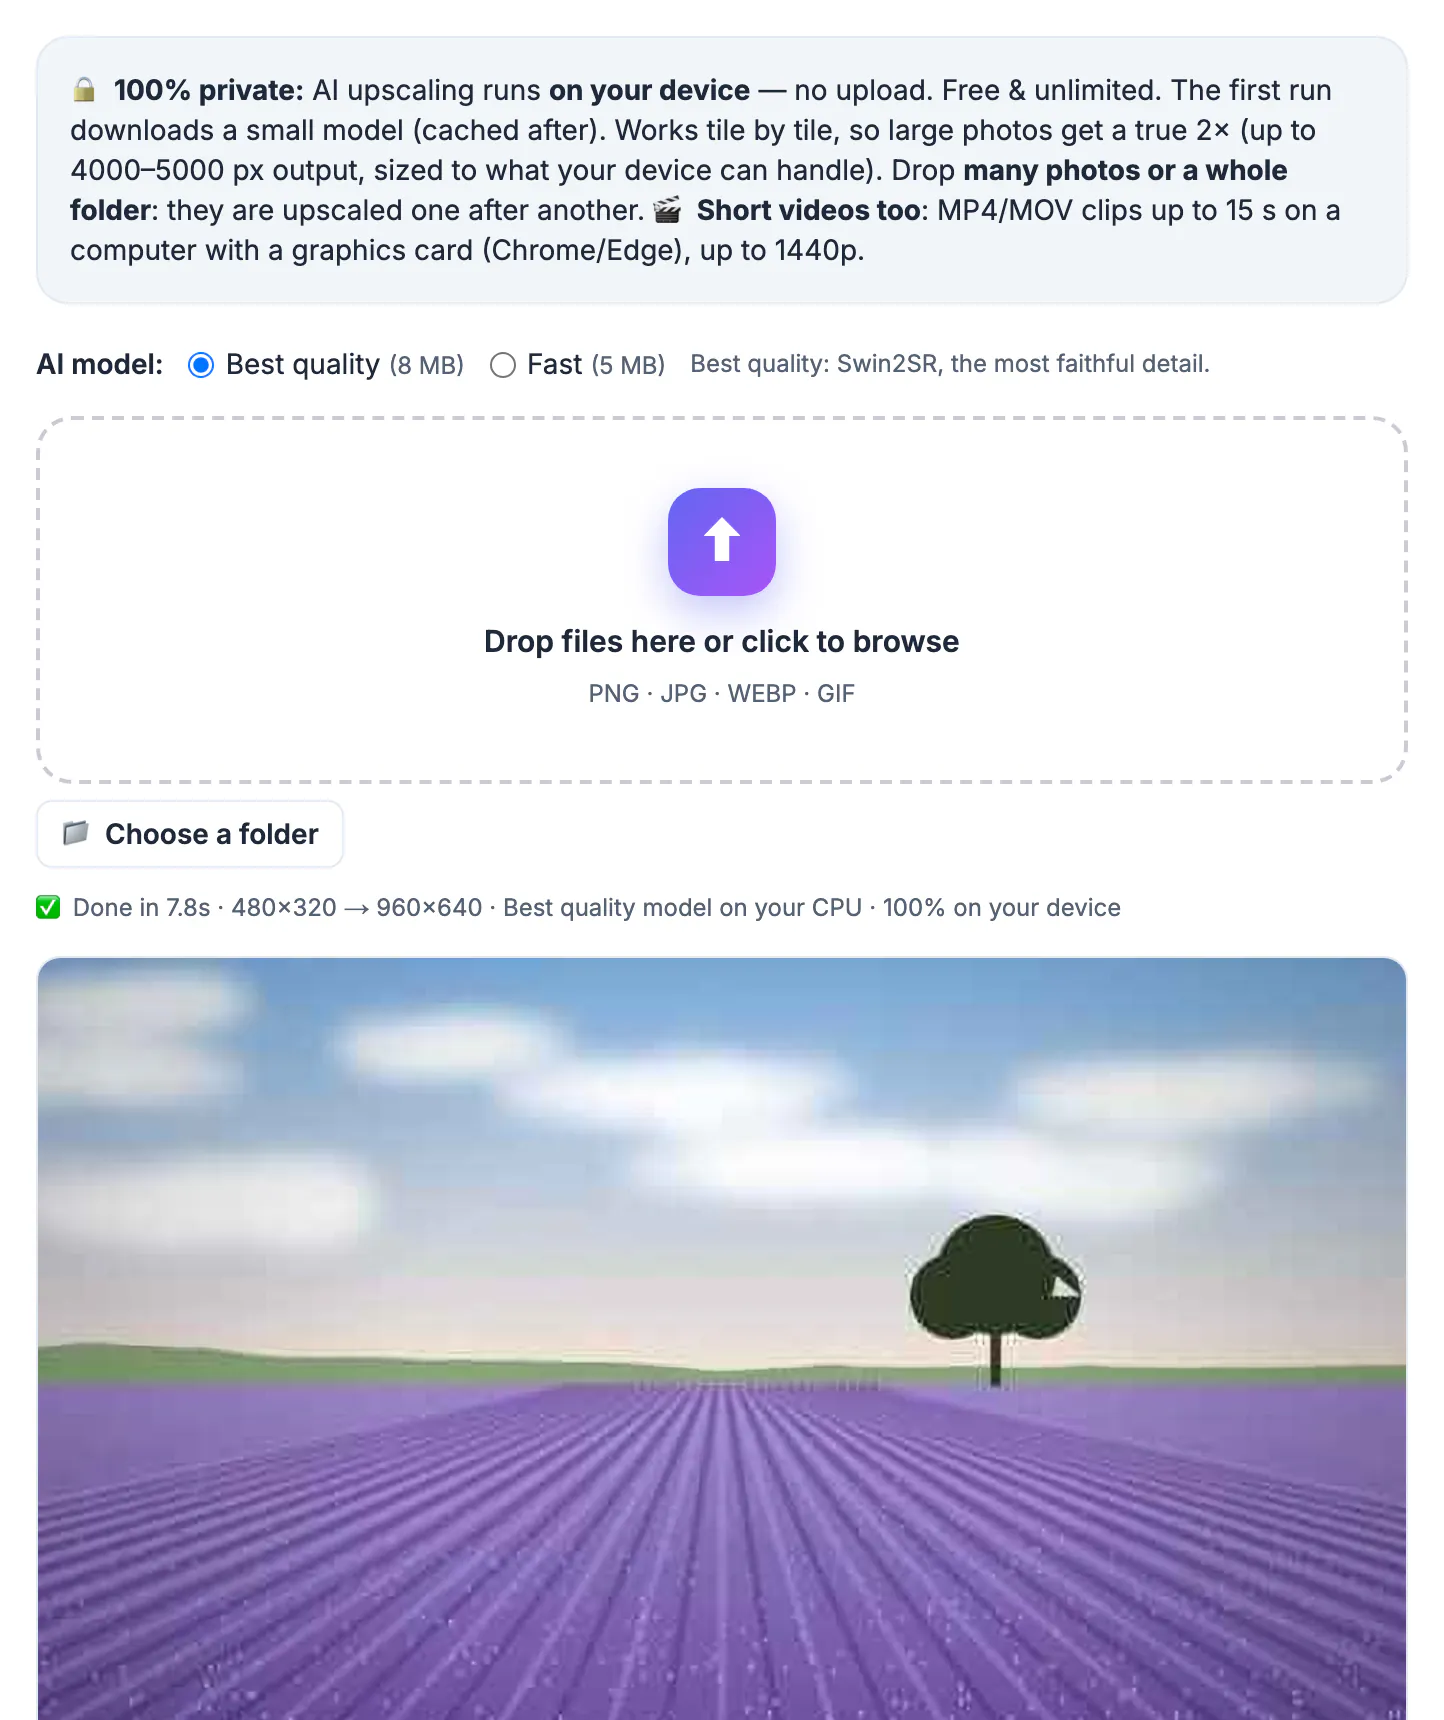
Traditional enlargement, such as bicubic interpolation, averages neighboring pixels to fill the new space. You get a bigger image with exactly the same amount of detail, which the eye reads as blur. An AI super-resolution model has learned from huge numbers of low- and high-resolution image pairs what sharp edges, hair, fabric and lettering usually look like, so it predicts plausible detail instead of smearing it. The output has four times the pixels and, when the source is decent, genuinely crisper structure. That is the difference between a product photo that looks amateurish when a shopper zooms in and one that holds up on a 27-inch monitor.
How the free AI image upscaler works in your browser
Everything runs on your own computer through Transformers.js, which matters for private photos and client work.
- The first run downloads the Swin2SR model with a progress bar; your browser caches it for later visits
- The image is processed in tiles, and the status bar shows the tile count so you can see progress on large jobs
- WebGPU in recent Chrome or Edge uses the graphics card and is much faster; other browsers fall back to WebAssembly on the processor
- Each run is exactly 2×: a 500×500 image becomes 1000×1000, four times the pixel count
- Inputs larger than 2,000 pixels on the long side are first fitted to 2,000, so the largest possible output is 4,000 pixels
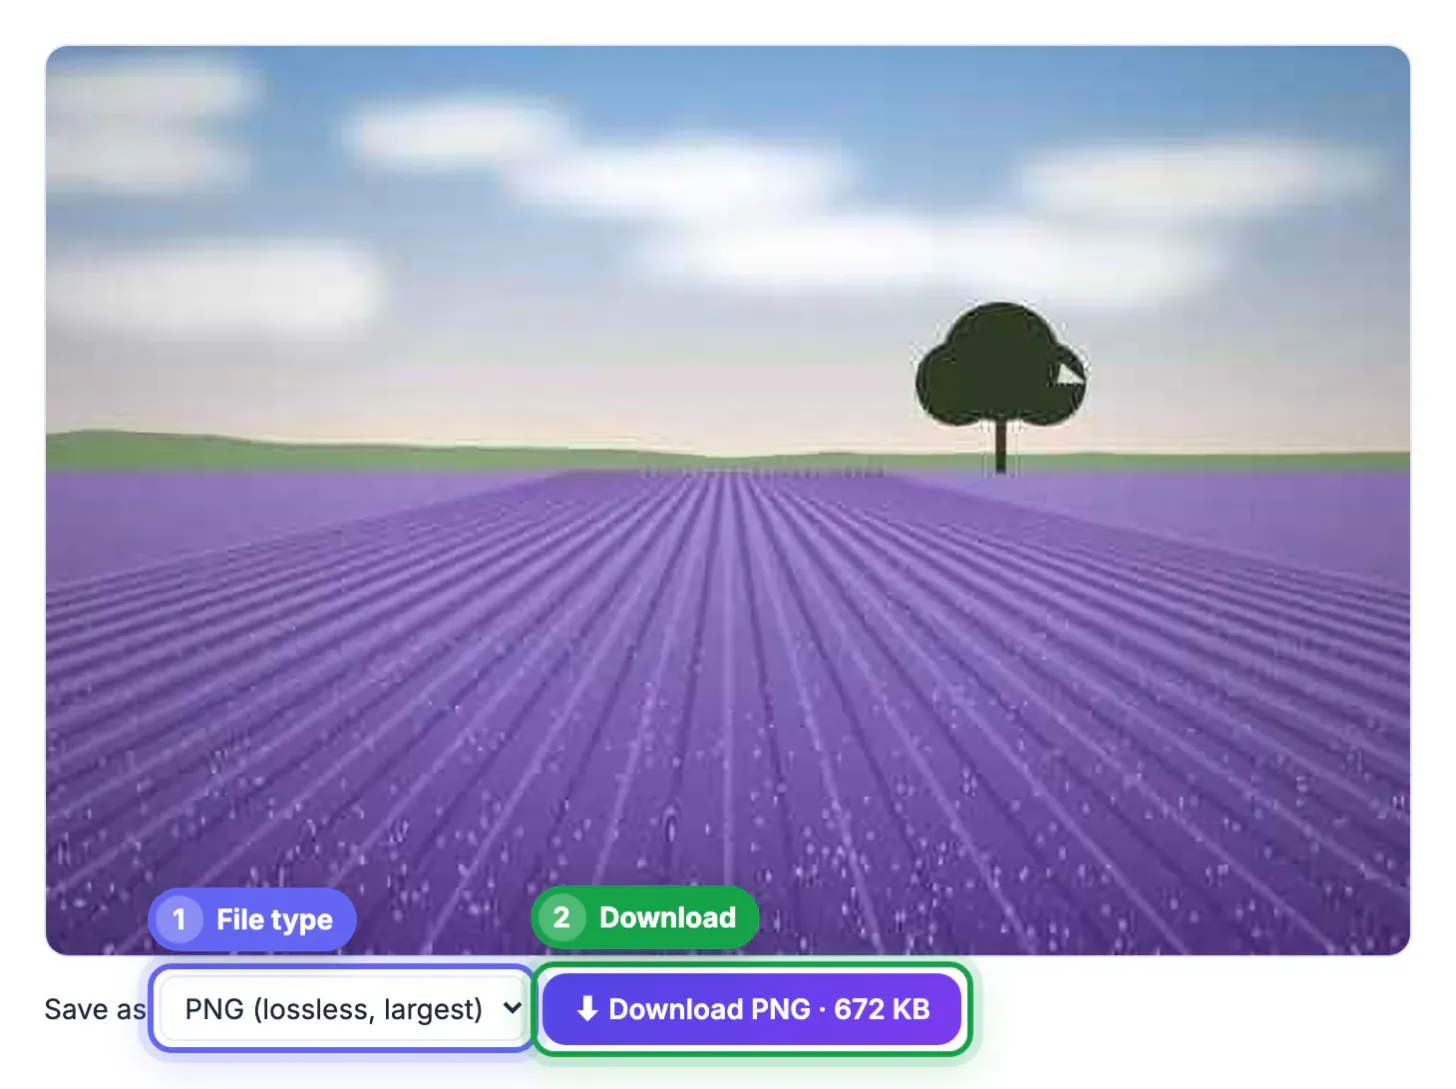
The result is always a lossless PNG with -2x added to the file name, so you never confuse it with the original. There is no account, no daily quota and no watermark; the only practical limit is your device's speed and memory.
Images that improve and images that will not
Upscaling adds believable detail. It does not recover information the camera never captured.
- Great candidates: product photos exported too small, old website images, logo screenshots and low-resolution scans of prints
- Decent: images with light JPEG compression; blocky artifacts usually soften into smoother texture
- Poor: motion blur, badly out-of-focus shots and tiny 64-pixel thumbnails, where there is nothing left to sharpen
- Careful with faces: the model can invent pores, eyelashes or teeth texture, so compare against the original at 100 percent
A quick test: view the original at its actual size. If it looks sharp there and simply too small, an upscaler will help. If it already looks soft at actual size, expect a bigger soft picture.
Text deserves a special warning. Small lettering on a label, sign or screenshot can come back crisp, but when the source letters are only a few pixels tall the model may guess wrong shapes, turning an 8 into a B or merging two characters. Proofread every word before an enlarged image goes on a product page, a menu or a slide, and retype important text in your layout app instead of relying on the pixels.
Matching the enlarged size to the job
Work backward from the size you need rather than making everything as large as possible.
- Web hero banner: 1,600 to 2,000 pixels wide is plenty, so a 900-pixel source needs one pass
- Print at 300 pixels per inch: a 4×6 wants 1200×1800 and a 5×7 wants 1500×2100; at 200 ppi, which often looks fine at arm's length, an 8×10 needs 1600×2000
- Marketplace listings: Etsy has recommended at least 2,000 pixels on the shortest side, so a 1,000-pixel product shot is a natural candidate
- Social posts: platforms recompress uploads, so a 1,080-pixel Instagram image gains little from going larger
You can run the 2× PNG through again for more size, but remember the 2,000-pixel input cap, and that stacking passes also stacks any artifacts. Inspect the first result at 100 percent before deciding on a second.
Finishing touches after upscaling
An upscaled PNG is large, so a little cleanup keeps it practical.
- Crop first, then upscale; cropping afterward wastes processing on pixels you throw away
- Convert a web copy to JPG or WebP and compress it to around 200 to 400 KB so pages stay fast
- Keep the full-size PNG as your master for print and future edits
- Apply color and contrast changes in the Photo Editor after upscaling, not before
- For flat logos and icons, trace to SVG instead, which scales to any size with perfectly sharp edges
As a rough guide, a 2,000-pixel upscaled PNG can weigh several megabytes, while the same picture as a well-compressed JPG often lands under 400 KB with no visible difference on a phone screen.
If the enlarged file is heavy, the Compress Image tool can trim its size for sharing.
▶ Watch: How to upscale an image with AI (0:32)
Video transcript
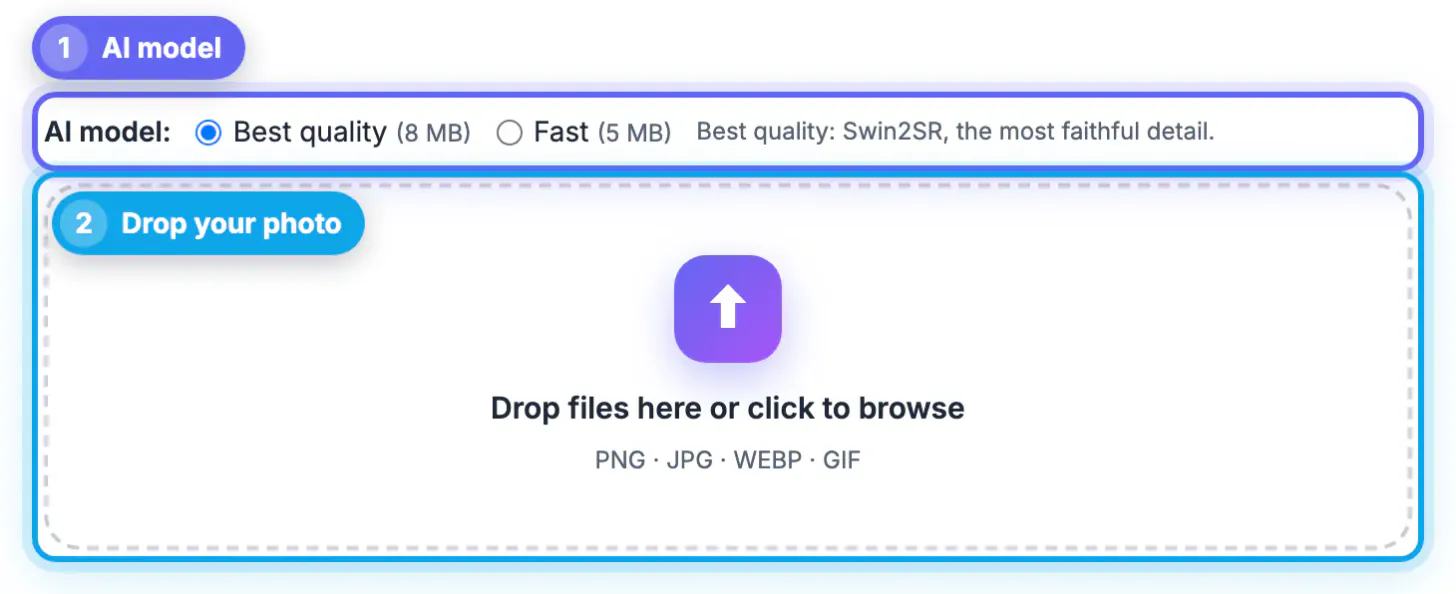
- Choose the AI model. Best quality keeps the most detail. Fast is quicker on older computers.
- Add a small image. Drop a low-resolution photo. The model is downloaded once, then cached.
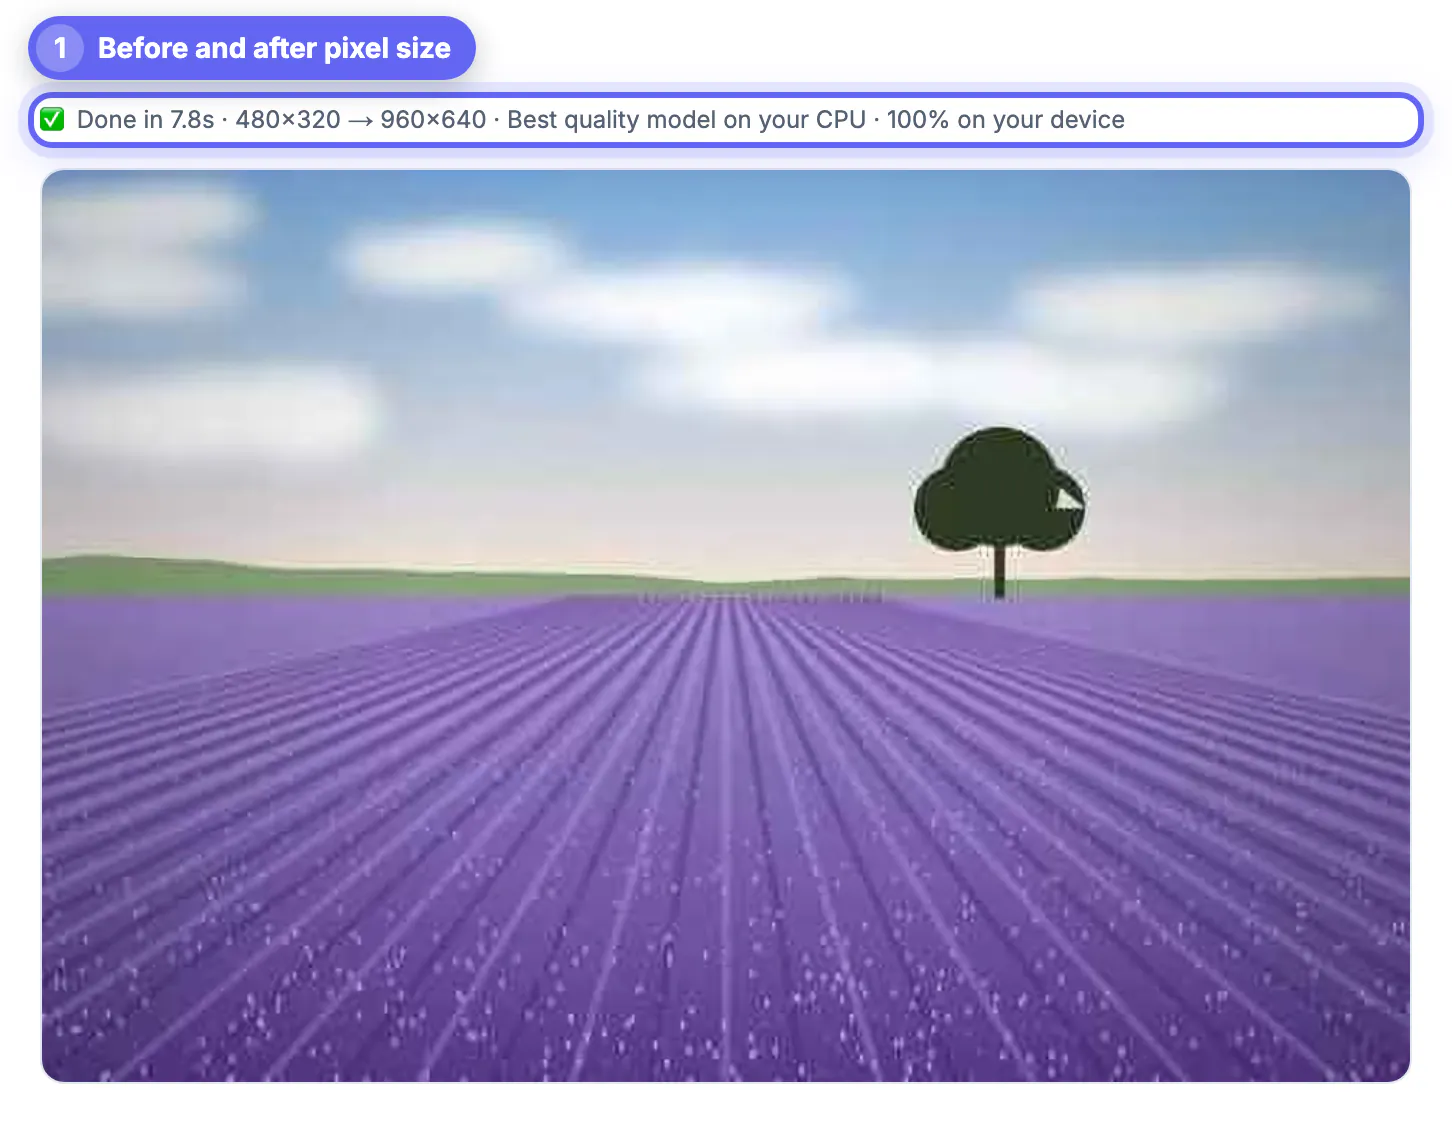
- Compare before and after. The new image has twice the width and height, with sharper edges.
- Download the PNG. Save the upscaled copy for print, slides or a sharper thumbnail.
Step-by-step

Common mistakes to avoid
Pro tips
Frequently asked questions
Is my image uploaded to a server?
No. The Swin2SR model runs in your browser through Transformers.js. The model files download once and are cached; your picture stays on your device the entire time.
How much bigger does it make an image?
Each run doubles width and height, a 2× enlargement with four times as many pixels. Inputs over 2,000 pixels are fitted to 2,000 first, so the output tops out at 4,000 pixels on the long side.
Can I upscale 4× with this tool?
You can run the upscaled PNG through a second time, which works for small sources. Keep in mind the 2,000-pixel input cap and that artifacts from the first pass get enlarged too.
Can it fix a blurry photo?
It helps with softness caused by low resolution or compression, but it cannot reverse real motion blur or missed focus.
Why is it slow on my laptop?
AI upscaling is compute-heavy and runs locally. It is quickest with WebGPU in current Chrome or Edge; other browsers use the processor, and big images need many tiles.
Use the 2× upscaler on images that are small but in focus. Crop first, check the result at 100 percent, respect the 2,000-pixel input cap, and keep the full-size PNG as a master while shipping a compressed copy to the web.
Related guides
Browse more: all AI guides · the AI Image Upscaler