Old Photo Enhancement: Scan, Upscale, Fix Faded Color
To enhance an old photo, scan the print at 600 dpi or higher, run the scan through a 2x AI upscaler, then correct the faded color and contrast with simple sliders. That sequence recovers far more detail than snapping the print with a phone and hitting an auto-enhance button. This guide covers scanner settings, what the GrabCast upscaler does and does not repair, and how to share restored family pictures without losing quality.
🔼 Try AI Image Upscaler now — freeOpen →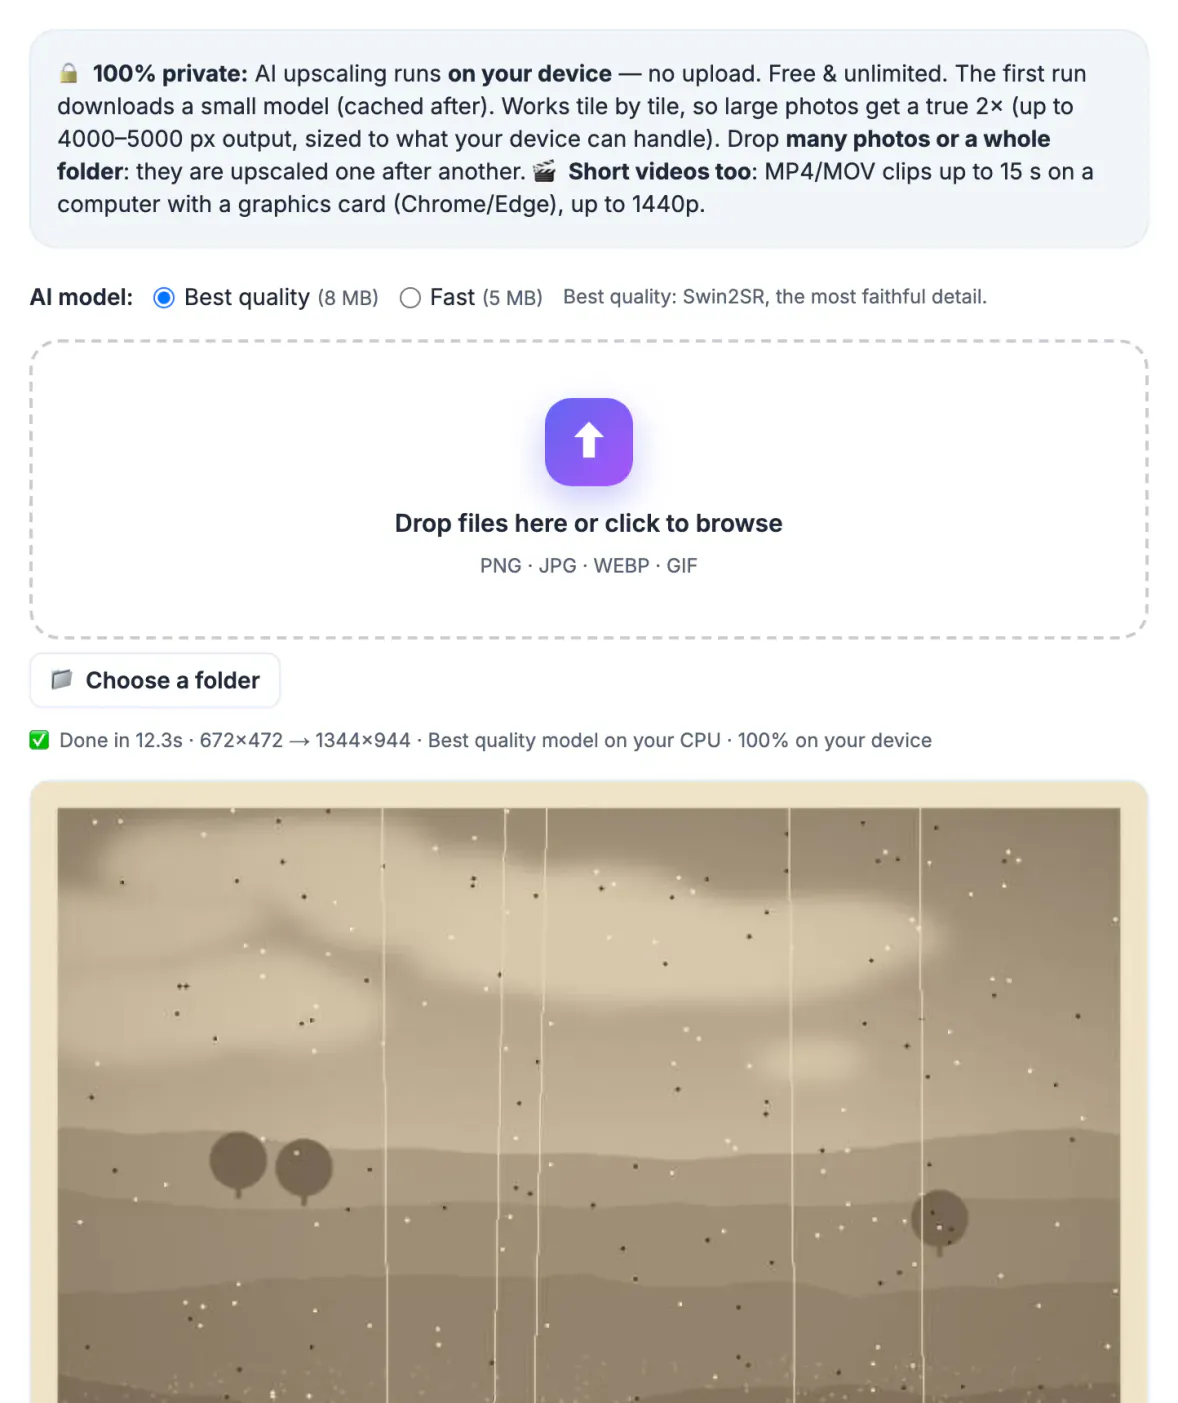
A 4 by 6 inch print scanned at 600 dpi becomes a 2400 by 3600 pixel file, while a quick phone snapshot of the same print adds glare, keystoning and lens softness. AI can sharpen what is there, but it cannot invent grain structure that never reached the sensor. Get the capture right and every later step works better.
Scan the print before you touch any AI
A flatbed scanner is still the best tool for family prints. Clean the glass and the print surface with a soft brush, set the scanner to 24-bit color even for black-and-white prints (it keeps sepia tones you may want), turn off any built-in sharpening, and save as PNG or TIFF rather than a heavily compressed JPG.
- Wallet and 3.5-inch prints: 1200 dpi
- 4 by 6 and 5 by 7 prints: 600 dpi
- 8 by 10 and larger: 300 to 400 dpi
- Slides and negatives: a film scanner or a lab service at 2400 dpi or more
No scanner? Google PhotoScan for iPhone and Android combines several shots to cut glare, and it keeps the print flat and square. Shoot in daylight near a window, never with the flash, and keep the phone parallel to the print. Glossy prints in albums with plastic sleeves should come out of the sleeve first; the film adds haze and reflections no software fully removes.
What the AI upscaler improves on a scanned print
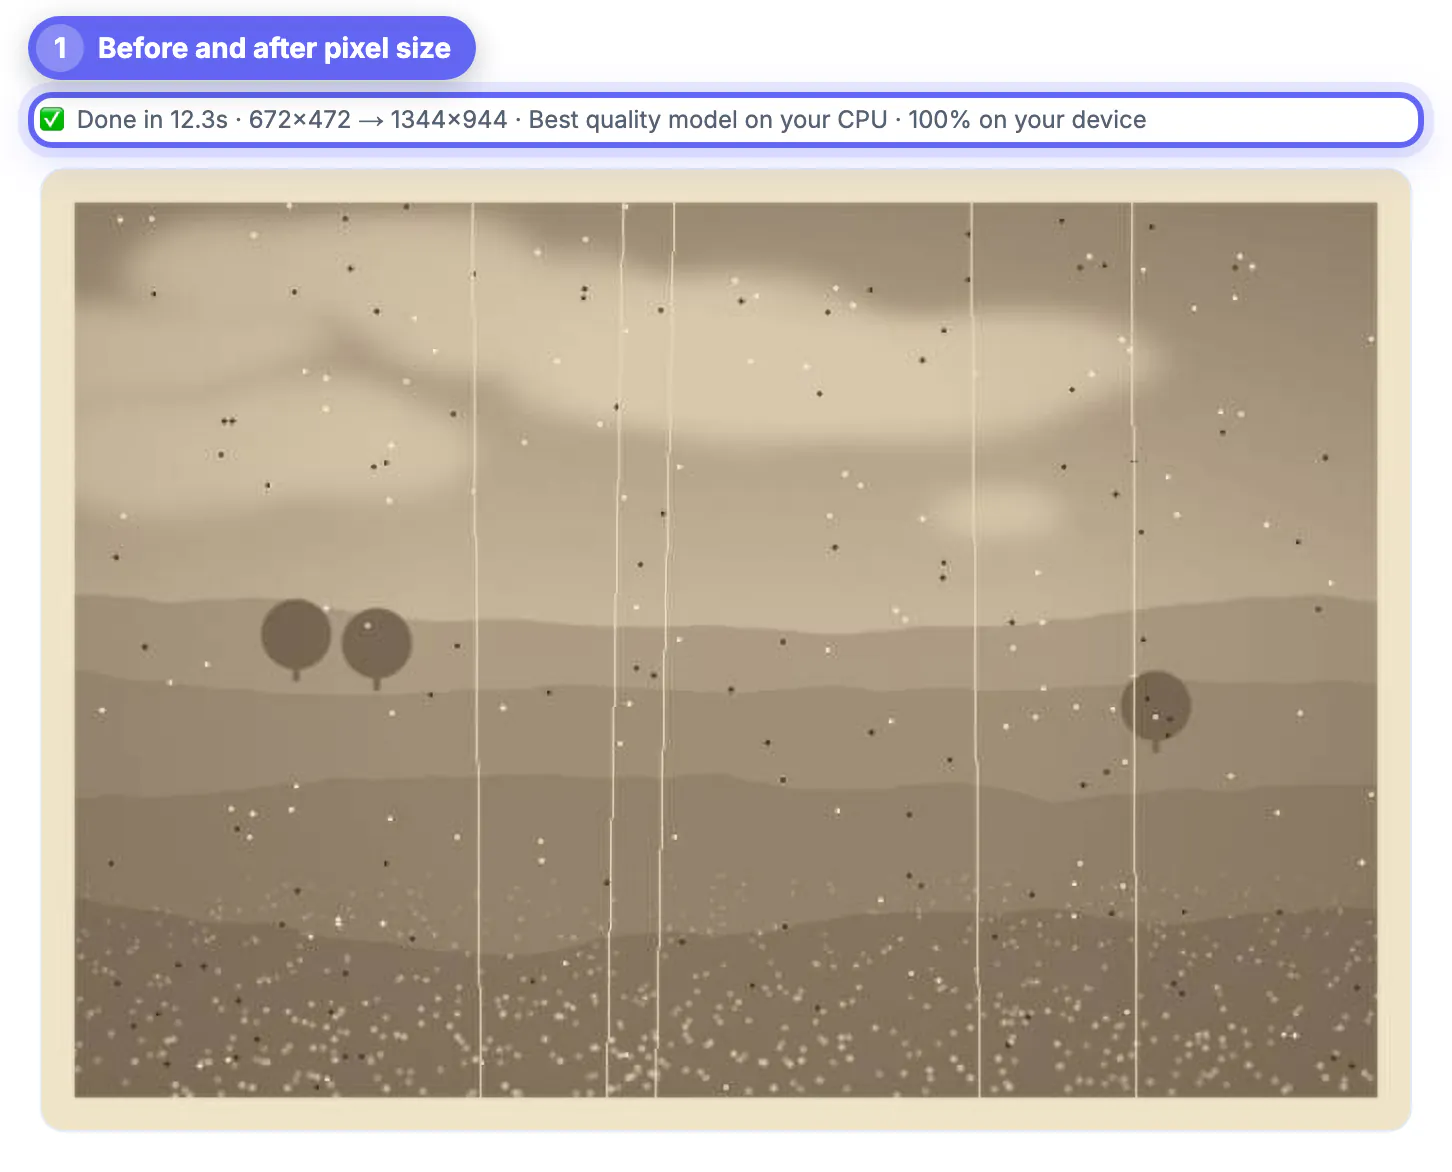
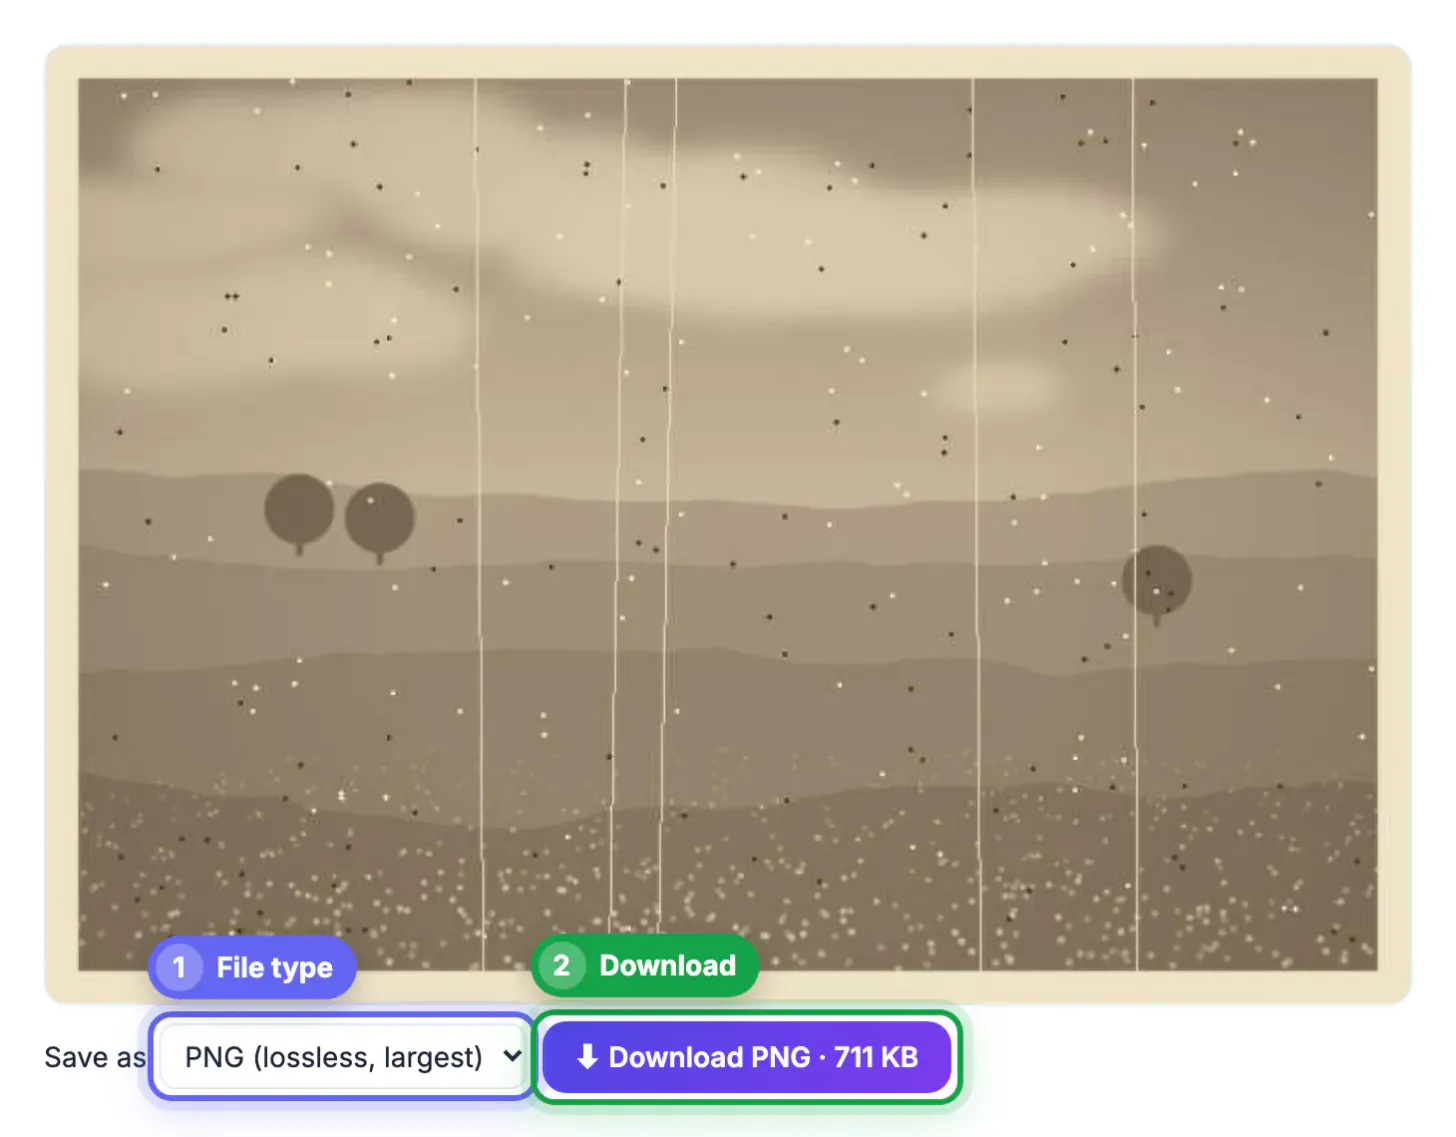
GrabCast's AI Image Upscaler runs a Swin2SR super-resolution model inside your browser and doubles width and height. It works on small tiles of 320 pixels, so a 1500 by 1000 scan becomes a true 3000 by 2000 PNG. Nothing is uploaded; the model downloads once, is cached, and uses WebGPU when your browser supports it, falling back to slower WebAssembly otherwise.
It shines on small scans and cropped details: a face cut out of a group shot, a tiny wallet print, or a scan made at low resolution years ago. Edges get cleaner, JPEG blockiness softens, and fine texture reads more naturally than with plain bicubic enlargement. Grandpa's face in a 1950s class picture, cropped to 400 pixels wide, is exactly the kind of input where the difference is obvious.
- Inputs above 2000 pixels on the long side are first fitted to 2000, so output tops out near 4000 pixels
- If your scan is already larger than 2000 pixels, skip upscaling; rescanning at a higher dpi gives more real detail
- Speed depends on your hardware; WebGPU in a current Chrome or Edge is far faster than the fallback
Fix fading, color casts and contrast
Most prints from the 1960s to the 1990s fade unevenly: cyan dyes break down first, so pictures drift toward red or magenta, and blacks turn a muddy brown. After upscaling, open the result in a picture editor and work in this order: contrast, then brightness, then warmth, then saturation.
- Contrast up 10 to 25 percent restores depth to washed-out shadows
- Warmth down counters a red or orange cast; warmth up counters a cold blue one
- Saturation down slightly if faces look sunburned after the contrast boost
- For monochrome prints, desaturate fully to remove a yellow tint, or keep the sepia on purpose
GrabCast's Photo Editor has these sliders and runs in the browser too. For heavier correction, per-channel curves in a desktop editor such as GIMP, Affinity Photo or Photoshop give finer control. Judge color on a laptop or monitor rather than a phone, and look at skin tones and anything that should be neutral gray, such as a sidewalk or a white shirt.
Damage AI cannot undo, and better tools for it
A 2x upscaler is not a restoration studio. It will not remove scratches, dust spots, creases, tears or water stains; it may even sharpen them. It does not colorize black-and-white pictures or rebuild a face that was out of focus when the shutter fired.
- Scratches and dust: a healing or spot-repair brush in a desktop editor
- Missing corners and tears: content-aware fill or careful cloning
- Faces too soft to recognize: dedicated face-restoration apps, used with caution since they can invent features
- Colorization: specialist apps that guess colors, which may not match reality
Keep the original scan untouched in a separate archive and save every edited version under a new name. Family archivists also recommend writing names, places and dates into the file name or metadata, because that knowledge disappears faster than the prints do. A simple pattern such as 1968-lake-tahoe-mom-and-aunt-ruth makes a collection searchable decades later.
For small dust spots or stray marks on a scan, the Magic Eraser is a quick thing to try before heavier retouching.
Step-by-step
Common mistakes to avoid
Pro tips
Frequently asked questions
Can AI restore an old photo completely?
Not in one click. An upscaler sharpens and enlarges, a photo editor fixes fading, and physical damage such as scratches or tears still needs retouching by hand or a specialist app.
What dpi should I scan family prints at?
600 dpi suits standard 4 by 6 and 5 by 7 prints. Use 1200 dpi for small wallet prints and 300 to 400 dpi for 8 by 10 or larger.
Is my family picture uploaded anywhere?
No. GrabCast's upscaler and Photo Editor run in your browser, so the file stays on your device. Only the model files are downloaded, once, and then cached.
Why did my large scan come out smaller than expected?
Inputs above 2000 pixels on the long side are fitted to 2000 before the 2x pass, so the output peaks around 4000 pixels. Very large scans rarely need upscaling at all.
Can it colorize black-and-white pictures?
No. The upscaler keeps the colors it is given. Colorization needs a separate app, and its colors are educated guesses rather than the real ones.
Scan properly first, upscale 2x only when the scan is small, then fix fading with contrast and warmth. Keep the untouched scan as a master copy, retouch physical damage separately, and label every file with names and dates while someone still remembers them.
Related guides
Browse more: all AI guides · AI Image Upscaler