Printable Photo Collage: 4x6, 8x10 and Letter at 300 DPI
For a collage you plan to print, set the canvas to the paper size first: 4x6 in (1800 x 1200 px), 8x10 in (2400 x 3000 px) or US Letter (2550 x 3300 px), all at 300 dpi. Then leave a wider outer border than you would on screen, because labs trim a little from every edge, and save a High quality JPG. The GrabCast Photo Collage Maker has these sizes built in, draws each picture from the original file at full resolution, and never uploads anything. Below, nine city skyline pictures become an 8x10 wall piece with a cream mat.
🧩 Try Photo Collage Maker now — freeOpen →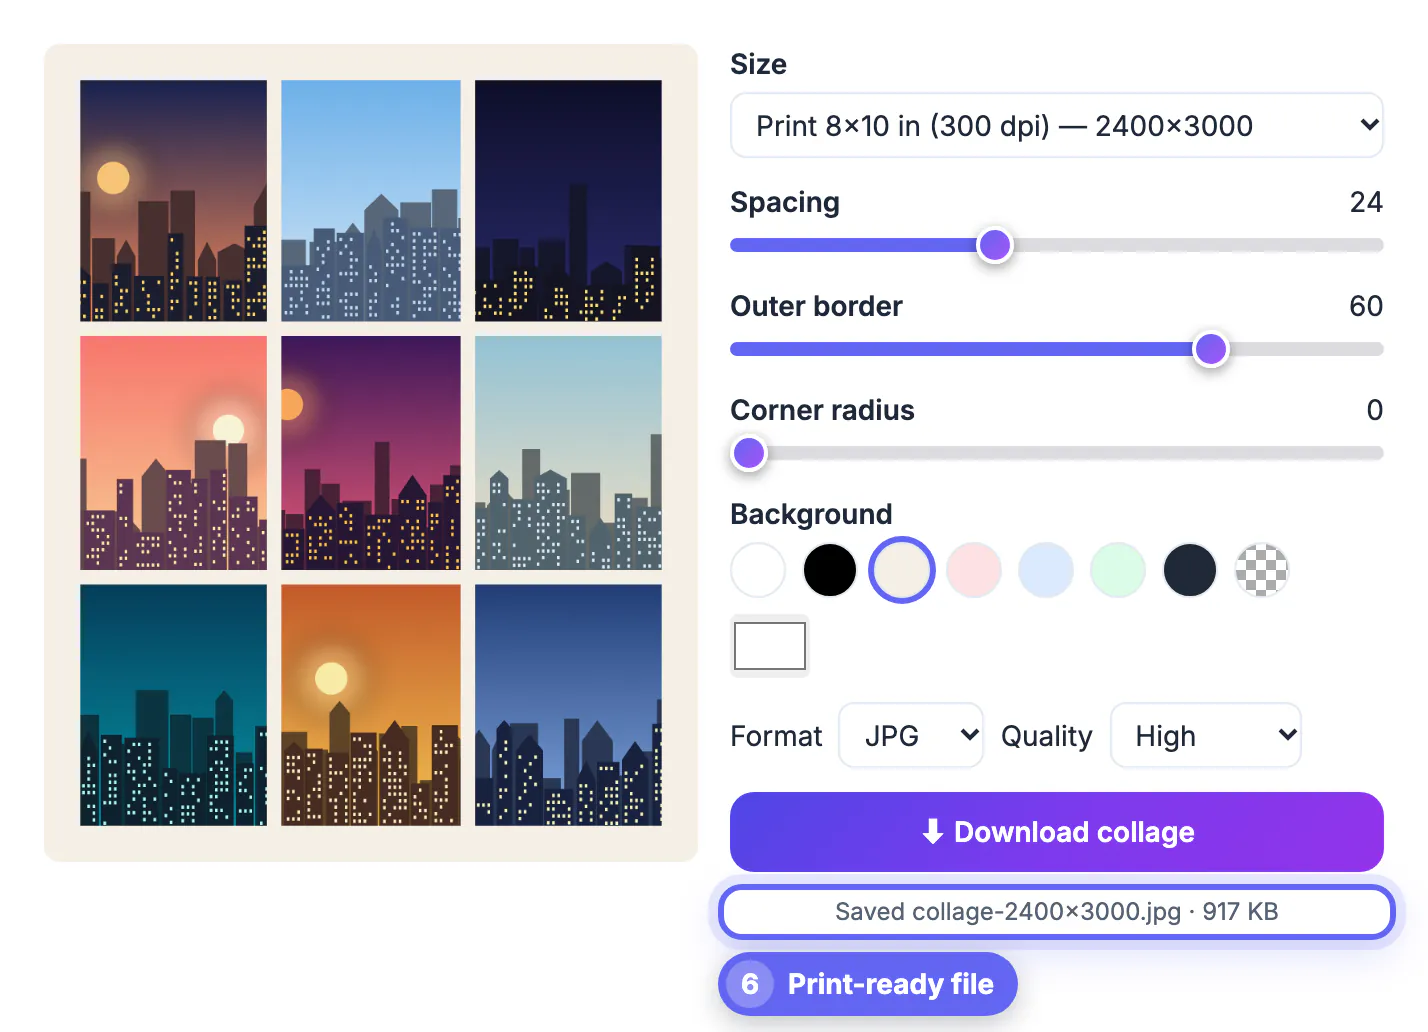
On a phone, a 1080 pixel grid looks crisp and nobody notices a thin edge. On paper, the same file is stretched over 8 inches and softens, the lab's cutter shaves a sliver off each side, and a frame's lip hides a bit more. Designing for the paper size from the start gives the printer enough pixels, keeps faces and horizons away from the trim line, and avoids the surprise of a white strip or a cut-off corner when the print arrives.
Which print size to choose and how many pixels it needs
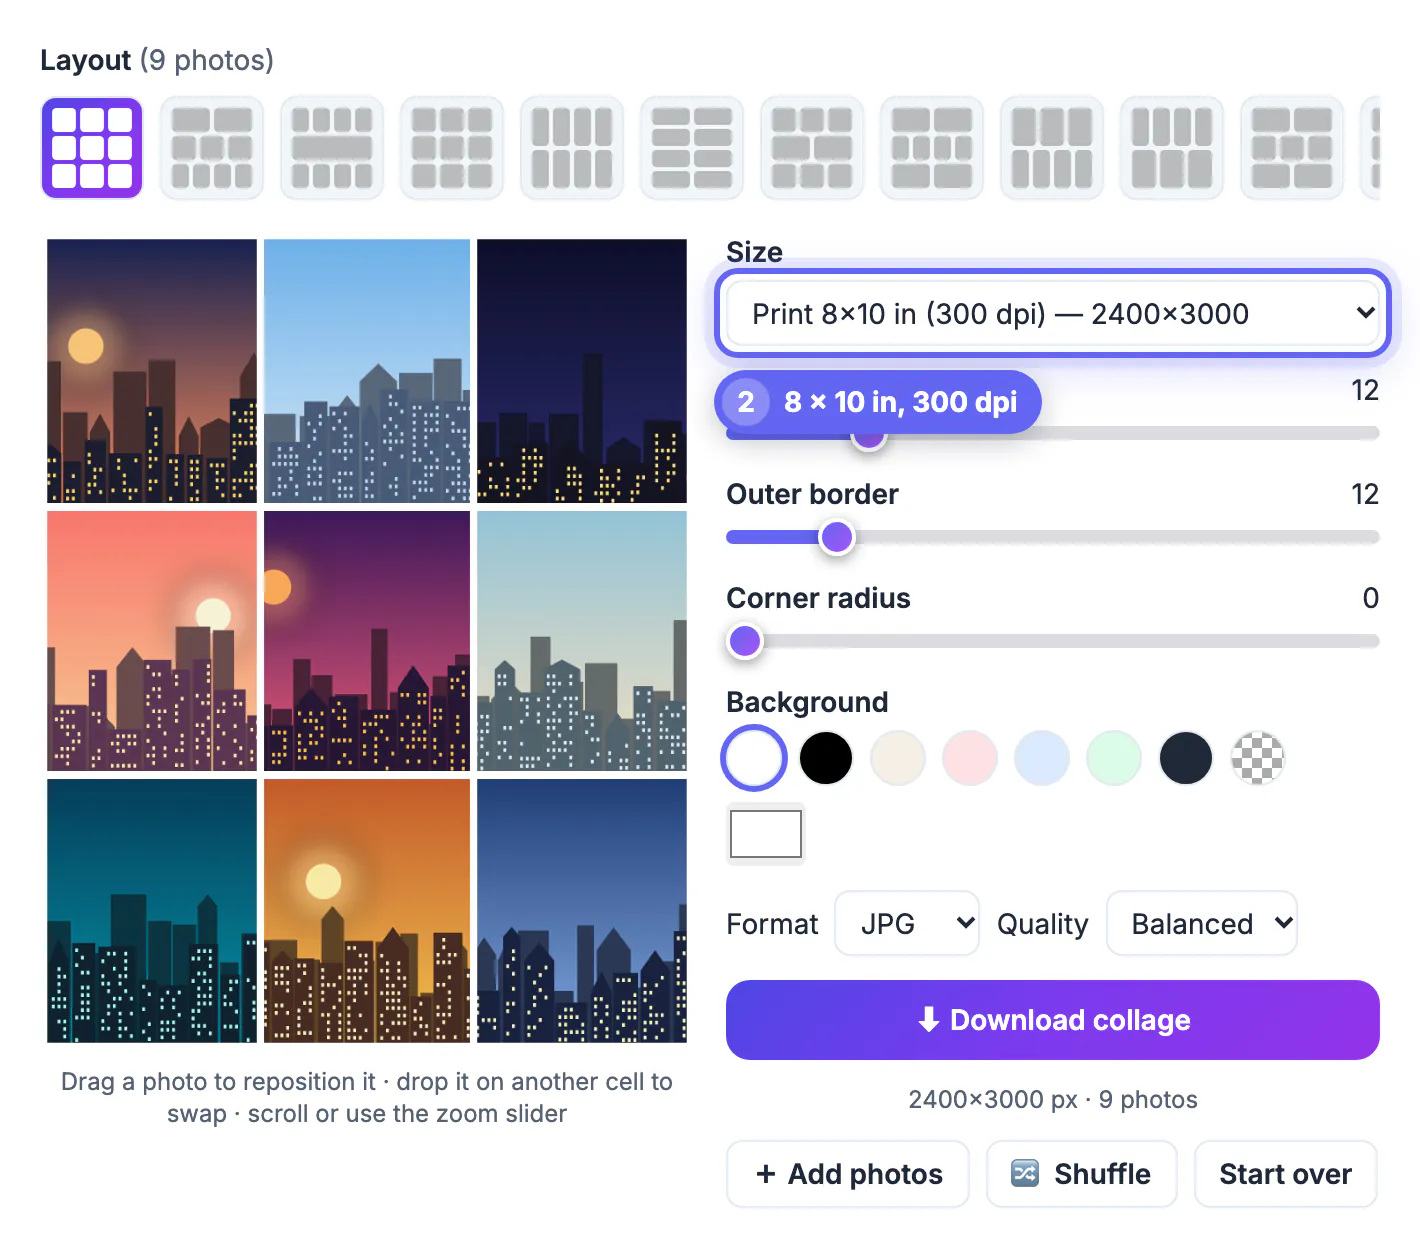
Dots per inch only matter together with the pixel count. At 300 dpi, a common target for photo labs, each inch of paper needs 300 pixels. The built-in sizes follow that rule:
- Print 4x6 in: 1800 x 1200 pixels, landscape. Use Print 6x4 portrait (1200 x 1800) for an upright card.
- Print 8x10 in: 2400 x 3000 pixels, a 4:5 shape that fits standard 8x10 frames.
- US Letter: 2550 x 3300 pixels for home printers and office binders.
- Custom: any width and height from 100 to 8000 pixels, for 5x7 (1500 x 2100) or 11x14 (3300 x 4200) at 300 dpi.
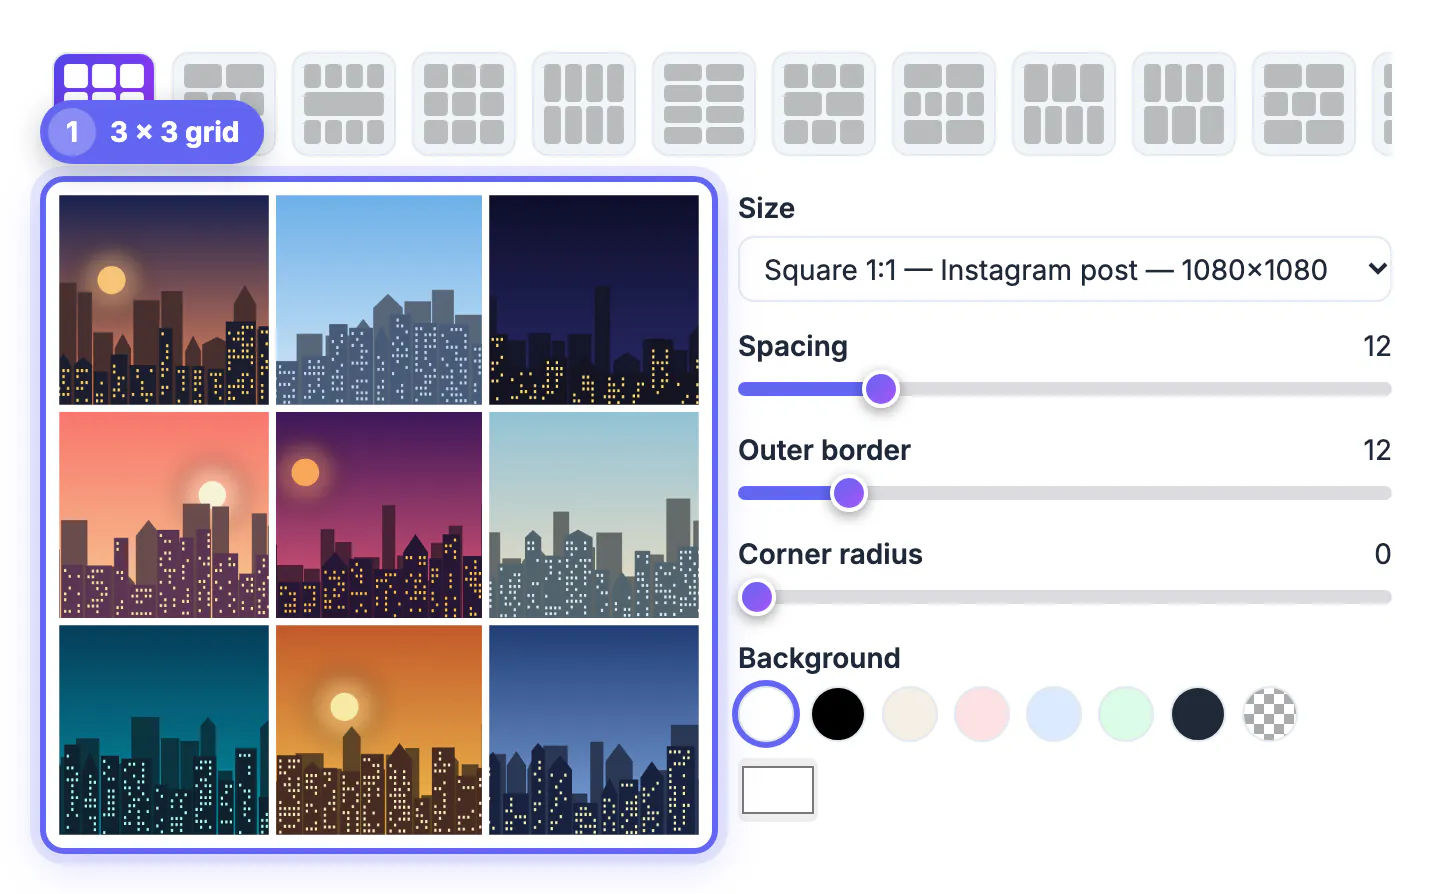
A 3 by 3 grid on an 8x10 gives each cell roughly 680 to 770 pixels on its short side, depending on border and spacing, so source pictures around 1000 pixels or larger will print cleanly. Tiny images saved from chat apps are the usual reason a print looks soft. If you only have small copies, choose a layout with fewer, larger cells, or print at 4x6 instead of 8x10; a sharp small print looks better than a blurry large one. Phone cameras from recent years produce 3000 to 4000 pixel images, which is plenty for any cell in these layouts.
Leave room for the lab's trim with a mat-style border
Labs rarely cut exactly on the edge. Plan for a few millimeters of loss on every side, and a frame lip can cover more. The outer border slider solves both at once:
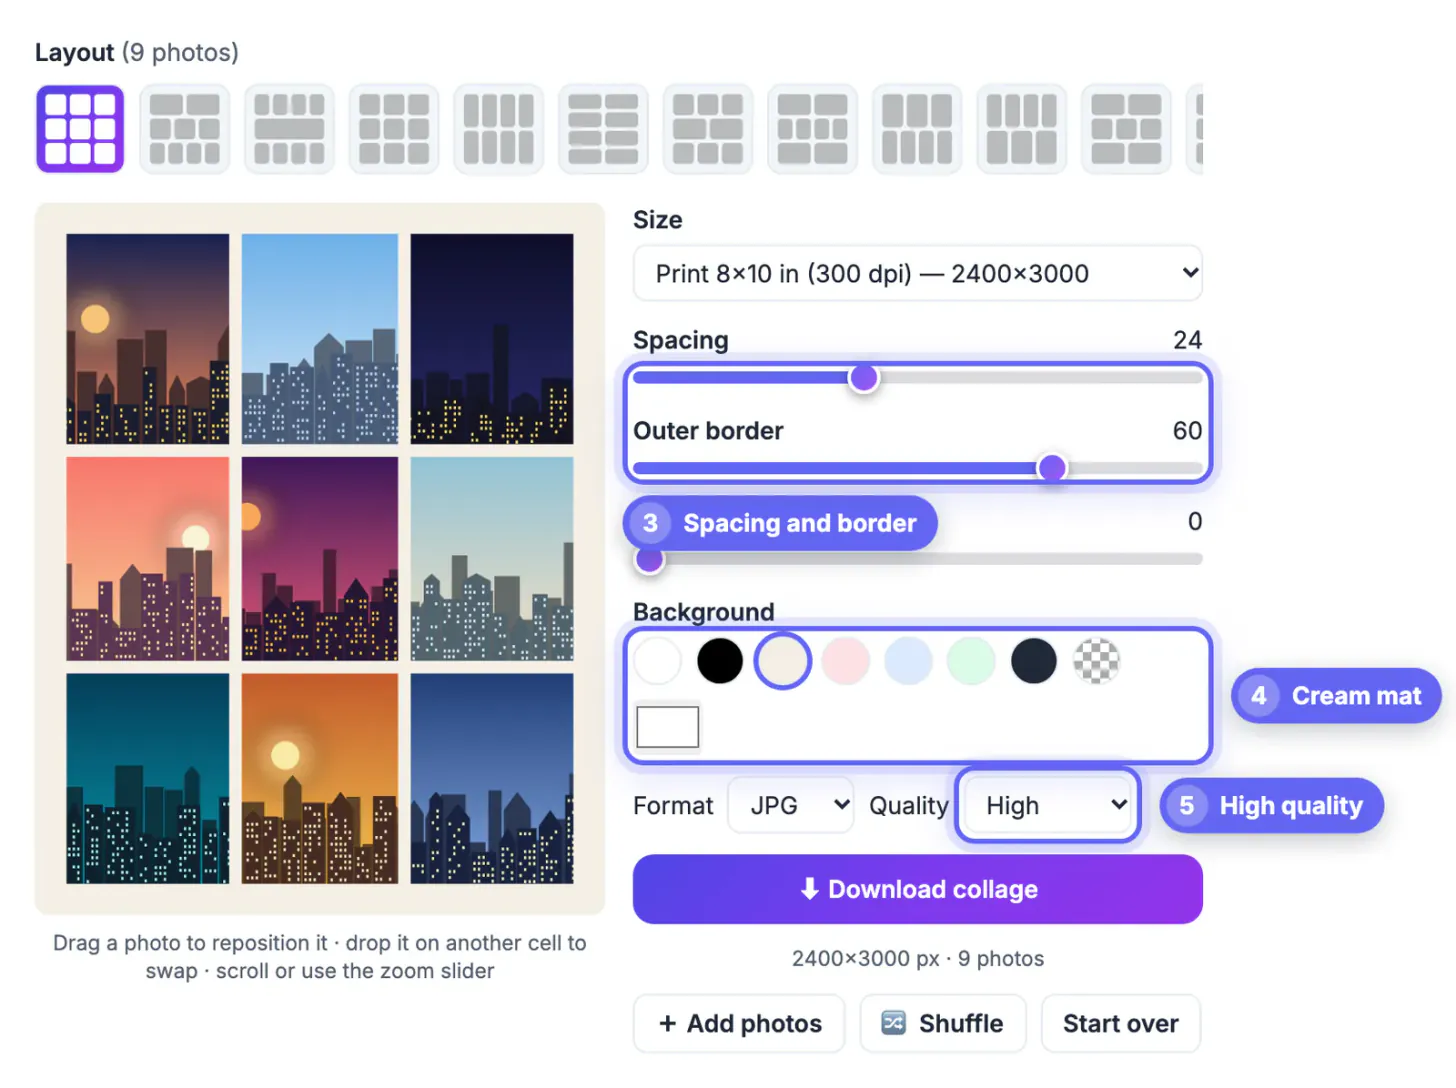
- Outer border 40 to 80 creates a visible mat; at 60, the example keeps skylines well inside the cut.
- Spacing between 16 and 24 keeps a 3 by 3 grid readable from across a room.
- Cream, white or charcoal mats look like real matboard; saturated colors compete with the pictures.
- Keep corner radius at 0 for a gallery look, or small values for a softer family board.
Because border and spacing scale with the canvas, what you see in the preview is what prints, even at 3000 pixels tall.
Export settings for photo labs and home printers
Most labs and kiosks accept JPG, so use JPG with the High quality option. The example 8x10 file came out at about 917 KB, which uploads quickly to any print service.
- JPG High: best balance for printing; Balanced and Small file are meant for screens.
- PNG: lossless, much larger files; useful if a print shop asks for it.
- Avoid transparent backgrounds for print; paper has no transparency and a JPG fills the gaps with white.
- Check the confirmation line after downloading: it names the file with its pixel size, such as collage-2400x3000.jpg.
- Upload the file itself to the lab rather than a screenshot of it; a screenshot throws away most of the pixels.
Order a single test print before a batch of twenty. Color on paper is usually a little darker than on a bright phone screen, so pictures that already look dim on screen may need brightening in a photo editor before you build the grid.
Photos from iPhones often arrive as HEIC, and this conversion guide shows how to make them lab-ready.
Printed grids for walls, cards and school projects
The same workflow adapts to other paper jobs:
- Holiday or thank-you cards: 4x6 or 6x4 with two to four pictures and a wide border for handwriting.
- Classroom or science-fair boards: US Letter pages with six cells each, printed at home and mounted side by side.
- Gallery wall: several 8x10 grids with identical border and spacing so they read as a set.
- Memory boards for events: a 3 by 3 grid per page, one page per year or chapter.
Keep a copy of each export; changing one picture later is quicker if you rebuild with the same layout and settings.
Step-by-step
Common mistakes to avoid
Pro tips
Frequently asked questions
What resolution does a collage for printing need?
About 300 pixels per inch of paper: 1800 x 1200 for 4x6, 2400 x 3000 for 8x10 and 2550 x 3300 for US Letter. The built-in print sizes use exactly these values.
Why did my print come out cropped?
Labs trim a little from each edge and frames cover a bit more. A wider outer border keeps your pictures inside the safe area.
How wide should the border be for a frame with a mat?
If the frame already has a cardboard mat, keep the outer border small, around 10 to 20, and let the mat do the work. Without one, 50 to 70 gives a similar look.
Can I set a size that is not in the menu?
Yes. Choose Custom size and enter any width and height between 100 and 8000 pixels, for example 1500 x 2100 for a 5x7.
Do my pictures leave my computer?
No. The grid is rendered in your browser and saved to your device; you upload only the finished file to the lab of your choice.
Choose the paper size before anything else, give the grid a mat-style border that survives trimming, and export a High quality JPG at the full 300 dpi pixel count. One test print confirms colors and margins before you order the rest.
Related guides
Browse more: all image guides · Photo Collage Maker