Add a Watermark to Photos Free: Text, Logo or Tiled
To add a watermark to photos free, drop your images into GrabCast, type your name or load a logo, choose a corner or a tiled pattern, and download the marked files at full resolution. The whole job takes about a minute for one photo or a folder of fifty, because every setting you choose is applied to the entire batch. The harder part is choosing settings that protect the picture without ruining it, so this guide gives concrete starting values for opacity, size, rotation and placement for common situations: online store listings, rental and real estate photos, client proofs and event galleries. Everything runs in your browser, so the originals never leave your computer.
💧 Try Watermark Image now — freeOpen →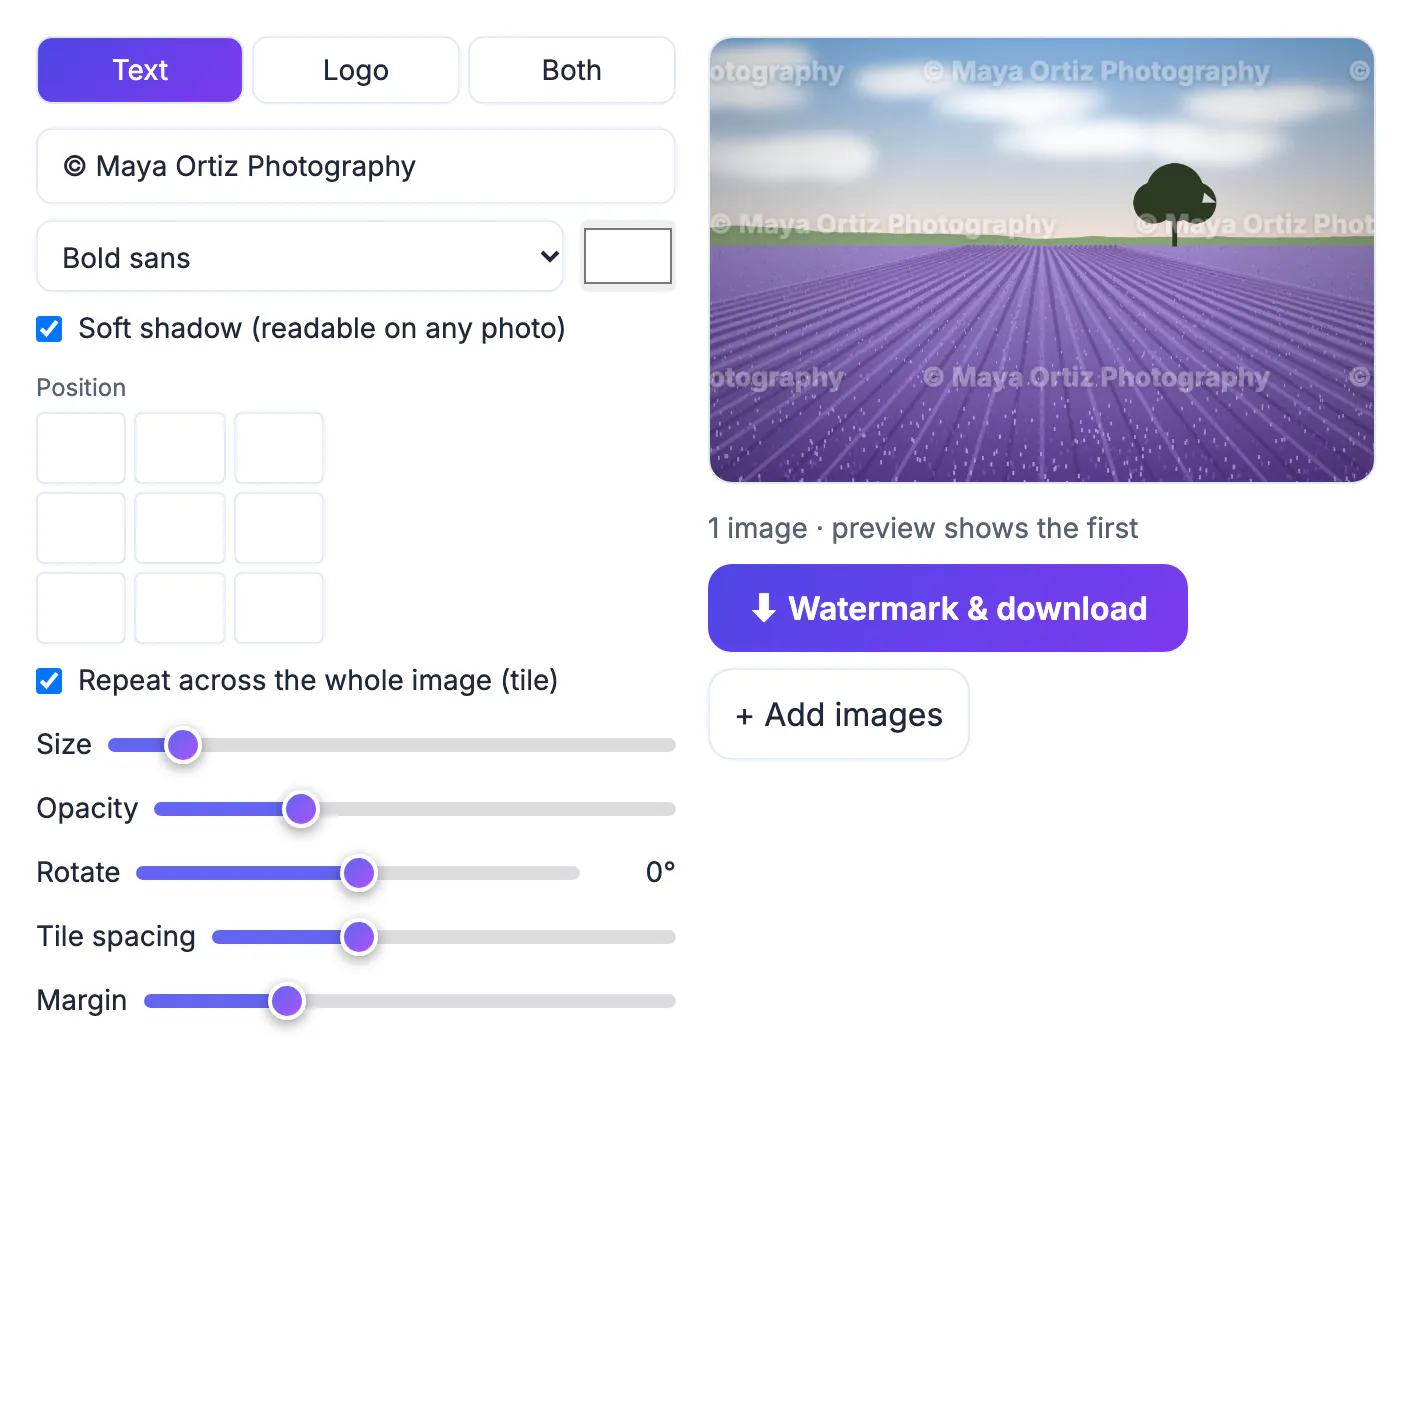
A watermark will not stop a determined person with editing software, and it is worth being honest about that. What it does is change the default. A photo carrying your shop name or studio logo is less attractive to copy, easier to trace back to you when it shows up on a marketplace or a scam listing, and it quietly advertises your brand every time the image is shared. The trade-off is visual: a mark that is too loud distracts buyers and clients, while one that is too faint in an empty corner can be cropped off in seconds. The right balance depends on how valuable the image is and where it will be posted.
Choose between a text, logo or combined watermark
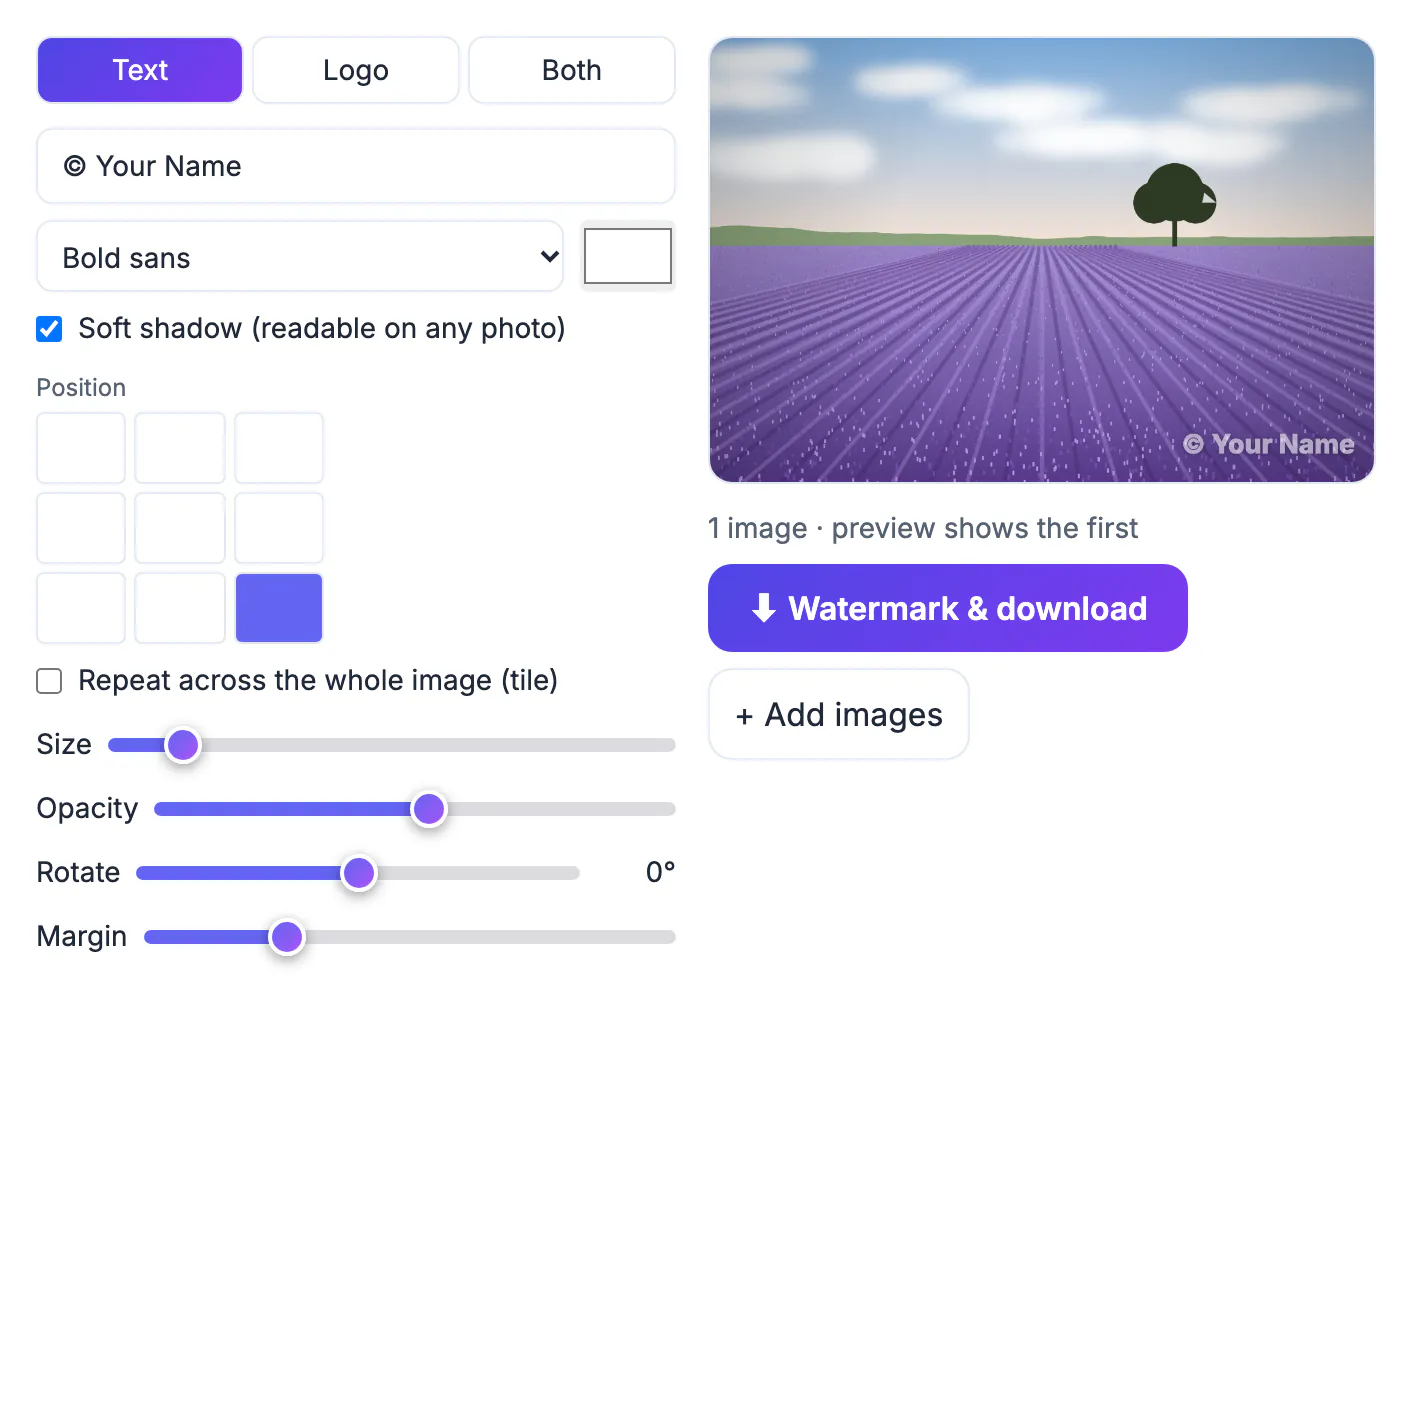
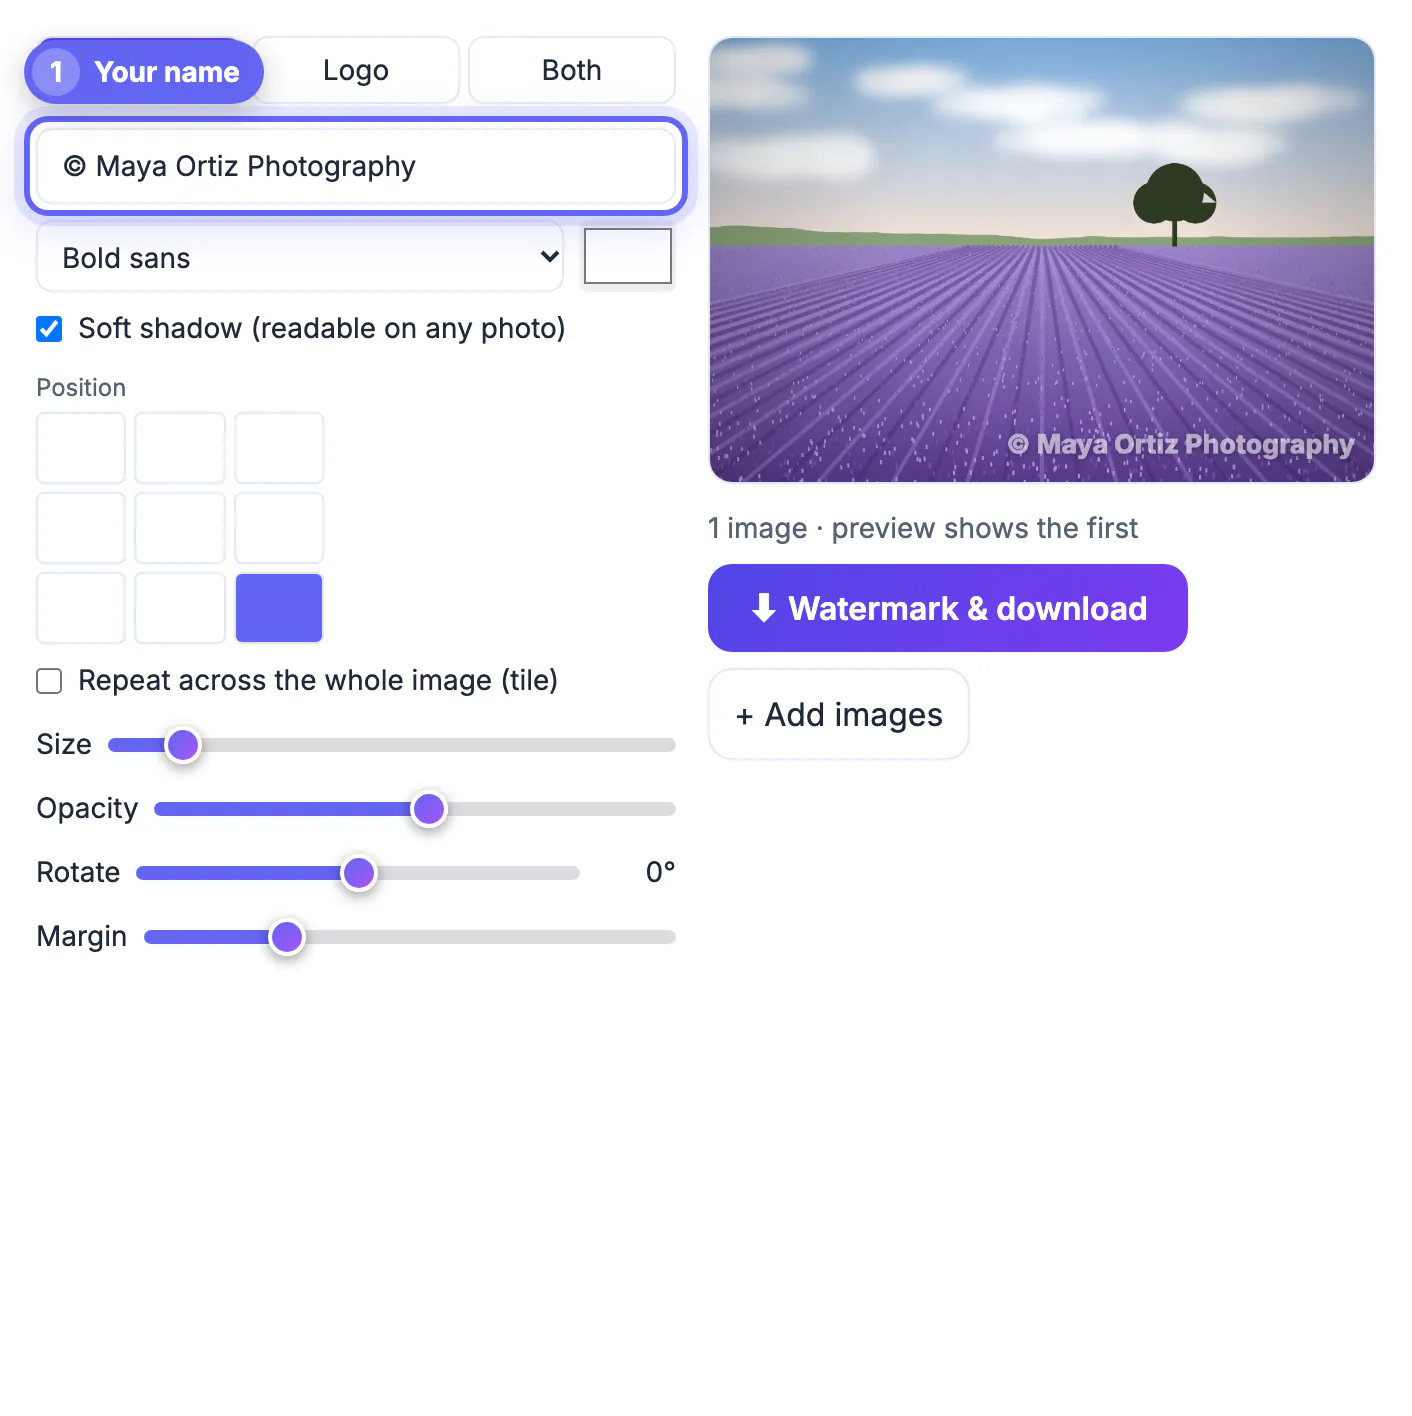
The tool offers three modes. Text is fastest: it starts with a copyright symbol and your name, and you can pick bold sans, serif, a handwritten signature style or monospace, plus any color. Logo mode takes an image file, and a transparent PNG gives the cleanest result because it has no white box around it. Both mode stacks the logo and text together for brands that want a mark plus a web address.
- Online store or Etsy listing: short text such as your shop name, since buyers remember names better than icons.
- Photographer or studio: your logo as a transparent PNG, sized small and consistent across the gallery.
- Real estate or rentals: agency logo plus the website, so reposted listings still point back to you.
- Personal travel photos: a subtle signature-style name in a lower corner is usually enough.
White text with the soft shadow option switched on stays readable on both bright skies and dark interiors, which saves you from choosing a color photo by photo.
Settings that protect photos without spoiling them
Opacity and size do most of the work. The default opacity is 55 percent, which is visible but not shouty. For product shots that customers need to inspect closely, drop to 30 to 40 percent. For proofs you send before a client pays, push it to 60 to 75 percent so a screenshot is not a usable substitute.
- Corner mark on a listing: size around 5 to 8, opacity 35 to 50, margin 3 or 4 so it does not hug the edge.
- Centered mark on a portfolio preview: size 15 to 25, opacity 20 to 30, so it reads without hiding faces.
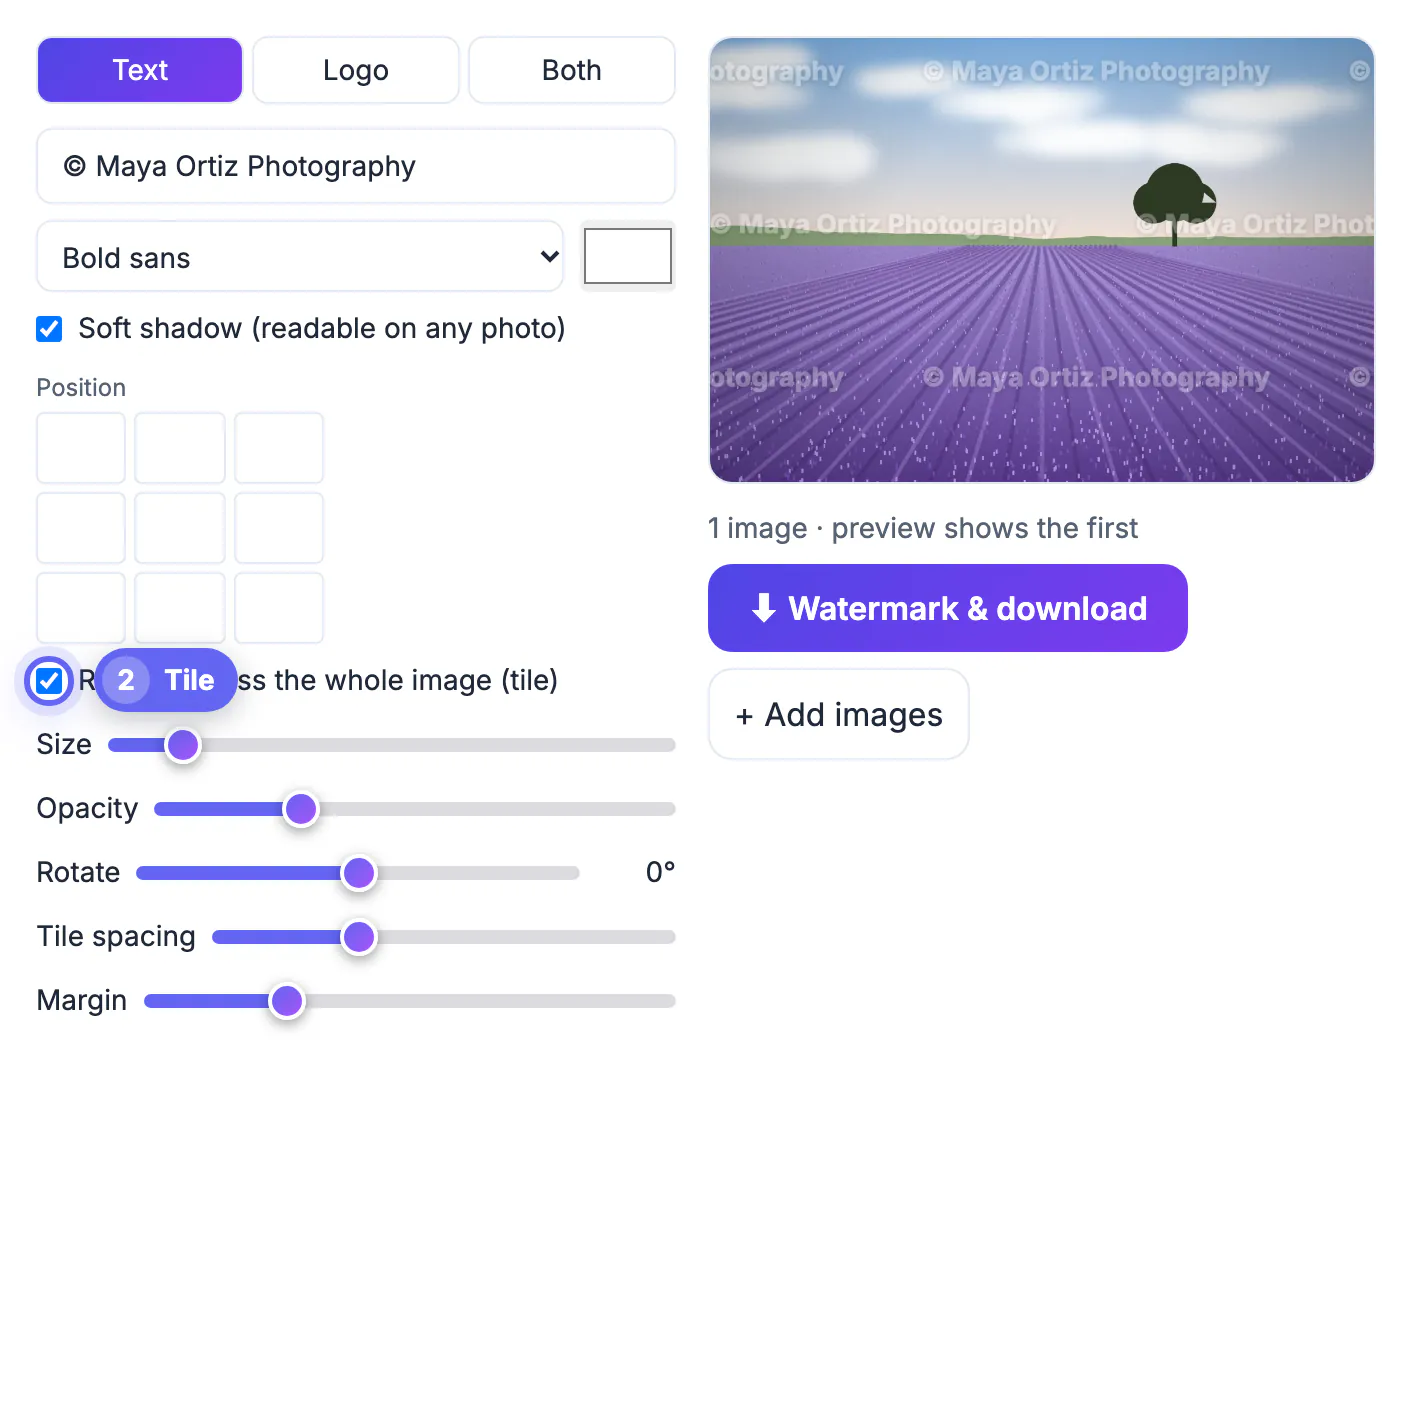
- Tiled proof: tile on, rotation minus 30 degrees, opacity 15 to 25, spacing 2 to 3 for a steady diagonal pattern.
- Logo on busy backgrounds: keep the shadow on, or pick the calmest area among the nine positions.
The live preview updates as you drag each slider, so judge it at the size people will actually see, such as a phone screen, not zoomed in at 100 percent.
Where to place a watermark so it is hard to crop
A mark in the extreme corner is the easiest to remove: one crop and it is gone, often with little loss to the photo. Placing it where the important content is makes removal costly, but also makes the image less pleasant. Choose based on risk.
- Low risk, like social posts: lower right or lower center, small and tidy.
- Medium risk, like marketplace photos that get reposted: middle left or right, overlapping part of the product.
- High risk, like paid event photos or client proofs: tiled across the whole frame.
- Keep the same position across a set so your gallery looks deliberate rather than random.
Rotation between minus 60 and 60 degrees also helps; an angled mark crossing edges and textures is noticeably harder to paint out cleanly than a flat line of text.
Batch-watermark a whole folder to add consistency
Drop as many photos as you like and the same text, logo, position and opacity are applied to every one. A single image downloads directly; several come back in one ZIP, with names ending in watermarked so they never overwrite your originals. The files keep their full resolution, and PNG or WebP stay in their format while other types are saved as high-quality JPG.
- Sort photos by orientation first if you use a corner mark, then check one portrait and one landscape in the preview.
- Size is proportional to each image, so a mark looks the same on a 12 megapixel photo and a small crop.
- Keep an unmarked master folder; you cannot cleanly remove a watermark later.
- Remove location data from photos of your home or studio before posting, since a watermark does not hide it.
Because nothing is uploaded, you can process client work or unreleased product photos without sending them to a third-party server.
For a batch, resize the images first and compress them afterwards so the watermarked files stay light.
Step-by-step
Common mistakes to avoid
Pro tips
Frequently asked questions
How do I add a watermark to photos free without an app?
Open the watermark tool in any modern browser, drop your photos, choose text or a logo, set the position and opacity, and download. There is no install, account or watermark from us.
Can I watermark many photos at once?
Yes. Every photo you drop gets the same settings, and several files download together as one ZIP with the originals untouched.
What opacity should a photo watermark be?
Around 35 to 50 percent works for listings and social posts, 20 to 30 percent for large centered marks, and 60 percent or more for proofs you send before payment.
Does watermarking reduce the quality or size of my photos?
The output keeps the full pixel dimensions. PNG and WebP stay in their format, and other files are saved as high-quality JPG, so any change is barely visible.
Are my photos uploaded to add the watermark?
No. The watermark is drawn in your browser on your own device, so private or client photos are never sent to a server.
Add a watermark that matches the risk: a small, semi-transparent name for everyday posts, a mark over the subject for photos that get reposted, and a diagonal tiled pattern for proofs and paid work. Set it once, apply it to the whole batch, keep your clean originals, and download full-resolution files without anything leaving your browser.
Related guides
Browse more: all image guides · Watermark Image