Watermarks for Photographers and Artists: Proofs vs Posts
Photographers and artists should watermark photos in two different ways: a bold, tiled mark across client proofs that are not paid for yet, and a small, elegant signature on portfolio and social posts. GrabCast's Add Watermark to Image tool handles both, with text, logo or both, a nine-position grid or a repeating tile, and batch export to a ZIP, all inside your browser. This guide gives concrete settings for each case, explains what a mark realistically prevents, and covers the metadata and legal steps that back it up.
💧 Try Watermark Image now — freeOpen →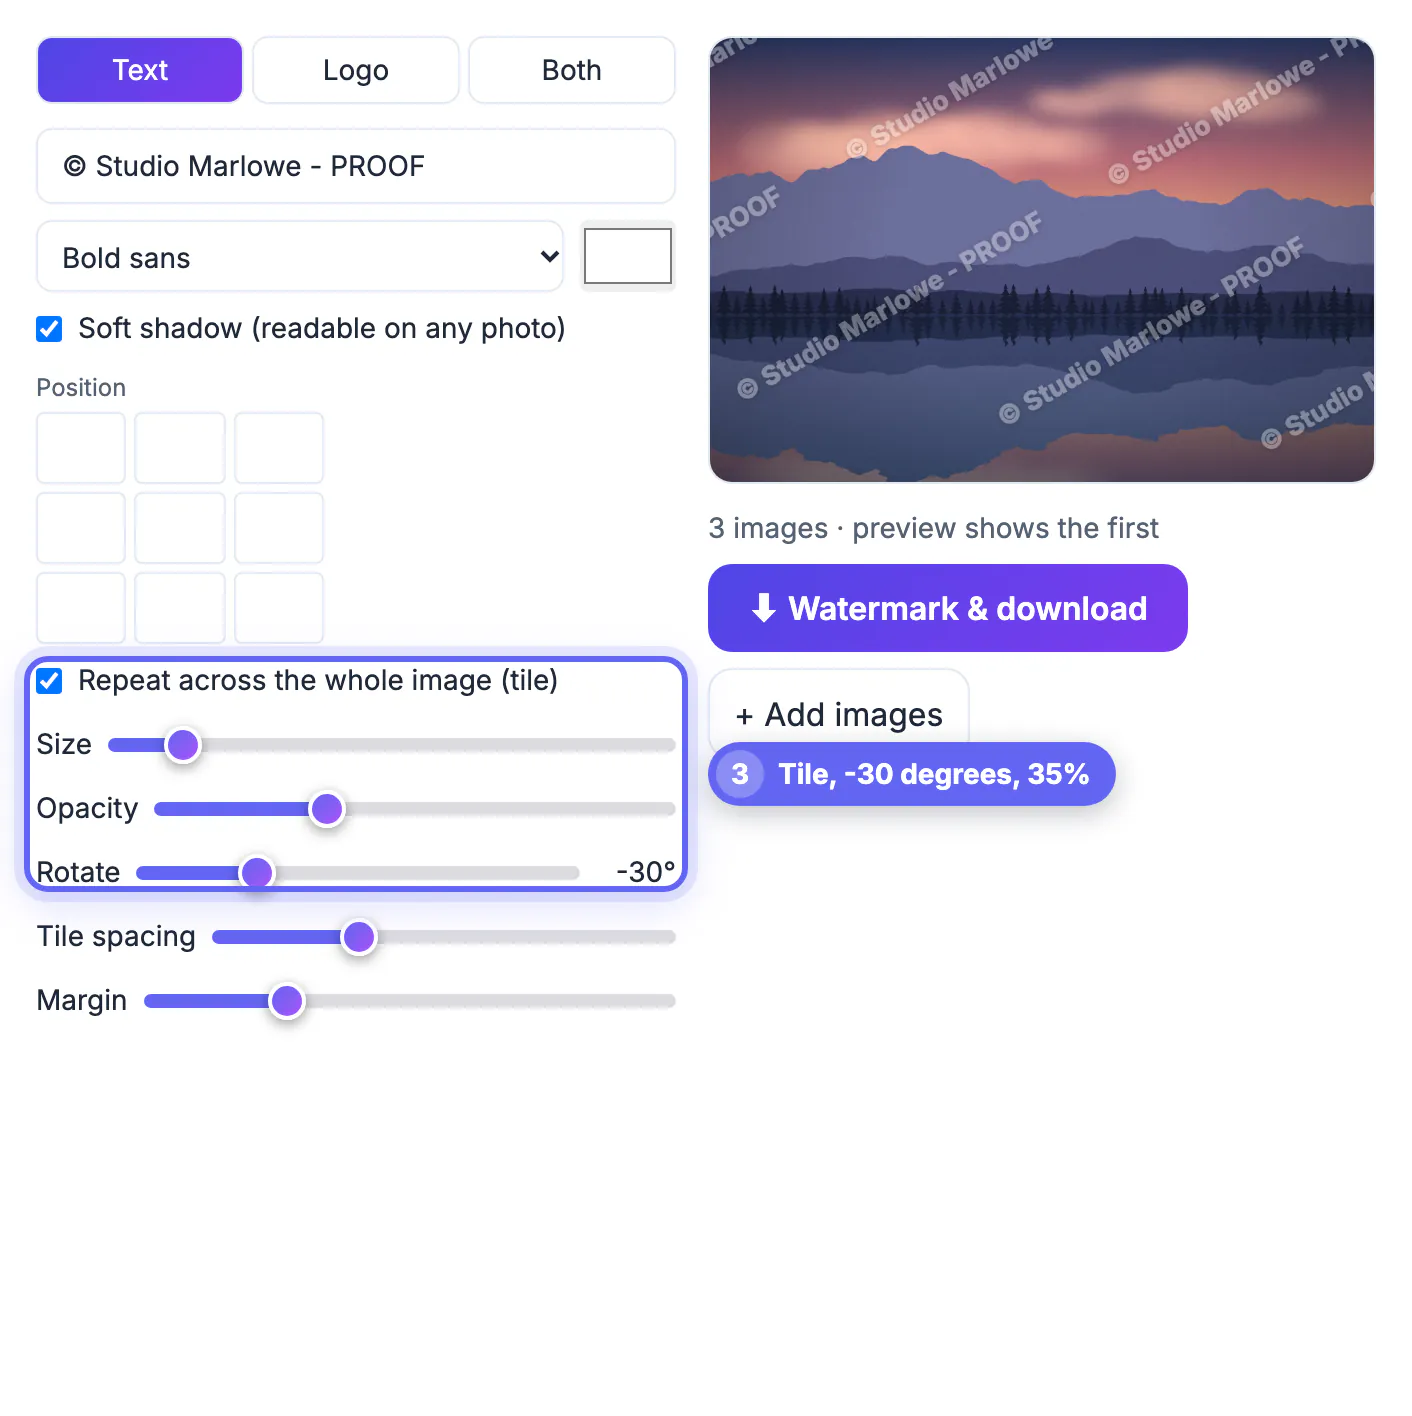
A wedding photographer sending 400 proofs has a different problem from an illustrator posting a finished piece on Instagram. Proofs are full compositions a client could screenshot and print instead of ordering, so the mark must cover the subject. Portfolio posts exist to win new work, so a heavy mark ruins the very thing you are selling and gets fewer shares. Using one setting for both either leaves proofs easy to take or makes your portfolio look defensive. Two saved presets, one for each job, solve it. Save both as notes so assistants and second shooters apply them identically.
Proof galleries: tiled marks that cover the subject
For unpaid proofs, switch on Repeat across the whole image. The tile setting stamps your mark in a staggered grid, and the rotation slider, from minus 60 to 60 degrees, sets the angle. A starting point that works on most portraits and event images:
- Text such as PROOF plus your studio name, in the bold sans font.
- Size around 5 to 7, opacity 30 to 40 percent, rotation minus 30 degrees.
- Tile spacing at 2 to 3, so faces cannot be cropped out between repeats.
- Soft shadow on, so the lettering stays visible on both white dresses and dark suits.
Export proofs at a reduced size, around 1,600 to 2,048 pixels on the long side. A tiled mark on a smaller file is far less tempting to print than a clean full-resolution original.
For a whole gallery, the Photo Workflow batch editor speeds up repeated edits, and the Resize Image tool makes web-sized proofs.
Portfolio and social posts: a quiet signature
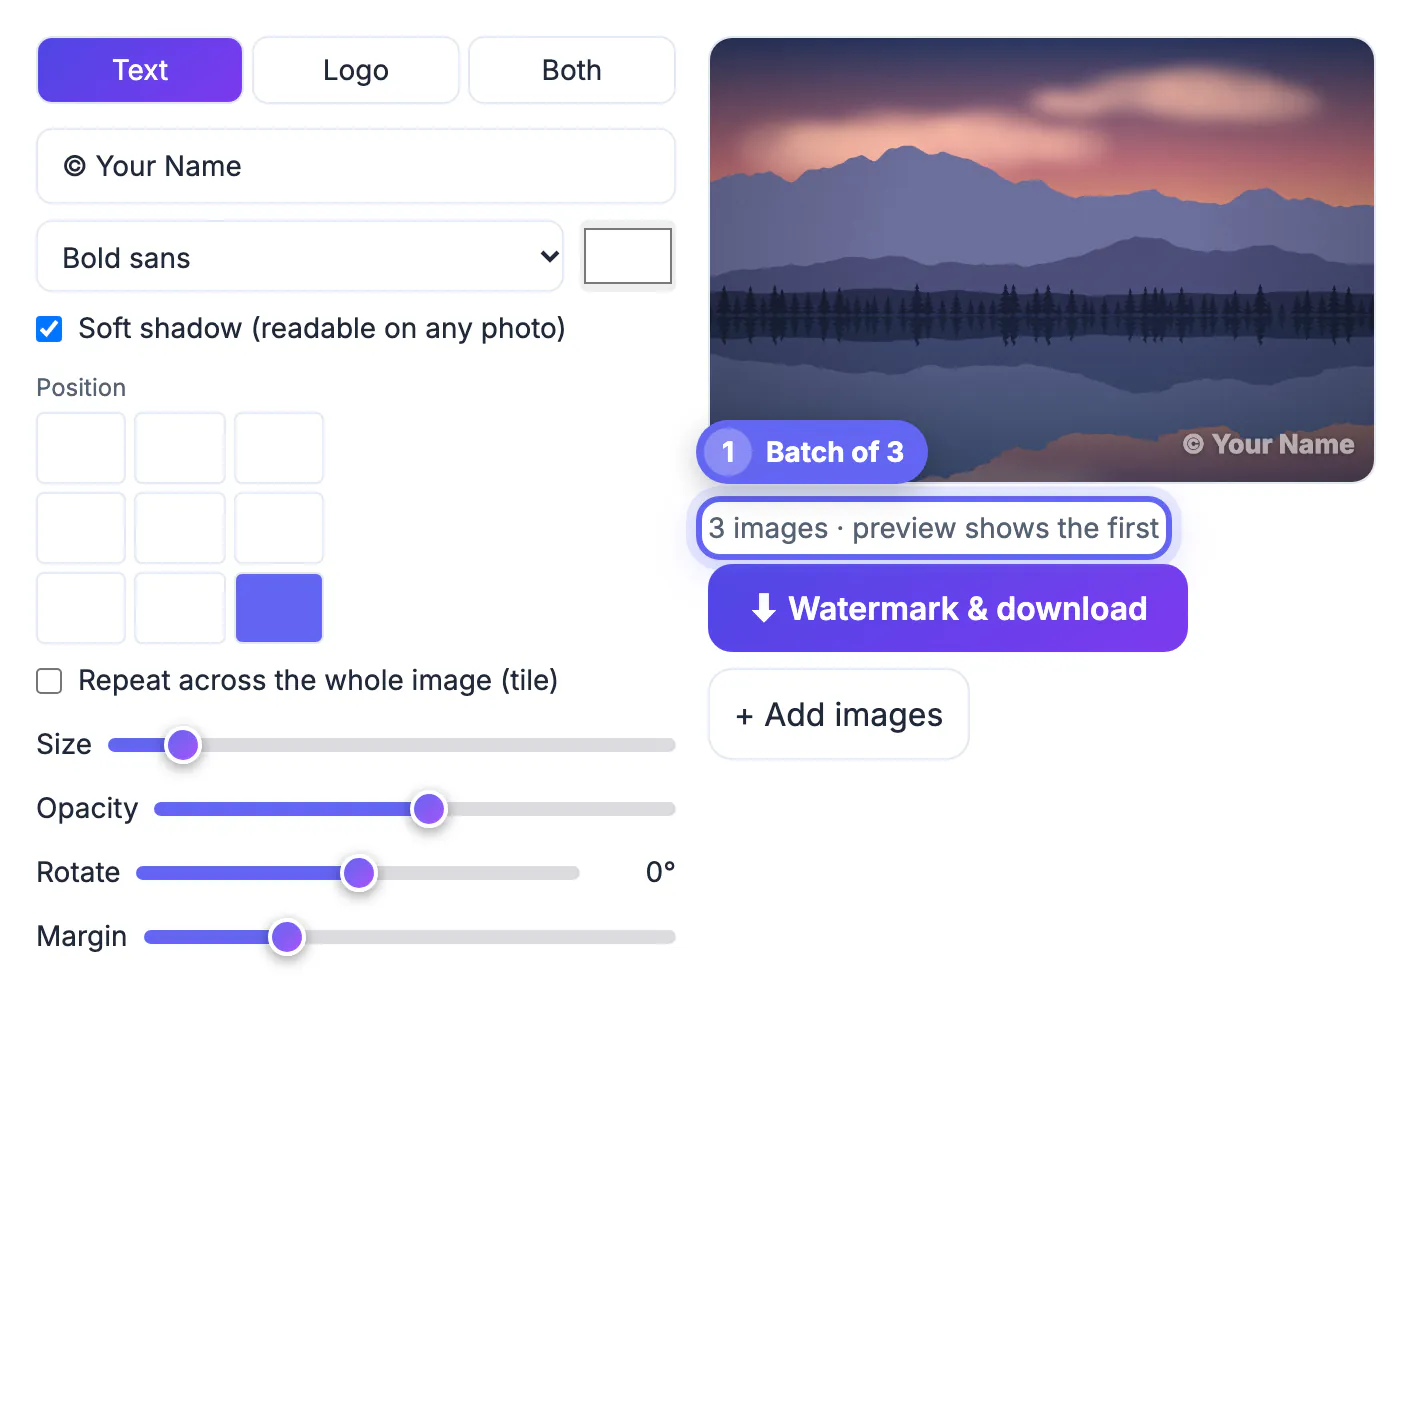
For work you want shared, place a single mark in a corner using the nine-position grid. The Signature script font, a white or light-gray color, opacity around 25 to 40 percent and a size of 3 to 5 read as an artist's signature rather than a warning label. Set margin to 2 or 3 so it clears rounded corners and app overlays.
Illustrators often prefer a transparent PNG logo. Choose Logo or Both, load the file, and the tool places your mark next to the text. Test placement against how each platform crops: Instagram grid previews trim a portrait post to a 3:4 area, so a mark tucked into the extreme bottom corner can vanish from the thumbnail.
Painters and printmakers photographing originals have one extra concern: collectors want to see texture and brushwork. Keep the signature off the painted area when possible, for example on the wall or table visible around the canvas, or in the margin of a print, so the mark never competes with the work itself.
What watermarking realistically prevents
A mark deters casual reuse and keeps your name attached when a picture travels through reposts and screenshots. It will not stop a determined thief: AI removal tools erase simple corner marks in seconds, and anyone can crop a small signature away. Tiling across detailed areas such as hair, fabric and foliage makes clean removal much harder, which is why proofs deserve the heavier treatment.
There is also a legal angle in the US. A mark carrying your name counts as copyright management information, and knowingly removing it to hide infringement can bring statutory damages of 2,500 to 25,000 dollars per violation under the DMCA. That gives the mark weight in a dispute. This is general information, not legal advice.
Metadata, color and file format details
Marked files are rebuilt in the browser, so embedded EXIF and IPTC data, including camera settings and any copyright field you set in Lightroom, is not carried into the exported copy. The same applies to embedded color profiles, so convert Adobe RGB or ProPhoto exports to sRGB before marking to avoid a color shift. If metadata matters, keep it in your originals, or add it back with your editing software after marking.
- PNG and WebP files stay in their format; JPEG and other formats export as JPEG at high quality.
- Output keeps your full pixel dimensions, so resize before marking if you want smaller web files.
- Add several files at once and the tool returns a single ZIP of marked copies.
Step-by-step
Common mistakes to avoid
Pro tips
Frequently asked questions
Does the tool upload my photos?
No. Everything happens in your browser on your own computer or phone, including batch processing and the ZIP download. Resizing to web dimensions first keeps large batches quick, especially on phones.
Can I use my logo and name together?
Yes. Choose Both, load a transparent PNG logo, and type your name. The logo and text are placed together as one mark, in a corner or tiled. A logo with a transparent background blends in best; a logo on a white box looks like a sticker.
What opacity should a watermark be?
For portfolio posts, 25 to 40 percent is visible without distracting. For unpaid proofs, 30 to 45 percent tiled across the frame balances protection with letting clients judge expressions.
Will marking reduce image quality?
The output keeps full pixel dimensions. PNG and WebP stay in their format, and JPEG exports use a high quality setting, so any change is not visible at normal viewing sizes.
Can AI tools remove my watermark?
They can remove simple corner marks fairly easily. Tiled marks that cross detailed areas are much harder to erase cleanly, which is why they suit proofs.
Use two marks, not one: a tiled, rotated mark at 30 to 40 percent for unpaid proofs, and a subtle corner signature for portfolio and social posts. Resize and convert to sRGB first, keep metadata in your originals, register key work, and deliver paid files clean.
Related guides
Browse more: all image guides · Watermark Image