No-Watermark Screen Recording for Narrated Tutorials
You can record your screen free with no watermark using GrabCast's Screen Recorder: open it in Chrome, Edge, Firefox or Safari on a computer, tick Microphone, press Start, pick what to share, and download the video when you stop. Nothing is stamped on the picture, nothing is uploaded, and there is no sign-up or built-in time limit. This guide is about narrated tutorials, the kind you post in a help center, a course or a reply to a customer: how to plan a demo that does not ramble, how to get clean voice audio, which quality preset fits software walkthroughs, and how to tidy the start and end afterward.
🎥 Try Screen Recorder now — freeOpen →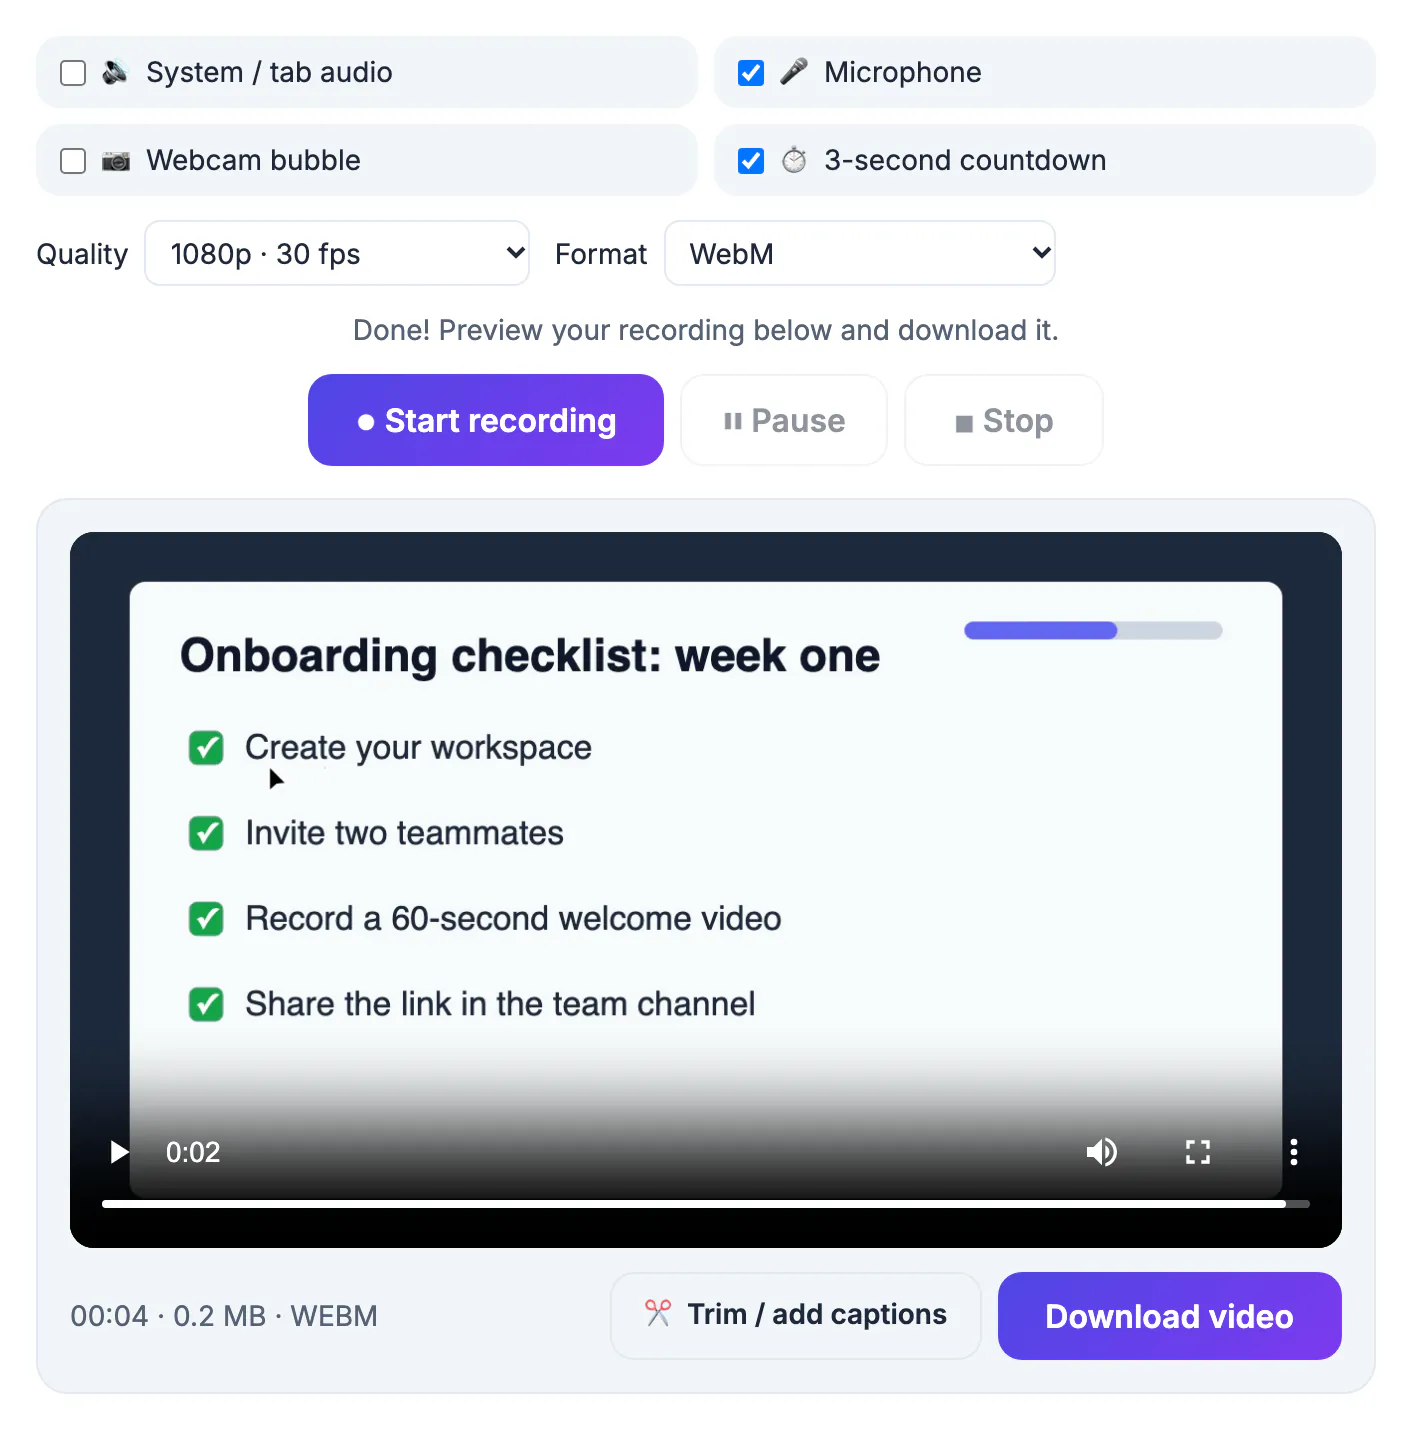
A corner watermark tells viewers you used a trial, and in product documentation that quietly undermines the product itself. Narration matters just as much. A silent capture shows where someone clicked; a narrated one explains why, which is the part people actually need when they try it themselves later. Support teams find that a three minute walkthrough can replace a long help article and cut repeat tickets on the same question. Recording in a browser tab also means a new teammate or a client can make their own clip without an install request to IT. The only real costs are a little planning and a decent microphone position, both covered below. Consistency pays off too: when every clip in a help center uses the same voice, zoom level and opening line, viewers learn where to look and trust the series faster.
Plan the tutorial in three beats
Good demos feel effortless because the path was decided before the capture began. Spend five minutes on this and the result needs almost no editing.
- Name the single outcome in one sentence, such as exporting a monthly report as CSV, and cut anything that does not serve it.
- Open every tab, file and account you will need, and sign in beforehand so no password field appears on camera.
- Hide the bookmarks bar, close chat apps and turn on Do Not Disturb so banners do not pop into frame.
- Zoom the browser to 125 percent or more so menu text stays readable when someone watches on a phone.
- Write three to five bullet prompts rather than a full script; reading word for word sounds stiff.
Get clean narration with the right audio options
Viewers forgive a slightly soft picture but not muddy audio. The recorder gives you two sound sources, and for a narrated walkthrough you usually want just one.
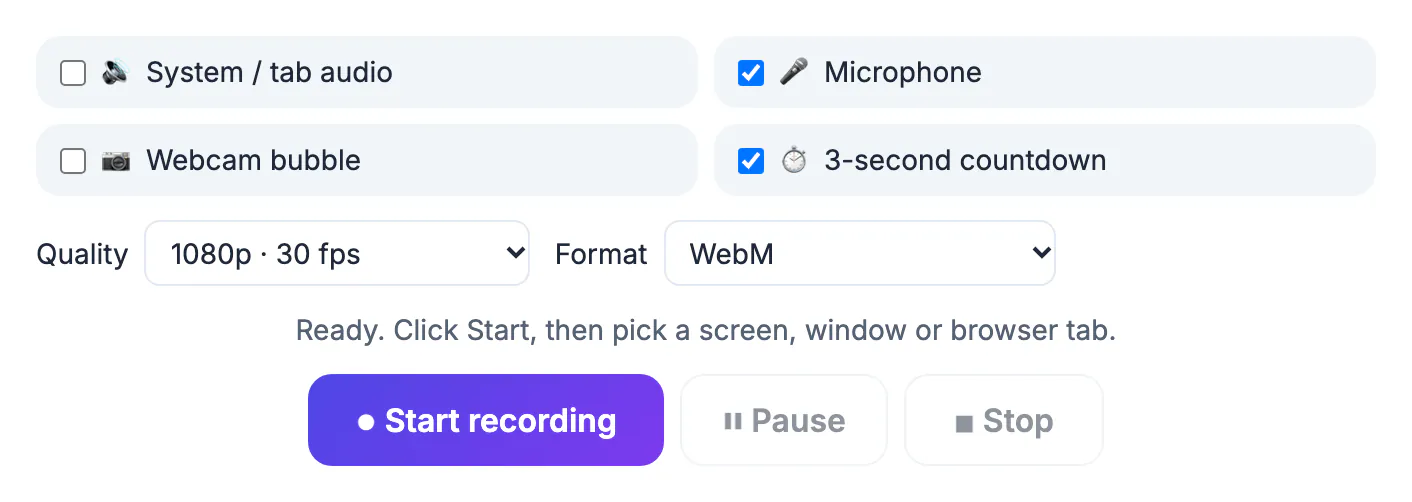
- Tick Microphone; the recorder requests echo cancellation and noise suppression from the browser automatically.
- System or tab audio is ticked by default, so untick it for pure voice-over unless the demo plays sound the viewer must hear.
- Keep a headset or USB mic about a hand's width from your mouth and away from keyboard clatter.
- Record a ten second test, play it back, then start the real take; it catches a muted mic before you lose a full run.
- If the browser blocks the mic, the capture continues without it and shows a notice, so always check the preview before you send or publish anything.
Room echo and fan noise can spoil a take, so it helps to read how to reduce background hiss and hum before you record.
Choose quality, format and pacing controls
Software interfaces are mostly static text, so you rarely need the heaviest preset. Pick based on motion and length.
- 1080p at 30 fps suits most UI walkthroughs and targets about 8 Mbps, roughly 60 MB per minute.
- 1080p at 60 fps (about 12 Mbps, near 90 MB per minute) helps with fast cursor movement, animation or gameplay.
- 720p (about 4 Mbps, near 30 MB per minute) keeps long training sessions manageable to email or upload.
- MP4 plays almost everywhere; WebM is offered when a browser cannot produce MP4.
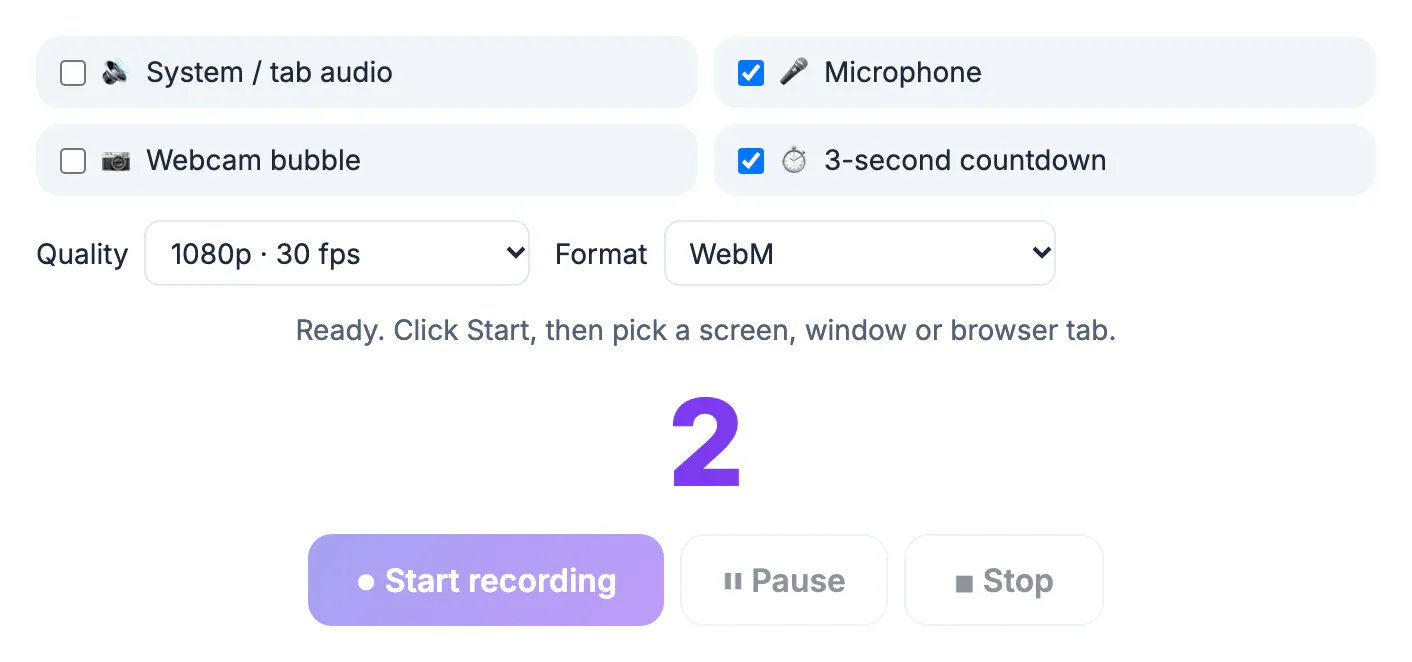
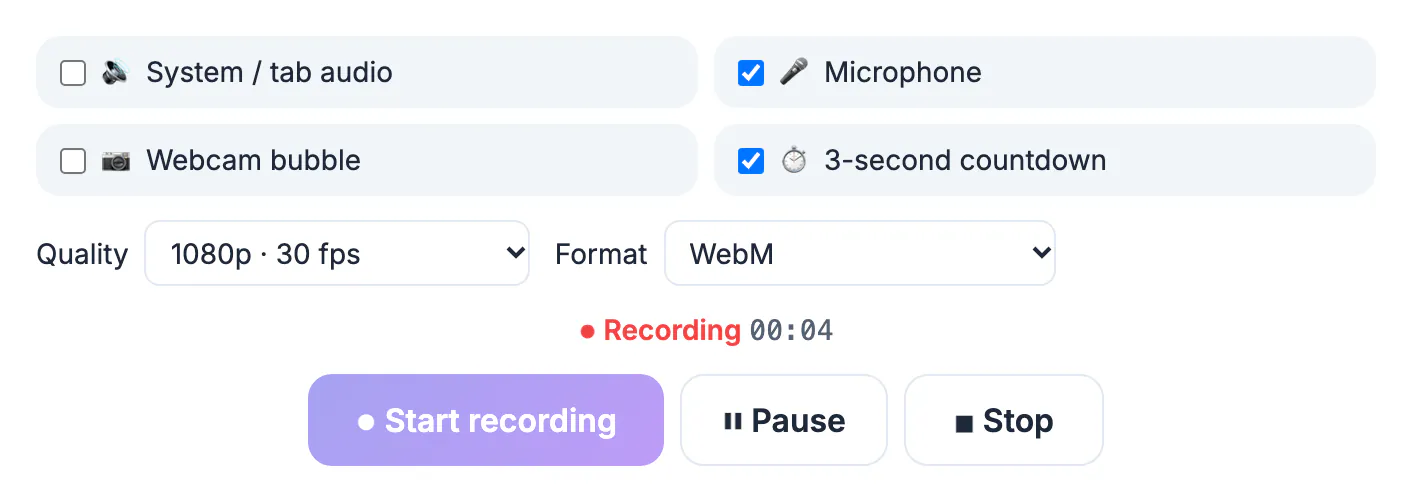
- Use Pause and Resume between steps instead of talking through loading screens, and keep the three-second countdown on.
Webcam bubble, trimming and captions
A small face in the corner makes a walkthrough feel personal, and a quick finishing pass makes it look deliberate.
- In Chrome or Edge, tick Webcam bubble and choose a corner, a small, medium or large size, and a circle or rounded square.
- Place the bubble away from menus you will click; bottom right usually collides with Save buttons, so try bottom left.
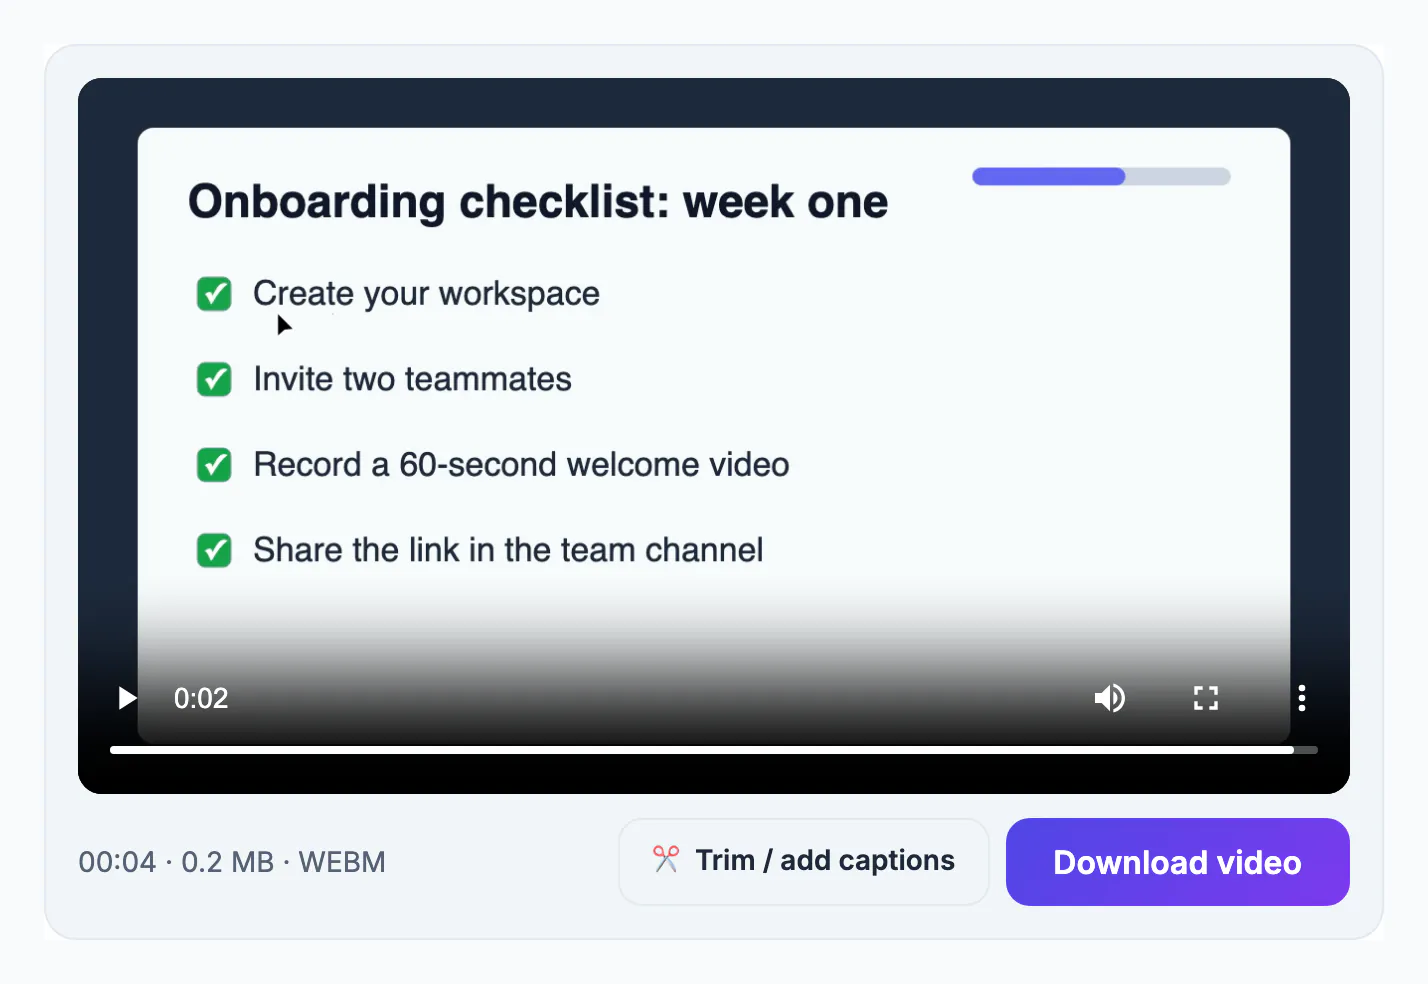
- After stopping, preview and download the clip, then use the Trim / add captions button to open the Video Trimmer and load it there.
- Cut the silent lead-in and the reach for the Stop button so the tutorial opens on the first useful frame.
- Generate subtitles from your narration and download SRT or VTT, or burn them in for viewers watching on mute.
Step-by-step
Common mistakes to avoid
Pro tips
Frequently asked questions
Is there a watermark or a time limit?
No watermark, no sign-up and no built-in time limit. Practical limits come from your computer: long 1080p captures grow by roughly 60 MB per minute and are held by the browser until you download them.
Can I use it on a phone or tablet?
No. Mobile browsers do not allow screen capture from a web page, on iOS or Android. Use the built-in Screen Recording control on iPhone, iPad or Android instead, then trim the file in the browser if needed.
Why is the webcam bubble greyed out?
The overlay relies on browser features currently available in Chrome and Edge. In Firefox or Safari you can still record the screen, the mic and system audio without the bubble.
Is my recording uploaded anywhere?
No. The capture is assembled inside your browser and saved straight to your computer. It only leaves your device if you choose to share or upload the file yourself.
What if the recording stops by itself?
Clicking the browser's Stop sharing bar ends the capture, just like pressing Stop. Closing the shared window or tab can end it too, so keep the source open until you finish. Whatever was captured up to that point is still offered for preview and download.
A clean, narrated tutorial needs a plan, a decent mic and a recorder that stays out of the way. GrabCast's Screen Recorder adds no watermark, uploads nothing and offers the presets that matter, so you can spend your effort on explaining the task well.
Related guides
Browse more: all video and audio guides · Screen Recorder